
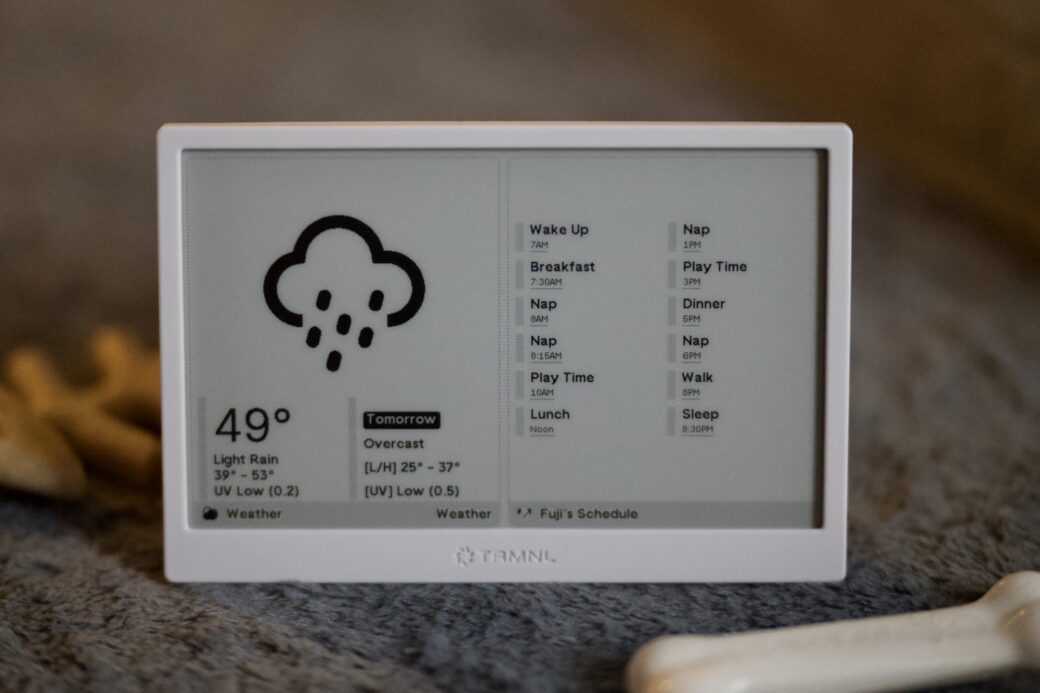
After hearing about it on ATP, I picked up a TRMNL to play around with it. TRMNL is basically an e-ink status board that rotates through widgets that you set up and assign to a playlist. So if you wanted to display your daily calendar you can link to a public .ics feed and an Apple or Google Calendar plugin will take that data and show you your upcoming events. It can cycle through all of the widgets you choose every 15 minutes, so throughout the day you can see the weather, trivia, and stuff like your Shopify analytics.
You can also make your own plugins by upgrading your account to a developer account. There are a couple of different ways you can approach this so I tried out two different paths for fun.
CMS-Managed Doggy Schedule
We recently got a puppy and we’ve developed a routine with her over the past month or so. I wanted to use the TRMNL to share the dog’s schedule with the family, or anybody else who visits our house. This schedule will change over time so I wanted to manage the content somehow. Finally, I wanted to be able to combine this list with other widgets on a TRMNL screen, such as the weather for the day.
TRMNL has really great documentation that helps you figure out how to get started. In taking a quick look I found that I could technically do all of this in my TRMNL account, using HTML. However, I wanted to learn how it might work if I fed in a JSON file and thought about using my Craft CMS website to power the data in the schedule. So in the end the data is managed in my CMS and the plugin is responsible for taking in that data and handling the UI side of things.
Managing JSON in Craft CMS
Craft CMS has a couple of options for creating JSON files. You could go the route of creating separate fields and using the Element API plugin to output those fields over a JSON API endpoint. In a world where I had a more complicated setup I might have gone this route, but I took the slightly simpler path of creating one field to manage JSON content and then one Twig template to render it.
I started off by creating an Entry Type and then creating a general JSON code field, using Andrew Welch’s Code Field plugin. I put the field and the Entry Type into a new Channel, called TRMNL API. I set it up this way because in the future I might want to create more than one API page to feed into TRMNL and to do so I can just create a new entry in my CMS.
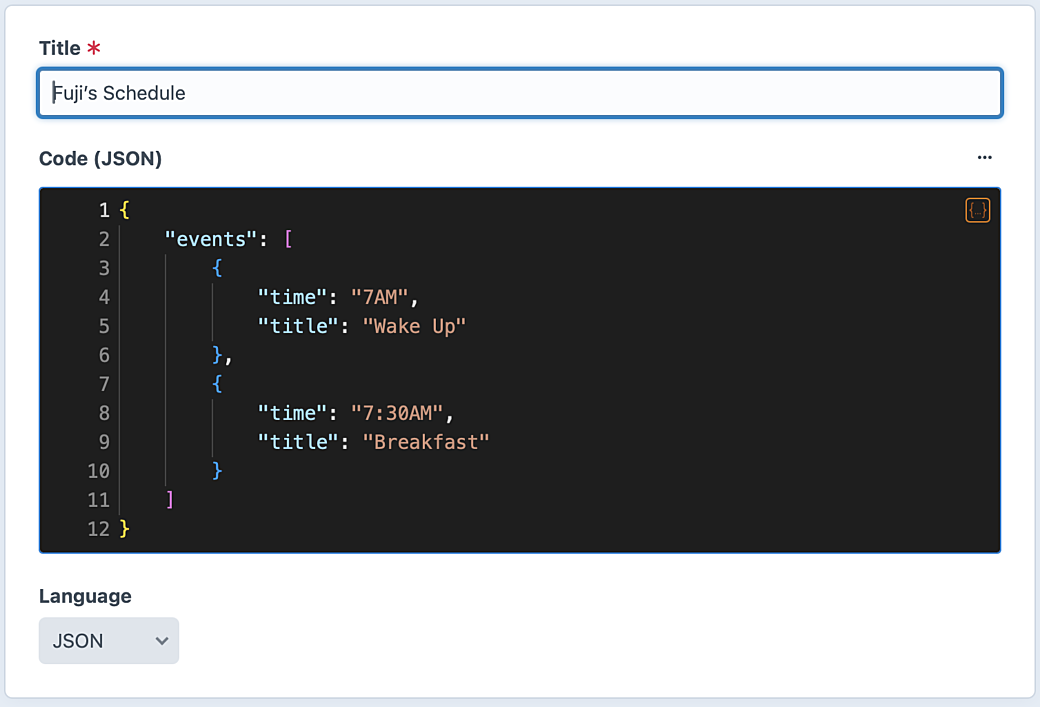
The Title field is used to label this entry in the CMS and it’s not part of the rendered JSON.
With this field in place, I populated it with an array of items for the puppy schedule. Each item would have a title and a time that would get displayed on the TRMNL.
Rendering the JSON
One of the things you can do in Craft CMS is render out Twig content in different file types. So if you wanted to create an RSS feed, you can create a Twig file, but instead of naming its template file rss.twig, you could use rss.xml. It would still get rendered from Twig, but the mime type of the document would be XML—which is what is required for RSS readers to properly parse the file. The same all goes for JSON documents.
I created a Twig template at templates/pages/trmnl.json and set that path in the settings for the TRMNL API section. In this file I added this one line based on the field handle for my JSON code field:
{{ entry.codeJson|raw }}The raw filter decodes the JSON code so it matches what is entered into my field. As a general note, be careful using raw filters in Twig documents for code managed by authors.
When I visit the URL for this page, I get the raw JSON in a properly formatted JSON file.
Securing the JSON Endpoint
At this point the JSON endpoint I’ve created is publicly available and that means that anybody with the URL could access it. This wouldn’t bother me for my puppy schedule, but if I were working with more sensitive data I’d want to lock it down.
When you create a custom plugin in TRMNL there are a few fields you can use to configure your API calls, and one of them allows you to pass HTTP headers along with TRMNL’s request.
I created a header, called trmnl-auth-secret, and set it to a random string in my TRMNL plugin settings.
I then went into my Twig template and added a check for that specific header.
{% apply spaceless %}

{% set headers = craft.app.request.getHeaders() %}

{% if not currentUser and not (headers.get('trmnl-auth-secret') == 'random-string-1234' %}
  {% redirect '/' %}
{% endif %}

{{ entry.codeJson|raw }}

{% endapply %}
Applying the spaceless filter makes sure that there are no leading or trailing spaces around my JSON code.
My first check here is to see if the request is coming from a logged-in user. This lets me preview the JSON file as long as I’m logged into my CMS.
The second one uses Twig to get all of the headers from the request and then checks to see if trmnl-auth-secret matches the string I set in my TRMNL plugin.
If neither of these conditions are met, the request is forwarded onto the homepage.
To take this one step further, I added an environment variable into my site’s .env file and set it to my random string.
# Header value that is matched with TRMNL plugin requests.
TRMNL_AUTH_SECRET=random-string-1234
Now this string is no longer in my website’s repo. It lives only in TRMNL and in my server config.
With this new variable added to my server, I updated the Twig template to now check for the value of this variable:
{% apply spaceless %}

{% set headers = craft.app.request.getHeaders() %}

{% if not currentUser and not (headers.get('trmnl-auth-secret') == parseEnv('$TRMNL_AUTH_SECRET')) %}
  {% redirect '/' %}
{% endif %}

{{ entry.codeJson|raw }}

{% endapply %}
Pulling the JSON into TRMNL
TRMNL’s plugin editor is great. After you put in your API URL and headers you can see what information is available to your plugin by using a dropdown, labeled Your Variables. Here it shows me the data that TRMNL was able to get from my JSON file and it also includes some meta data about me, the user, in case I needed to base my plugin around something like the user’s timezone.
While my JSON data looked good, I had to make a quick change to the content. Although I have my plugin setup so TRMNL only reaches out to get updates from my JSON endpoint once per day, there’s a Force Refresh button on the plugin settings page that lets you manually pull the data again, letting you debug issues and structural changes to your schema.
TRMNL Design System
When you are creating a custom plugin in TRMNL, you are writing HTML and you can access your API data via template tags. TRMNL plugins use Shopify’s Liquid templating language, which shares a lot in common with Twig.
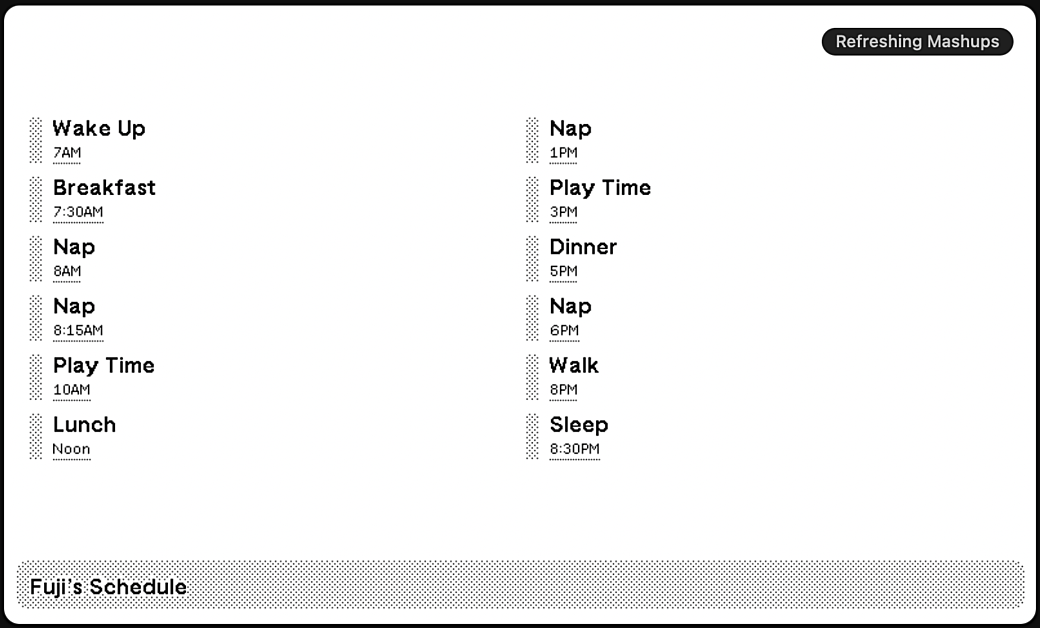
So to pull in my event data I write a for loop that iterates over the events array. I tested this out and was able to see my changes made right away (TRMNL’s plugin editor automatically refreshes so you can see your changes made as you edit your template). I was able to generate a plain HTML list from my JSON data.
I wanted to get the look of my plugin to match the rest of the plugins in TRMNL and I found that TRMNL has its own design system that you can tap into. The design system is built around setting classes and nesting elements. Their documentation includes lots of example markup that you can copy into your plugin and modify using Liquid.
I found enough HTML to add a title bar, columns, and list items that are centered in the layout space.
Just like I would do with a Craft CMS template, I started with static HTML and then added my template logic in later.
After playing around with the design a little bit, I settled on using two columns and used Liquid’s math functions to take my events list and cut it in half.
Here is the full HTML I used for my plugin:
{% assign eventHalf = events.size | times: 0.5 | ceil %}

<div class="layout">
  <div class="columns">
    <div class="column">
      {% for event in events limit:eventHalf %}
        <div class="item">
          <div class="meta"></div>
          <div class="content">
            <span class="title title--small">{{ event.title }}</span>
            <span class="label label--small label--underline">{{ event.time }}</span>
          </div>
        </div>
      {% endfor %}
    </div>
    <div class="column">
      {% for event in events offset:eventHalf %}
        <div class="item">
          <div class="meta"></div>
          <div class="content">
            <span class="title title--small">{{ event.title }}</span>
            <span class="label label--small label--underline">{{ event.time }}</span>
          </div>
        </div>
      {% endfor %}
    </div>
  </div>
</div>

<div class="title_bar">
  <span class="image">🐶</span>
  <span class="title">{{ trmnl.plugin_settings.instance_name }}</span>
</div>
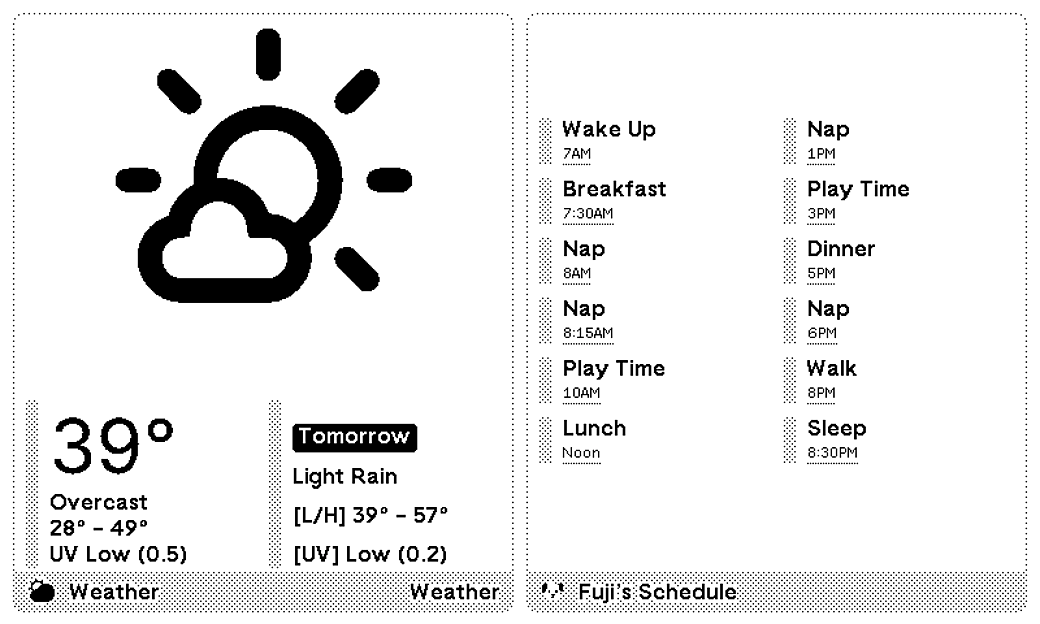
I started off by making a fullscreen layout, but I also wanted to be able to use my plugin in a vertical split layout. TRMNL provides the ability to write separate HTML markup for each layout size. As long as this schedule doesn't grow by too many more items, I am able to re-use the same HTML on the split layout.
I really liked how simple this whole process was. On the TRMNL side of things, I think I spent only about 45 minutes on the templating portion. Their plugin environment had all of the tools I can think of needing to whip up something like this.
On the data side of things, I could have approached this in a lot of different ways. I could have just placed a JSON file on my hosting server and pointed to that, or used a different framework or tool that outputs JSON. I went with the Craft CMS setup because I already had the site up and running and adding the JSON output is a very easy thing to do.
The best part is I have the infrastructure for the JSON API already set up and creating my next TRMNL plugin should be even easier. That said, my next article will show that I've taken a much more complicated route. Stay tuned.
Article Updates
-
Updated plugin code to better handle splitting a list in half.