
The Before Times
My kids got old enough where words like chores and allowance started to get thrown around in our house. My oldest started wanting to buy things on his own, but being a grade-schooler wasn't able to scrap up the funds for pretty much anything on his shortlist. We also wanted to start to instill in them that working earned you money and saving that money let you buy the things you want, as opposed to spending your allowance as soon as you got it.
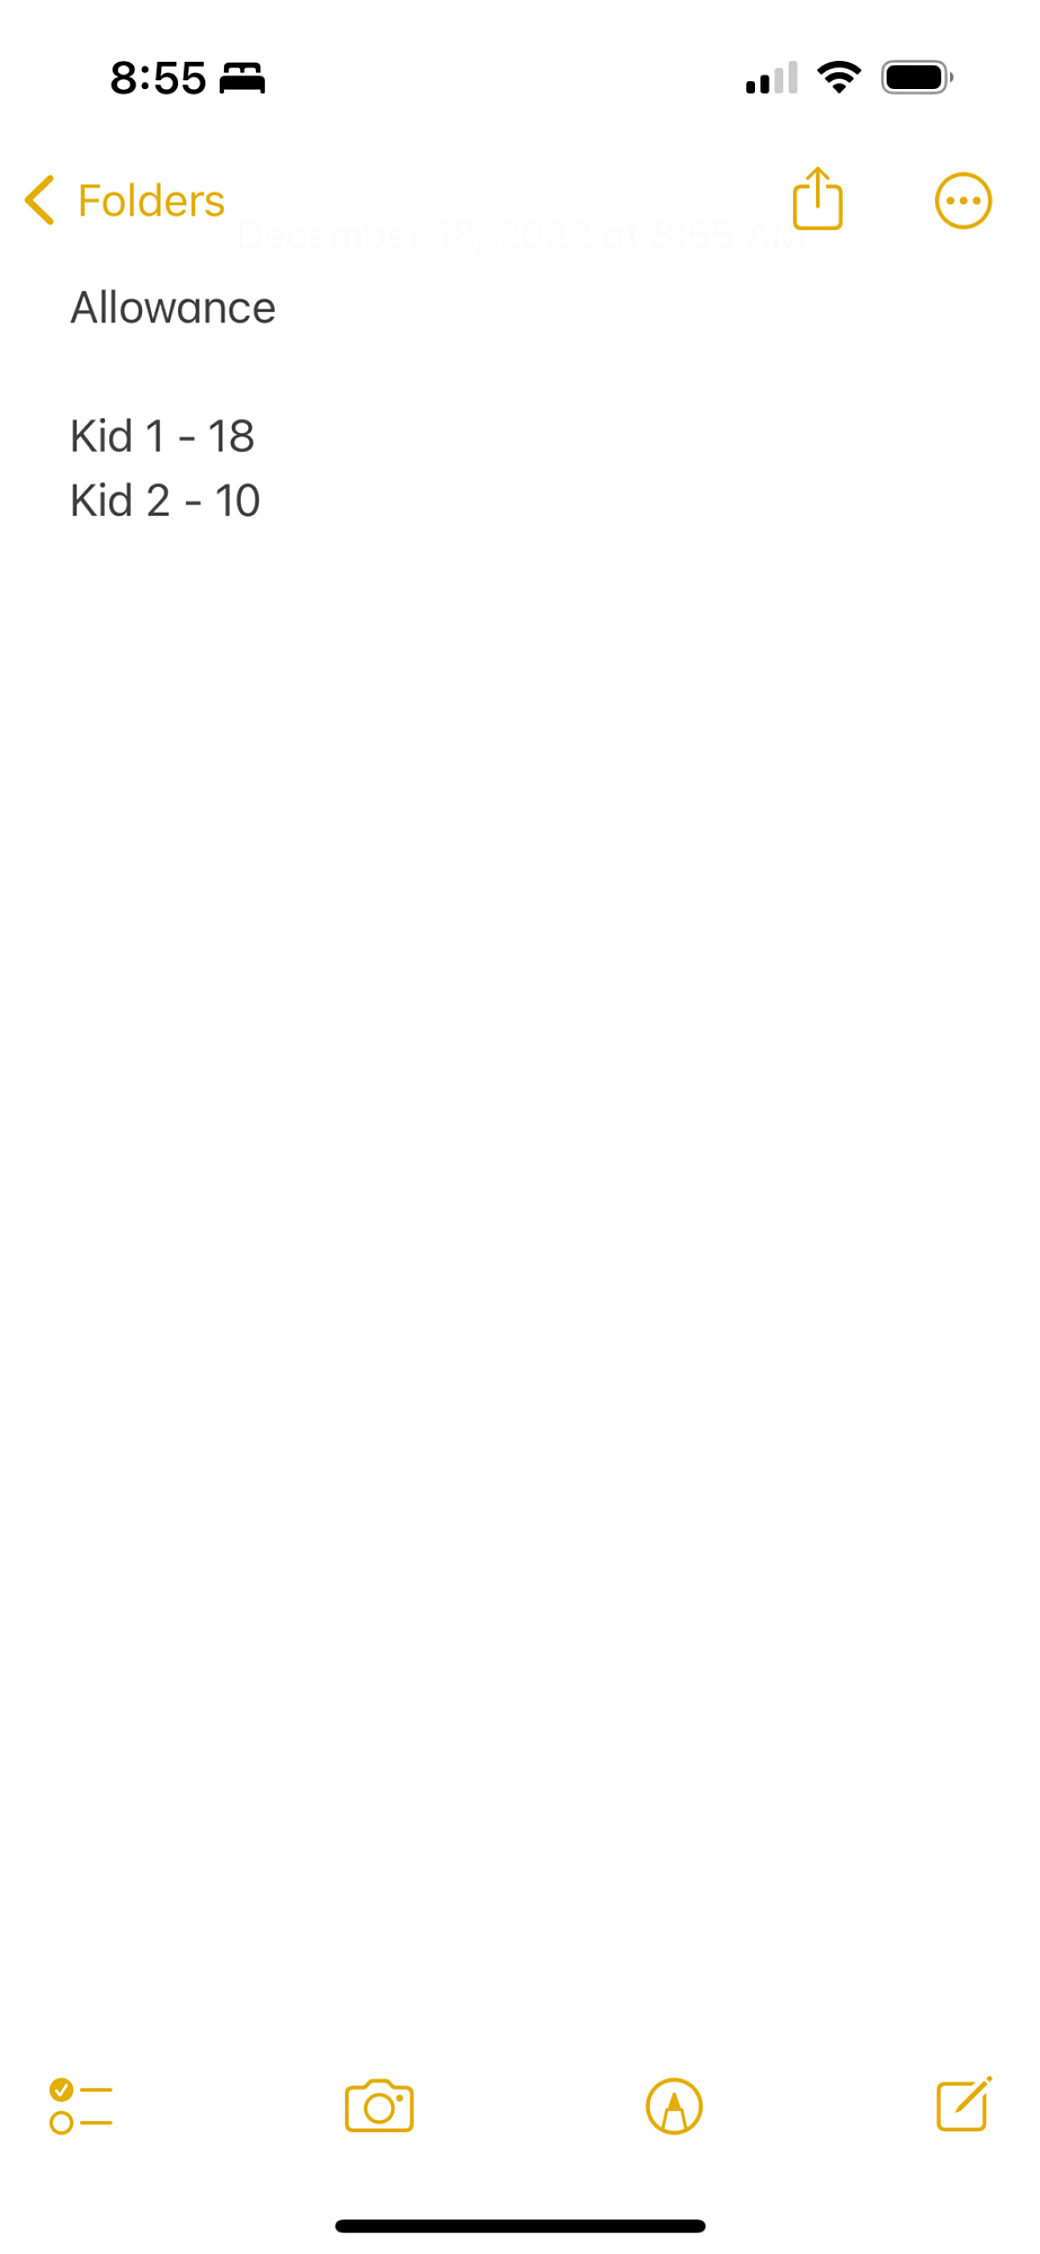
This led to the kids keeping coins in their piggy banks and depositing their paper cash into their "bank accounts". By "bank accounts" I mean money that I held onto and kept note of, adjusting the amount on record as we spent or "deposited" it.
The fist place where this info was kept was in the trusty iOS and macOS app, Notes. What I liked the most about storing it in Notes was that it was synced via iCloud so I had the ability to check in on the balance across devices.
This worked fine for keeping the total amounts for each kid, but I wanted a better way to show the kids how saving money (or spending it) affected their balances. I was also on an iOS Shortcuts kick so I started to think through things like making it easy to deposit money and to keep a ledger in another cloud-synced format.
I learned that Shortcuts had an integration with Apple Numbers, and although limited, it did let me construct and add a row of data to the top or bottom of a worksheet. For my initial needs this worked and I was able to put together a shortcut that let you add balance adjustments for each kid and use one button to add their set allowance to the balance.
Then I came across this tweet by Val Katayev which introduced me to the concept that in lieu of an allowance that is likely to be spent as soon as it's given, you could give your kids compounded interest that encourages them to save money and be more decisive about when and what they spend their money on.
I thought that if I could add this as an option to my shortcut I could try it out and see how it goes. This wound up being even more challenging than I expected. I used some ideas from Val’s spreadsheets, but wound up coming up with my own formulas in a way that allowed my shortcut to add a new adjustment row within the existing setup.
Then I hit a bug within Shortcuts and Numbers. For some reason it would get confused and duplicate data and spread them across incorrect columns in a row. I tried all of the workaround I could think of. I also found it very hard to Google terms like "Numbers" and "Shortcuts" to get any meaningful results. When I did find results, there weren’t enough people discussing the particular issue to guide me or make me aware exactly what the issue was.
At the point of giving up on this idea I thought that I could probably take a few hours to put together a web app that accomplished all of this in a platform that has all the flexibility. So I got started on a personal app I call Kids Money.
What are We Even Building Here?
As of last year I moved on to work as a front-end engineer in a company that had already worked out the tech stack we use on a daily basis. While I’ve been able to keep up with some my favorite frameworks, like Vue and Tailwind, I haven’t had a practical use for Nuxt in a little while. In November 2022 the team behind Nuxt announced the stable release of Nuxt 3 and as a fan of all of their work, I really wanted to give it a try. My first thought was to upgrade the front-end for this blog, as well as upgrade my CMS from Craft 3 to Craft 4, however, there are so many new concepts in Nuxt 3 that I wanted to wait until I knew more about using Nuxt 3 before I started working with it.
While going through the Mastering Nuxt 3 course and casually reading the docs, I started to get familiar enough that I thought that this banking web app could be an easy place to start diving in. I decided that I'd start by doing the app in the way I'd do it if I were working in Nuxt 2, while keeping going with learning Nuxt 3 and refining the app as I learned more about the framework.
In the past I've only ever worked with Nuxt for its static generation. This made sense on some of the marketing sites I’ve worked on but it’s not the best tool for a web app that is all about real-time interactivity. Along with learning Nuxt 3 I wanted to dive into SSR—which Nuxt makes easy right out of the box.
So the front-end framework was decided, but I also needed to think about data storage. Without access to iCloud I had to think about what options I had. I was looking to put together something that was easy to set up and independent, so I didn’t want to tie it to my website’s CMS or database. I could look into creating Lambda Functions (or more likely Netlify Functions) to securely interface with a database on my VPS, but realizing that we already need to use Node on the SSR end, I wanted to see what I could do in the same environment that runs the SSR server. A friend of mine reminded me of SQLite, a technology I used back in my Flash days, and that felt like the best balance in between a static JSON file and a MySQL/Postgres database.
Using SQLite locally was the fastest option, but it also made hosting a little more complicated. Hosting on the edge at places like Netlify meant that local persistent storage wasn’t going to be a thing. If using Netlify was a requirement I would have changed the DB setup, but in the case where I already have a VPS handy, I decided to stick with the SQLite route on the VPS, but make it easy to point the app to a different data storage place if I ever wanted to move i.
Working with Nuxt 3
As expected, the installer for Nuxt 3 made getting things up and running quickly in a smooth and painless process. Within maybe an hour I had nuxi (the Nuxt 3 CLI) scaffolding out my layouts, pages, and some composables. I had also created an error.vue page and I started down the road of using useFetch to test out the endpoints I had created in server/api. Here are a few other notes about working with Nuxt 3:
- Overall Nuxt 3 felt familiar in how things were structured. I really liked the new
<Head>and meta tags that made it so a lot of the page-specific stuff I could keep in the template. - Just like in Nuxt 2 you do need to restart
nuxt deva lot, but thanks to Vite, getting back to development is almost instantaneous. Also, Nuxt is very cool about what things need a restart and what don’t. Lots of minor config changes can happen and you can keep moving. - Using Vue’s Composition API along with TypeScript was already familiar to me, but what I was surprised by is how little TypeScript I actually had to write. I had declared a few types and interfaces based on my data model, but otherwise most types got inherited along the way.
- I usually like to work with my own ESLint, Prettier, and TypeScript configs but I decided to see how the stock configurations worked. Other than changing a line in my
.eslintrc.cjsfile toextends: ["@nuxtjs/eslint-config-typescript"]I don’t recall really having to tweak anything. Getting used to semi-colon-less JavaScript took about a day and I got over it (again, to my surprise). - I also usually prefer to be specific and verbose about imports, but this time around I decided to go all-in on auto import. Importing components was nice, but importing composables and utils files was a really nice addition.
- I did find working with environment variables between the
runtimeConfigandapp.configoptions to be a bit confusing at first. Just like a lot of things in Nuxt, knowing what works on the server versus the client is a gotcha the takes some getting used to. Eventually I figured all of that out. - Likewise getting to know when and where you can or should use composables was a learning experience. I was surprised at how much I could use composables or Nuxt’s built-in functions in some places, but I was also a little surprised when I found a place where I couldn’t use one. Spending more time reading the docs would have helped here, but it was fun to try thing out and see things work on the first try. For example, I tried using
useFetchin a composable to make it easy to share data across components, but I found it was easier to repeat similaruseFetchcalls in each page template—despite the duplication. - I didn't wind up needing any plugins or modules to create this app. Installing and implementing Tailwind, Chart.js, and Prisma (more on that below) were so straightforward that I didn't even begin to look for compatible Nuxt 3 modules.
- I do wish Nuxt was a little more obvious about build errors. I’d spend an hour or so programming and working through a feature to only later notice that I had an error in my IDE’s terminal that was a result of me causing an error server side. Tracking down the issue was sometimes the hard part. Maybe it was a syntax error in my templates, or maybe I had missed something in my logic somewhere. Where most of the app still worked, and my IDE didn't flag any issues, I had to go back through my
githistory to find a lot of mistakes that I made. I guess the lesson here is that I should just stop making mistakes 😆
SQLite and Prisma
As local storage was an important part of the app, I went to test out the SQLite implementation before getting too far into development.
I started things out by trying out an NPM package, called node-sqlite. I figured I’d use Nuxt’s server API endpoints to work with SQLite via Node, and I had gotten things working quickly enough by following along with the docs. Where I got held up is that, just like with using SQLite, I haven't written a SQL query in at least a decade and had a lot to remember. I have a friend who is a master at SQL so I was ready to tap into his experience, until I came across Prisma.
Prisma is exactly what I was looking for and it is the perfect tool for someone like me who has had experience working with databases, but more on the DevOps level. Just like with Nuxt 3, I learned a few things along the way:
- I created a utility at
utils/prisma.tsto define a PrismaClient for use across the entire app. - I then set things up so I was only using Prisma in my
server/apiendpoints or from specific node scripts that you could run via SSH. It all just worked, even in both contexts. - Working with Prisma’s schema file was so refreshing. I had to tweak the schema a few times as I was going, so it was really great to be able to generate the whole structure of the database in one place, instead of writing
CREATE TABLEqueries (which I don’t remember ever being good at). - As someone familiar with database migrations through Craft CMS plugin development, I was really happy to see that database migrations were a part of Prisma and that they were easy to create and trigger via CI deployment scripts.
- The built-in table editor, Prisma Studio, is also a very welcome feature. I wound up having a couple places where I had gotten this app up on the server and I needed to tweak a couple database rows and found that I could pull down the SQLite file, open it up in Prisma Studio, make edits, then push it back up to the server. All seamlessly.
- Using an environment variable to determine the location of the SQLite database file made it easy to work with across environments, but working with Nuxt was a little more challenging than I had hoped. I found that I needed to add the variable into the server config itself, instead of using a
.envfile. Because I was usingpm2on my VPS I was able to add the variable there and it was picked up by Prisma. - I really like the way Prisma does relations and it was very helpful in this app as each kid had adjustments tied to them. Just the same, the fact that Prisma fully typed out all of my structure made working with relations even easier.
The App
It took a little bit of learning, but overall I was able to throw together the MVP for this app within a couple of weekends. I’d still consider this a work in progress and I plan on iterating on it over time, but for now it's working the way I want it to and I think I have a good grasp on how Nuxt 3 works.
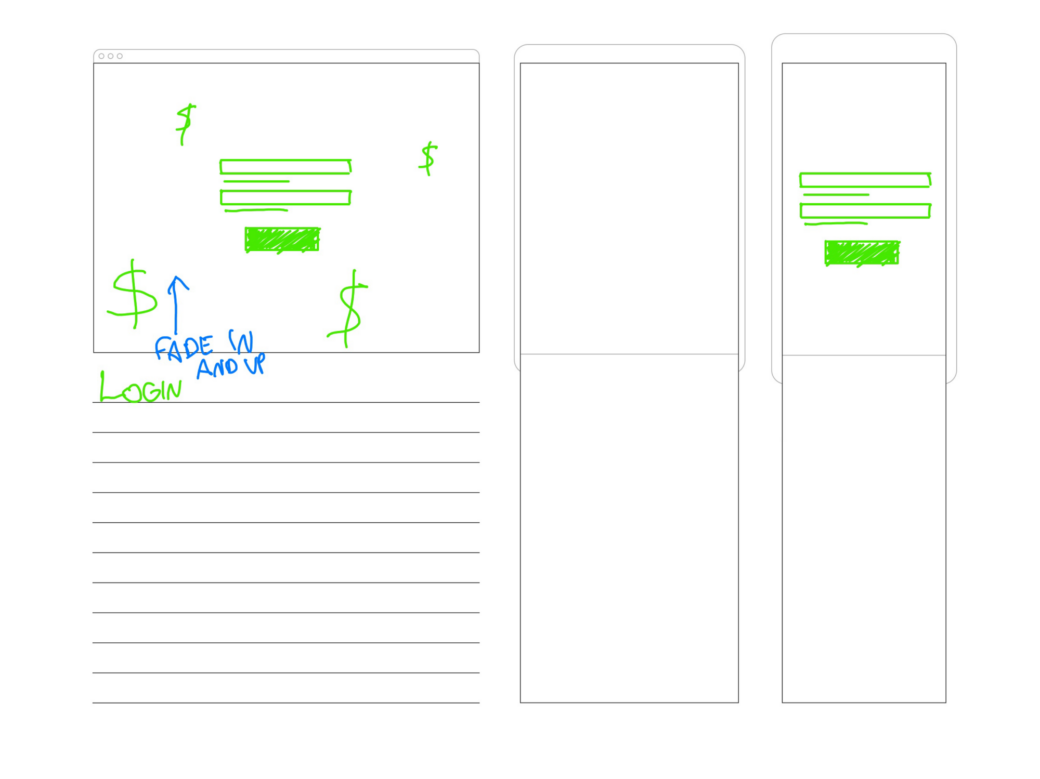
Login
I knew I wanted to create the ability to have both admin and non-admin users, so I needed some sort of login page for the app. I spent the least amount of time I could on the admin page and thanks to Tailwind UI and HeroIcons, all of the work on the page went to the actual process of submitting the form and logging the user in.
One important note here is that this is absolutely not an example of what you’d do in a real application. Here I am passing login credentials along via a POST request, but I didn’t take the time to set up any advanced security. The stakes of this app are so low and I figure that if my kids learn enough to hack the login page or update their users to become admins... then maybe they deserve a little extra allowance 😜
Settings
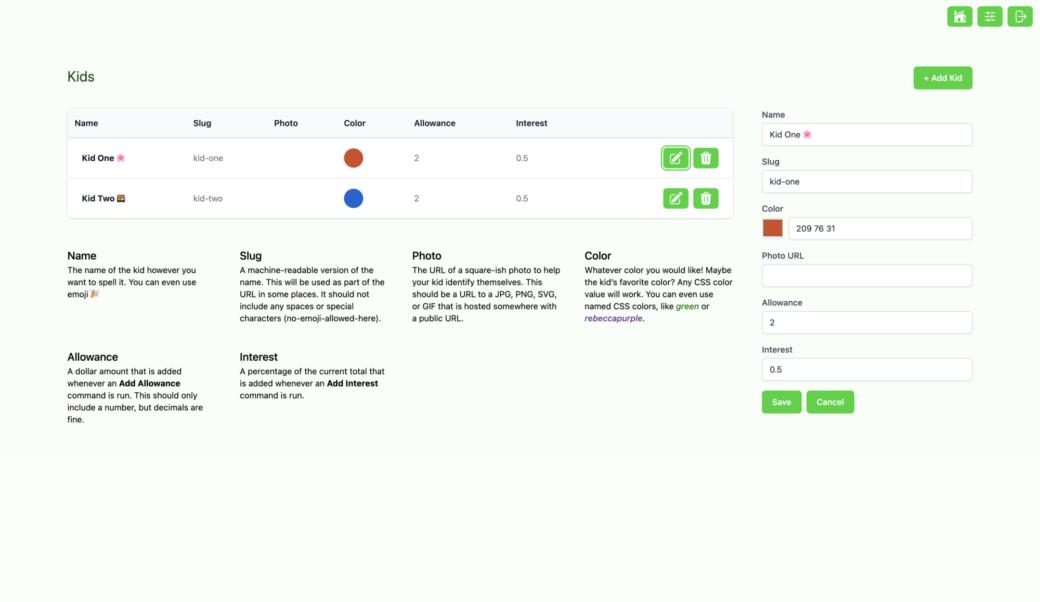
When you first log into the app there’s not much you can do but by using the navigation in the top-right you can visit the Settings page to add your kid’s information into the system. At the very least a Name and Slug are required. From there adding a Photo URL or by changing the color you can customize the display for each kid. Finally, you can set amounts for an allowance or interest, which can be added to the kid’s balance either by pushing a button or by using the CLI to trigger a node script.
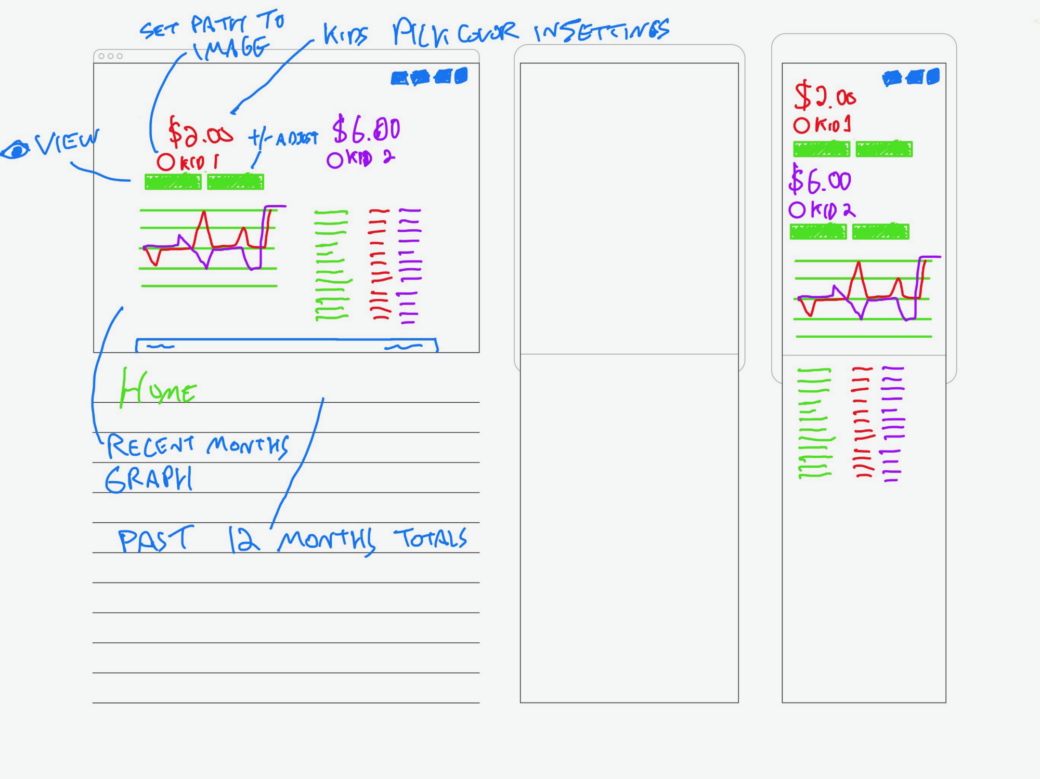
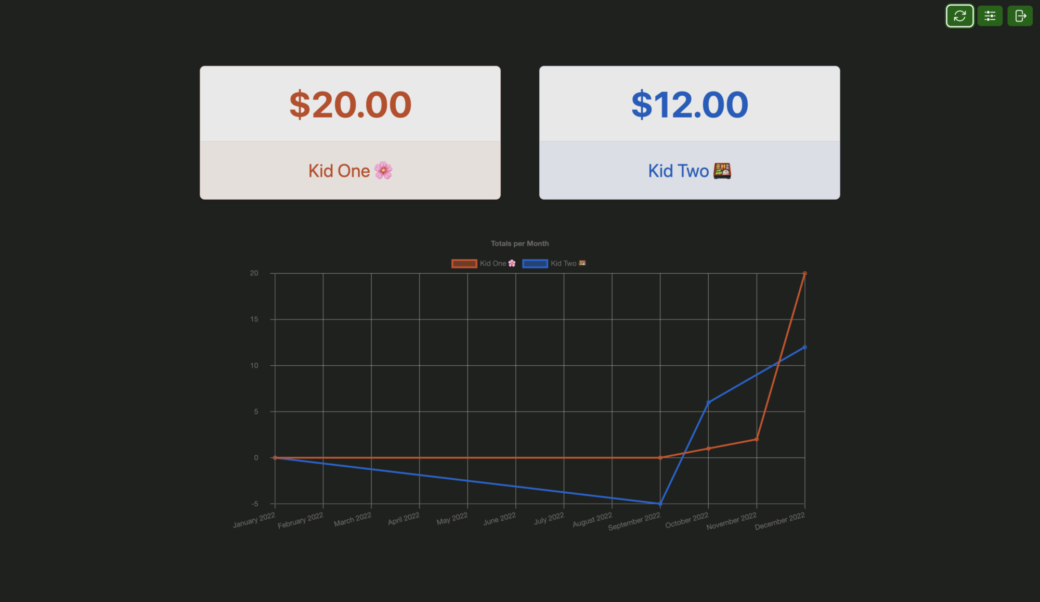
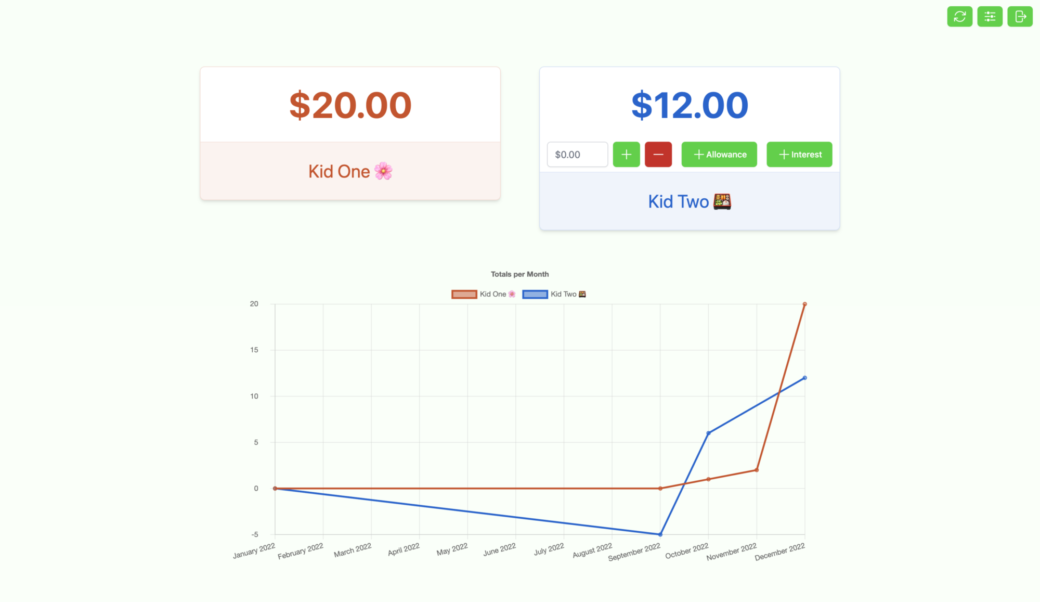
Home
The home page in the app is an overview of all of the kids added to the system, their current balances, and a graph of their past end-of-the-month totals. The graph uses Chart.js to show the data for the past 12 months.
I got to play around with Tailwind’s Container Queries plugin for the kid summary cards and I’m only more excited about the fact that container queries are coming to CSS. For component-based development, it’s an absolute game changer and Tailwind’s current implementation makes things easy to use and to understand.
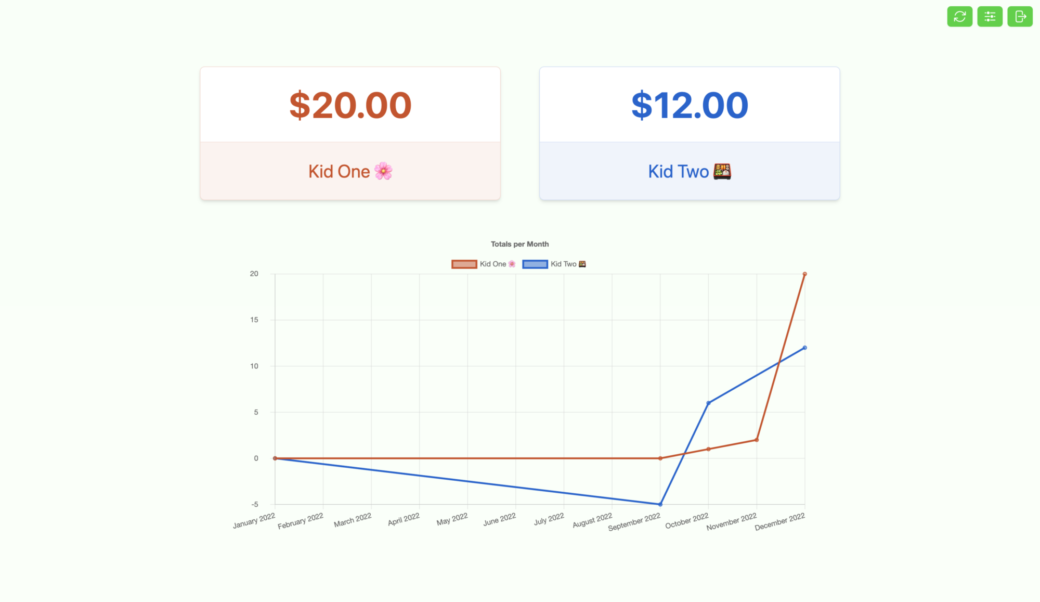
I also made it really easy to log in and add or remove money from the account right from the homepage. As an admin you can click on the total and an input field and a series of buttons let you either add or subtract a specified dollar amount, add an allowance, or add interest.
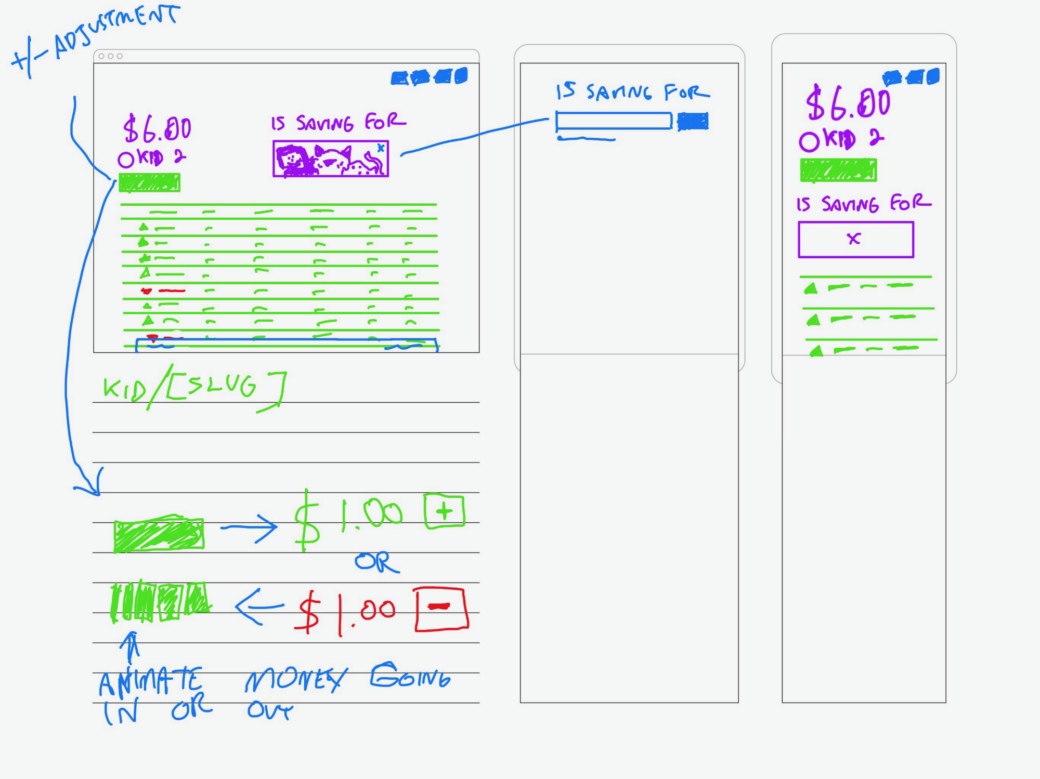
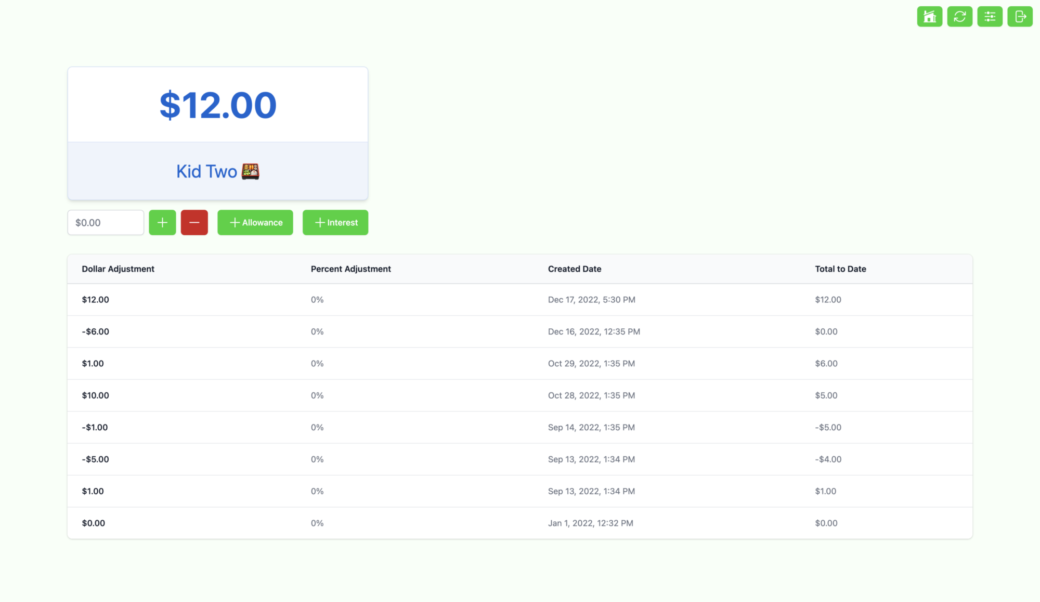
Adjustments
Clicking on the name of a kid takes you to their adjustments page. This shows you all of the adjustments made in the past year and when the adjustment was added. When logged in, kids can go to this page and see what made their balance rise (or fall). Admins can also use the same controls from the home page to add adjustments and see them appear right away.
Command Line Tools
I added a few node scripts to manually make changes to users and the kids’ balances via the command line. Setting up the CLI was a matter of creating node scripts that checked for and used arguments that interact with the database via Prisma.
Here are a few examples:
node scripts/create-user.mjs -u=my-username -p=my-password -adminCreate an admin user. Using update-user lets you change the password or the admin status, and delete-user lets you remove a user.
node scripts/add-adjustment.mjs -kid=kid-slug -dollar=5Add $5 to a particular kid’s balance.
node scripts/add-adjustment.mjs -kid=kid-slug -interestAdd a new adjustment for a particular kid that takes the current total and multiplies it by the amount of interest as set in Settings.
Fin
With all of this, I was able to set up a cron job on my VPS that adds daily compound interest for my kids. I set them up with non-admin accounts so they can log in and check to see what their savings looks like after interest has been added.
I hope to add a few more features, but for the most part the MVP meets all of my personal criteria. At this point we need to live with it to see if anything needs adjusting.
The repo for this project is open source so other folks can take a look and maybe even try it out for themselves:
https://github.com/wbrowar/kids-money
It was a fun learning experience for me and I hope it will provide a good example for other folks getting into Nuxt or Prisma.