
A few years ago my wife and I went to IKEA and bought TJUSIG: a modest shoe shelf and organizer. Back then it was just the two of us and—while we had plenty of shoes to fill the two-level rack—it served us well for years.
Then we had our first child and his shoes required space on the shoe rack. Now we're just about to have our second child and the limited space of this shelf is officially a problem.
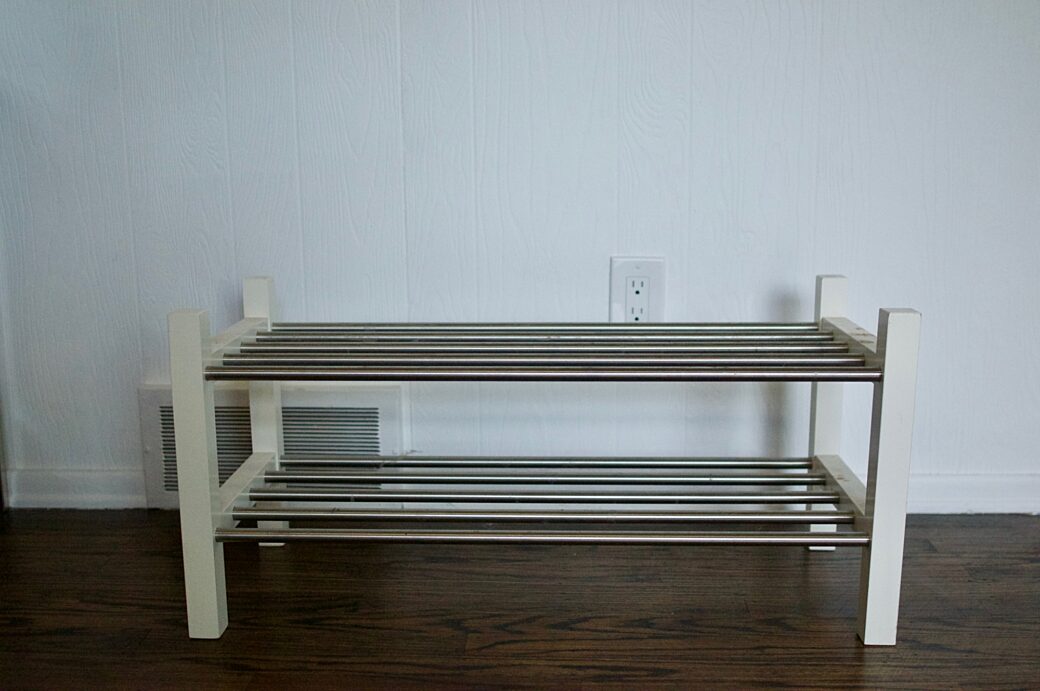
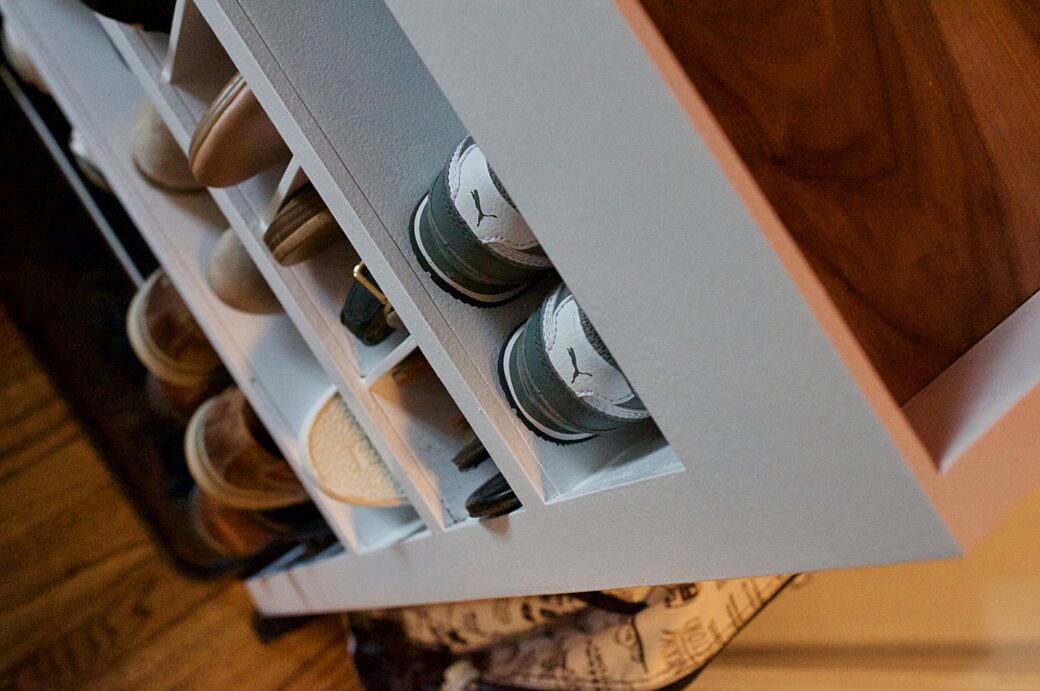
TJUSIG
A new shoe organizer would help us better use the space that TJUSIG occupied, and building our own set of shelves would allow us to tailor the organizer to fit the particular sizes of shoes we typically wear.
Design
We broke the design process down based on a few important factors.
- First, the space we had to work within was just the height from the floor to the light switch on the wall, and between a door and a wall outlet. Ideally we would stay within this size when considering how things will fit on top and at the sides of the cabinet.
- We wanted to utilize the metal bars from TJUSIG, since those provide a way to allow snow and water to drop down into a drip tray, below. To avoid having to cut down the bars, the inner width of the cabinet would be fit to their length.
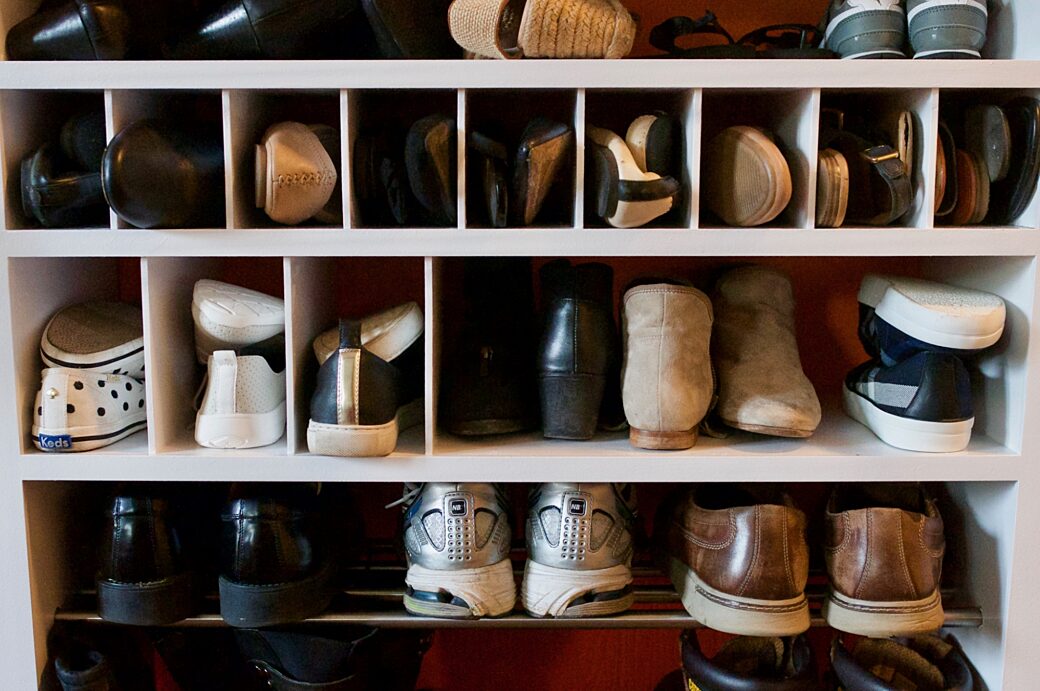
- We have a few common dimensions in our shoes, so planning out the vertical space between the shelves was pretty straightforward.
- My wife has a lot of flats, so we decided to build in some cubbies to pack them in even more.
- Our kids‘ shoes will only get bigger over time, so instead of designing the shelves for toddler shoes, providing a few different sizes would allow us to use this organizer for years to come.
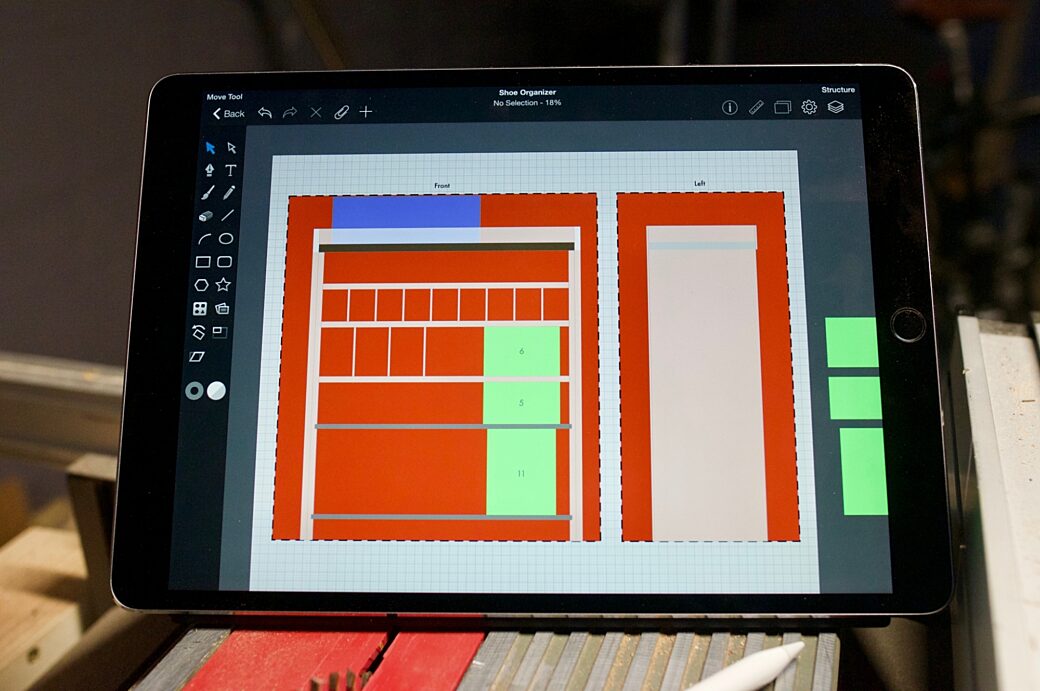
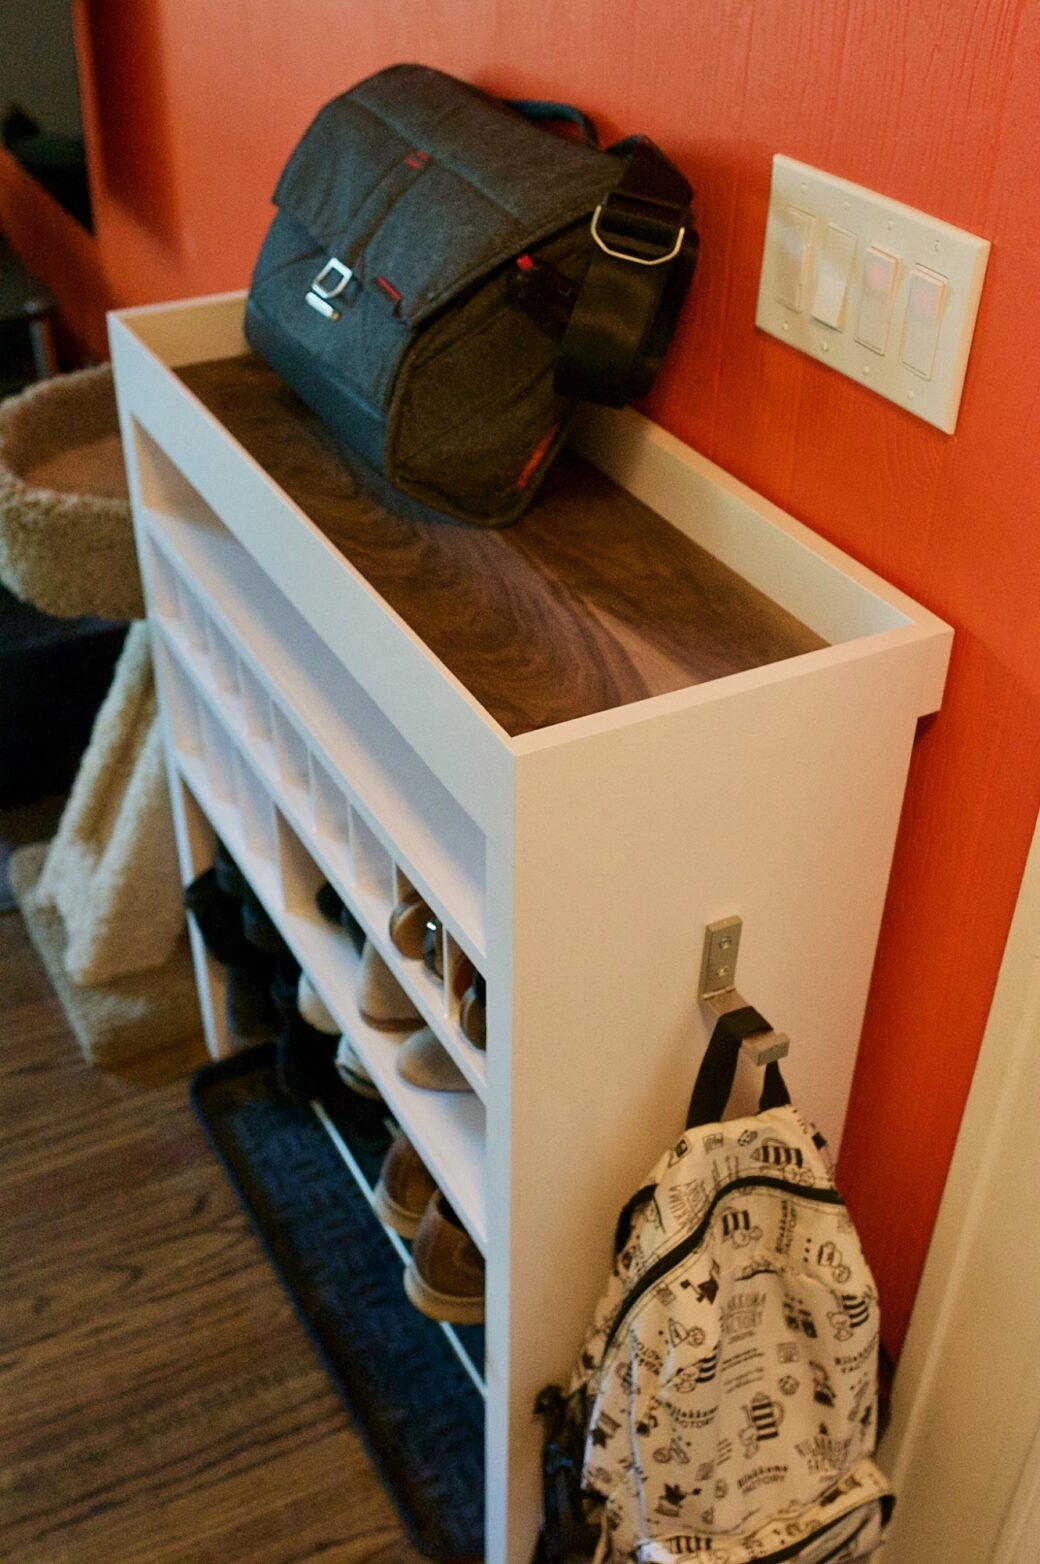
While the primary use of the organizer was to store our shoes, I wanted to use this opportunity to solve another storage problem we had. I often leave my messenger bag and my son’s book bag on a nearby chair or on the floor because we had no specific place to put them. Since we’re no longer restricted to two shelves, I wanted to use the top of the organizer as a dedicated place for our bags.
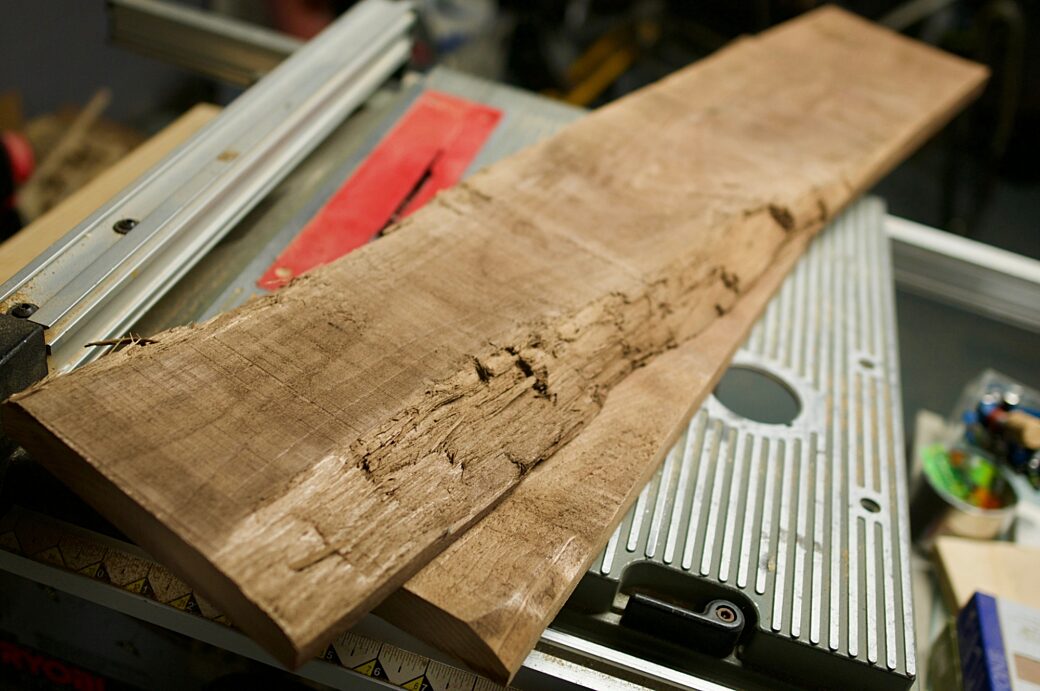
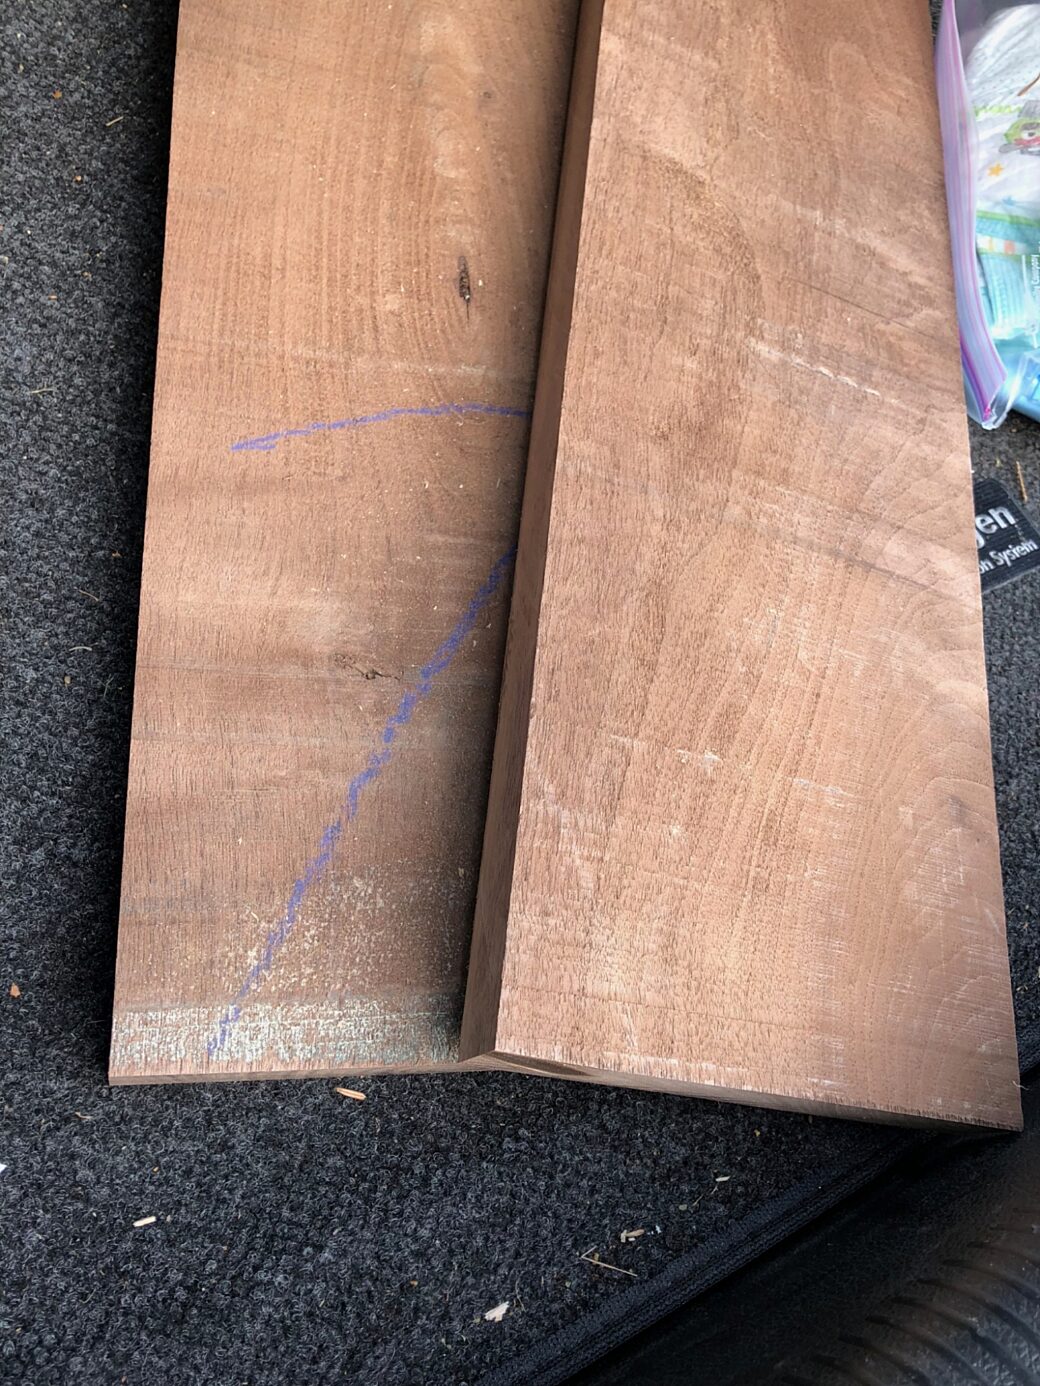
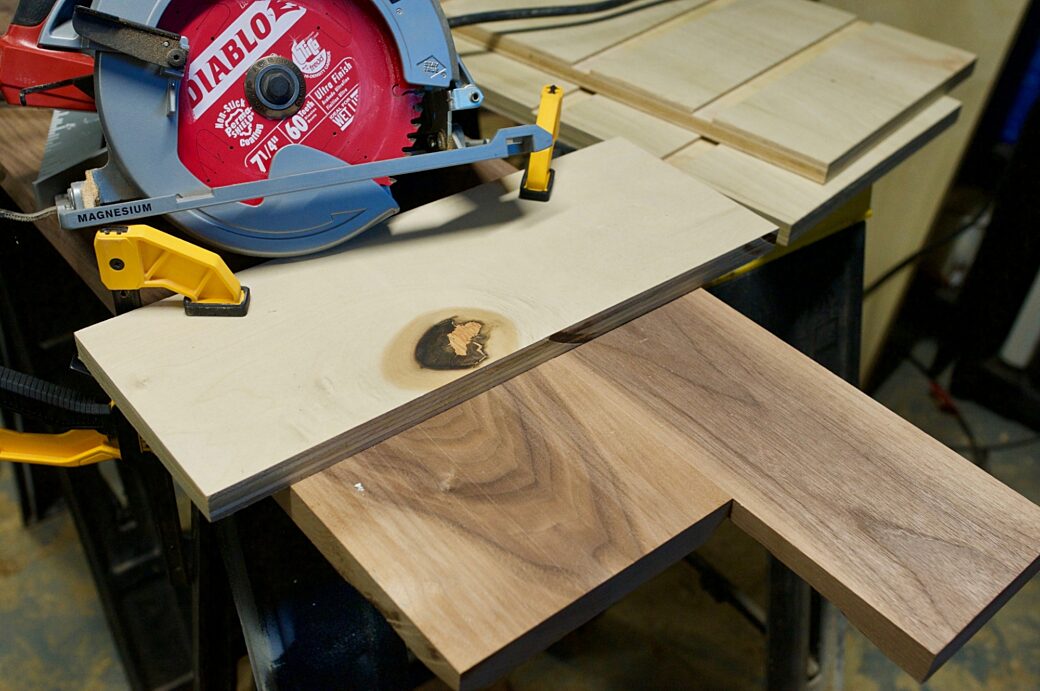
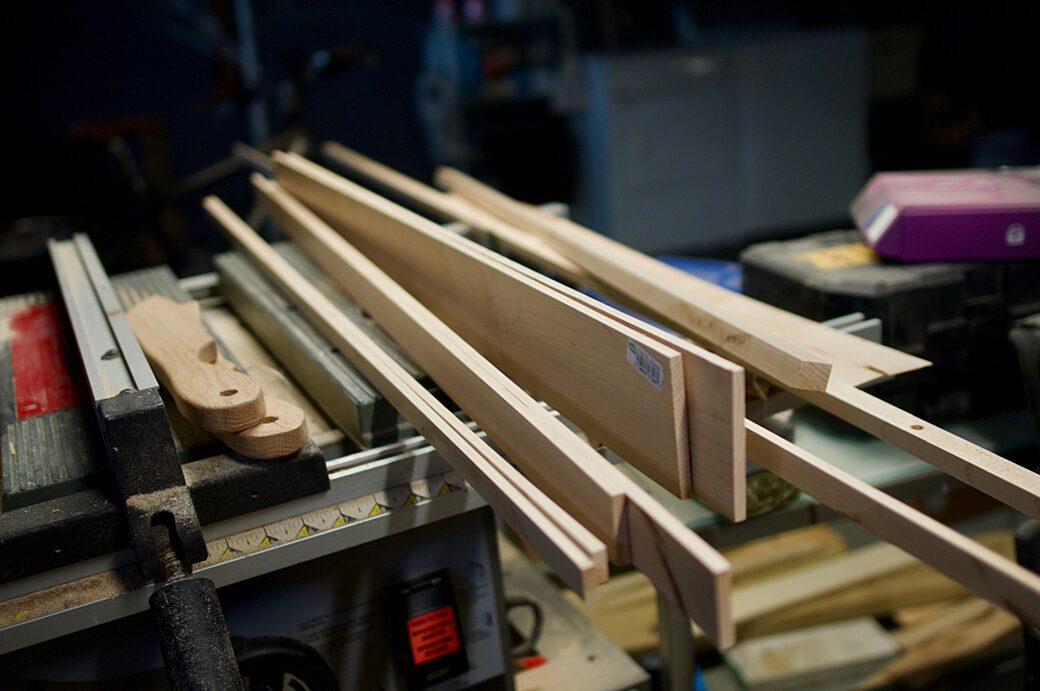
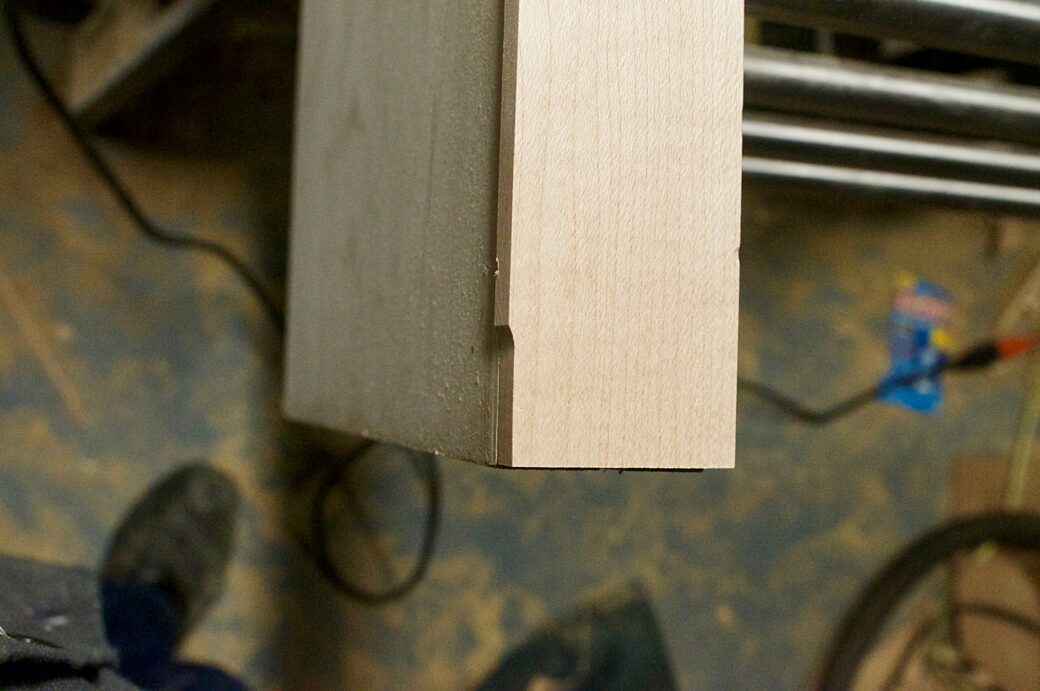
I went to my local lumber store to look for wood that would be visible at the top of the organizer. Normally I would look for planks that just need to be cut to length and glued up, but I found two great pieces of walnut in the bargain bin that look like old scraps or maybe they were unfit to sell due to the uneven surface.
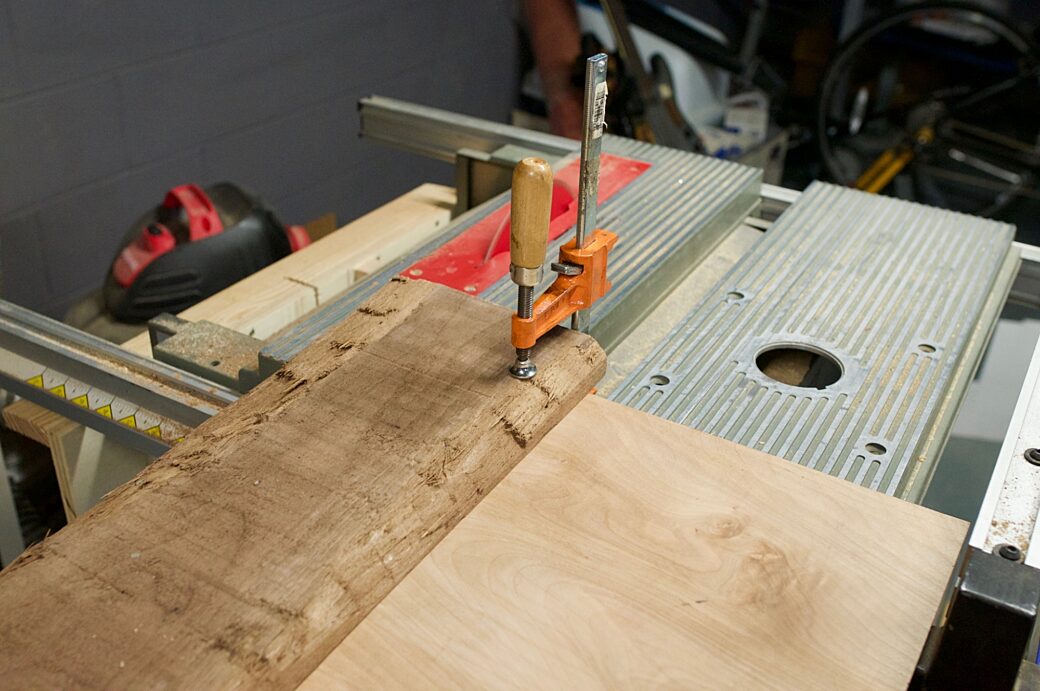
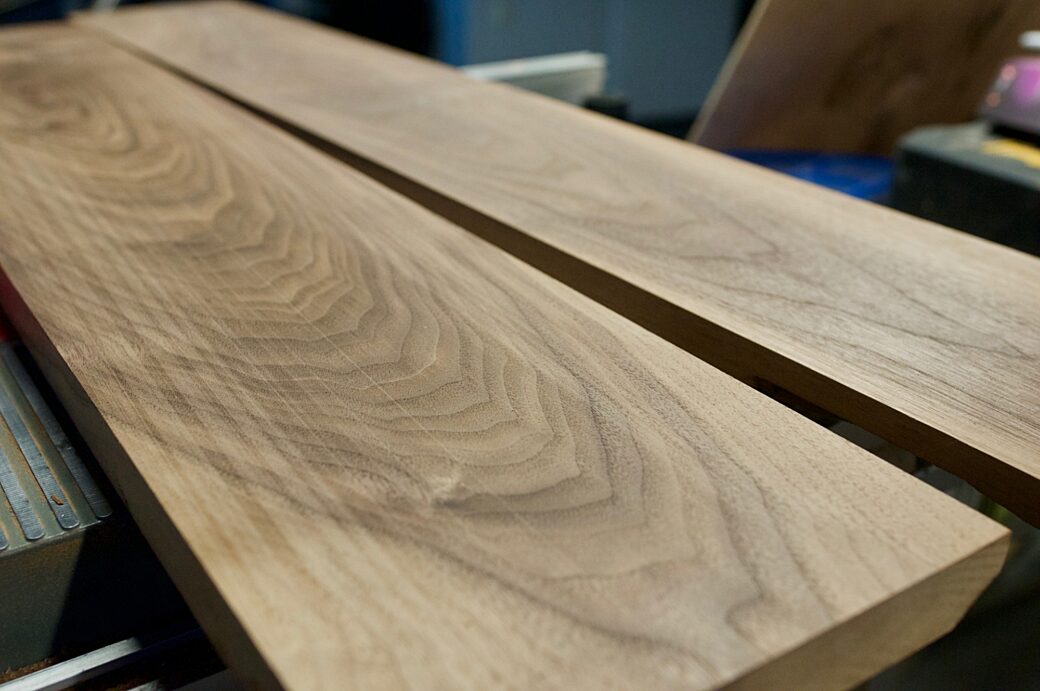
The first thing I did was even out the rough edges by using a table saw method I learned from a Jimmy Diresta video.
- First, you find a flat piece of wood with a flat edge on at least one side.
- Straighten up and attach your board to the flat piece so that it hangs over the edge that’s opposite the flat edge.
- Keeping the flat piece up against the table saw fence, slide the fence over to move the rough edge past the blade to the size you would like to make your first cut.
- Cut through and make your first flat edge on your rough board.
- Detach the board and move your guide piece aside.
- Flip or turn your rough board around so that the new, cut edge sits up against your fence.
- Slide the fence over and trim off the other rough side.
From here you could cross-cut off the ends to flatten them out, but I didn't need to do that just yet.
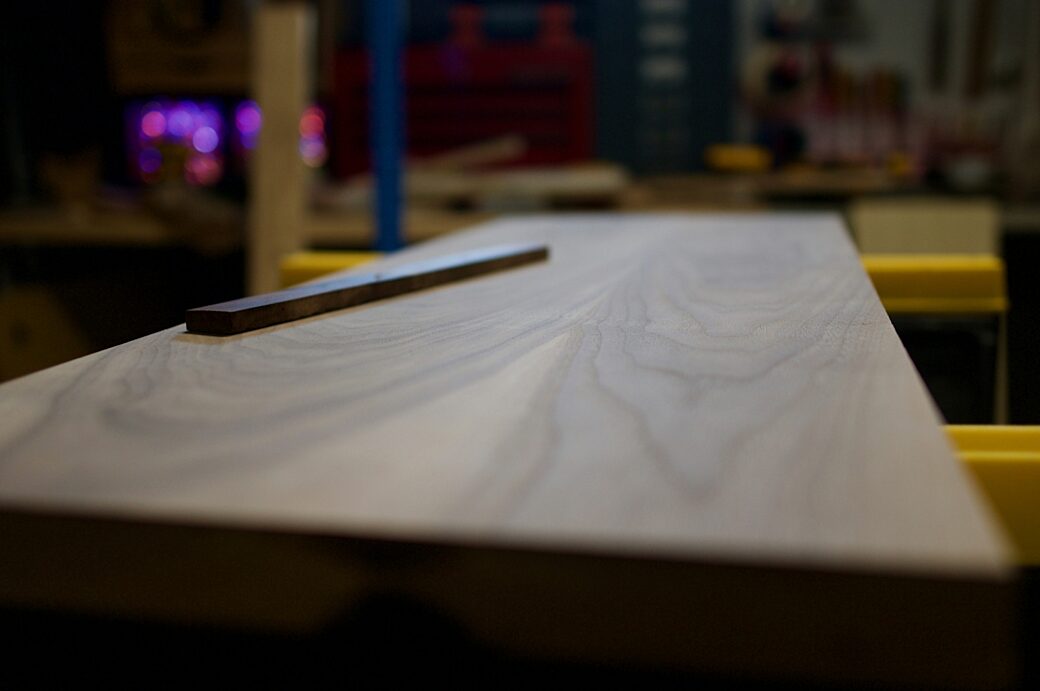
Next up, my friend, Ian, gave me a hand in planing the boards to remove the rough surfaces. I didn’t mind having the bottom remain rough, but I really wanted a smooth, even top and I had to make sure the remaining wood was thick enough to glue the boards together.
Once the boards were planed, I used biscuits and glue to join the boards together.
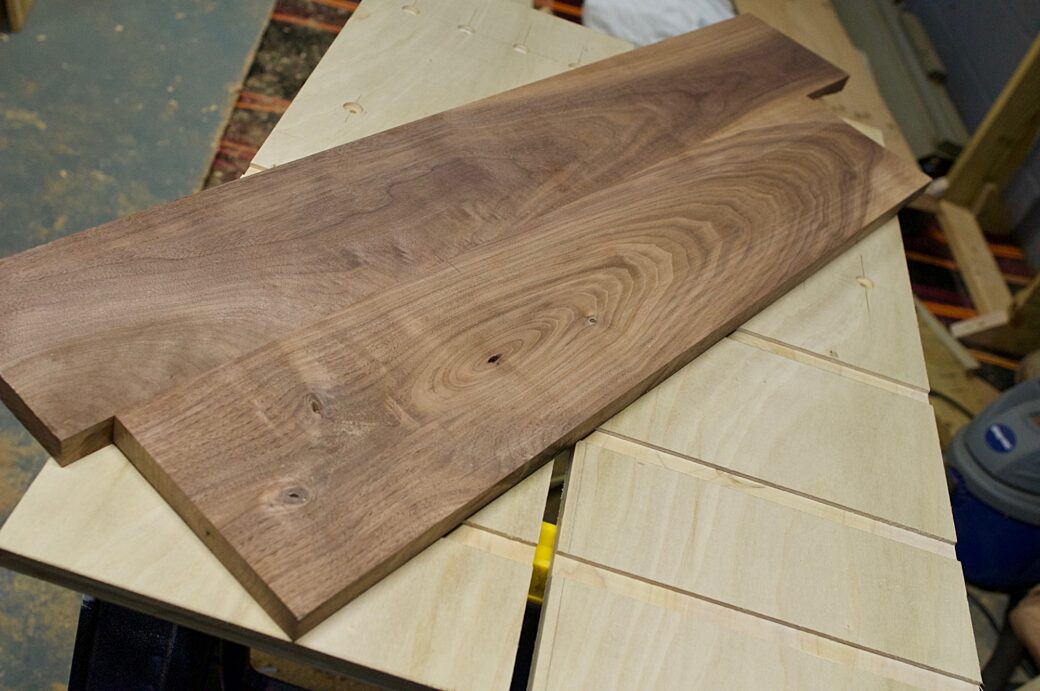
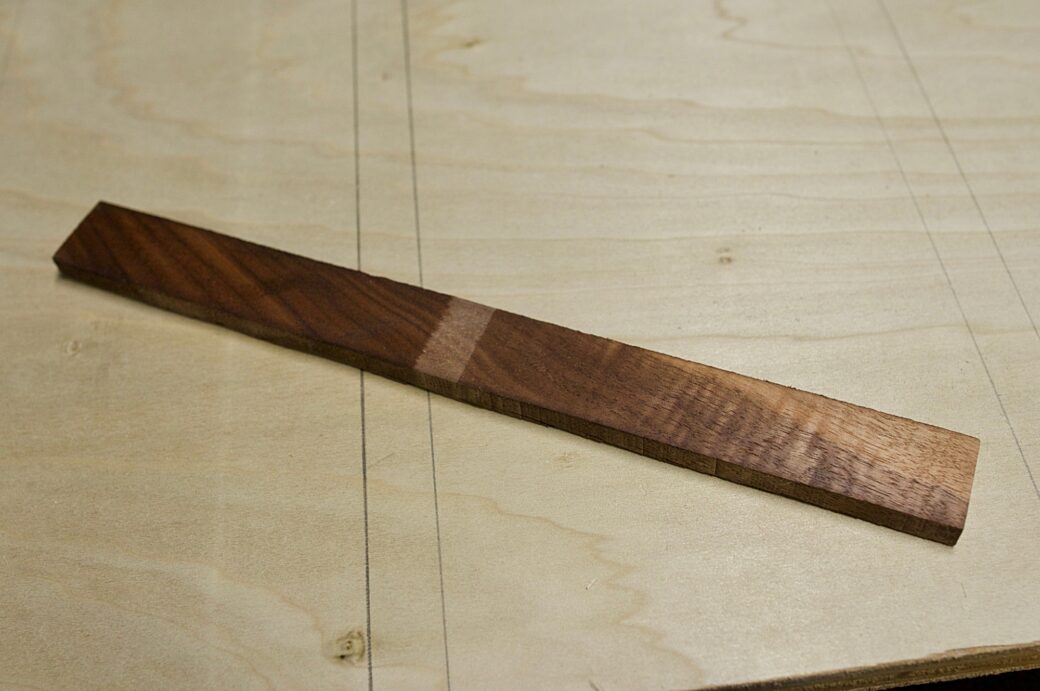
For my first time doing this, I'm thrilled with the results.
Going forward, I think I'll find myself using this method more often. I might have passed on the chance to use walnut—to use a cheaper wood—if I had to buy these boards at full price.
When the glue dried I measured out the length that I needed for the top of the organizer and used my circular saw to cut the boards to length.
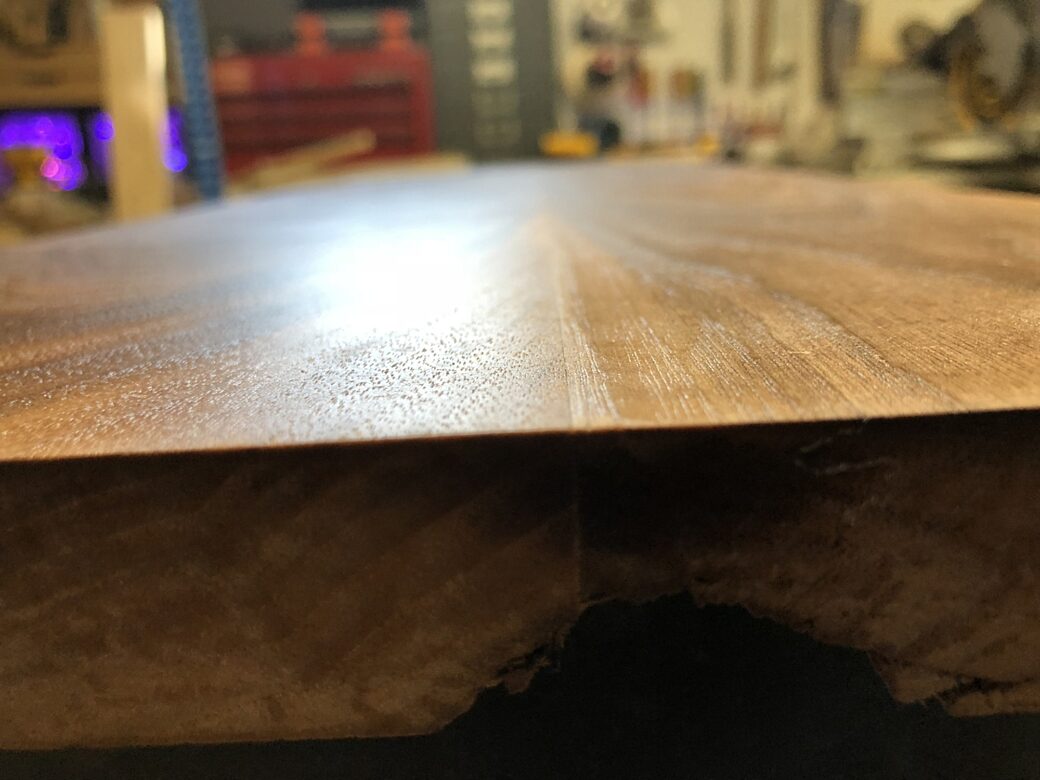
While shaping the top, I also did a quick test to see which finish I would like to use. I have some wipe on poly and boiled linseed oil handy, so I tested them both. In the end I went with the linseed because it looked like a more even finish when it seeped in. I only used one coat of linseed oil and I like how it looked.

I set the top board aside and started working on the rest of the structure.
Cutting the Sides
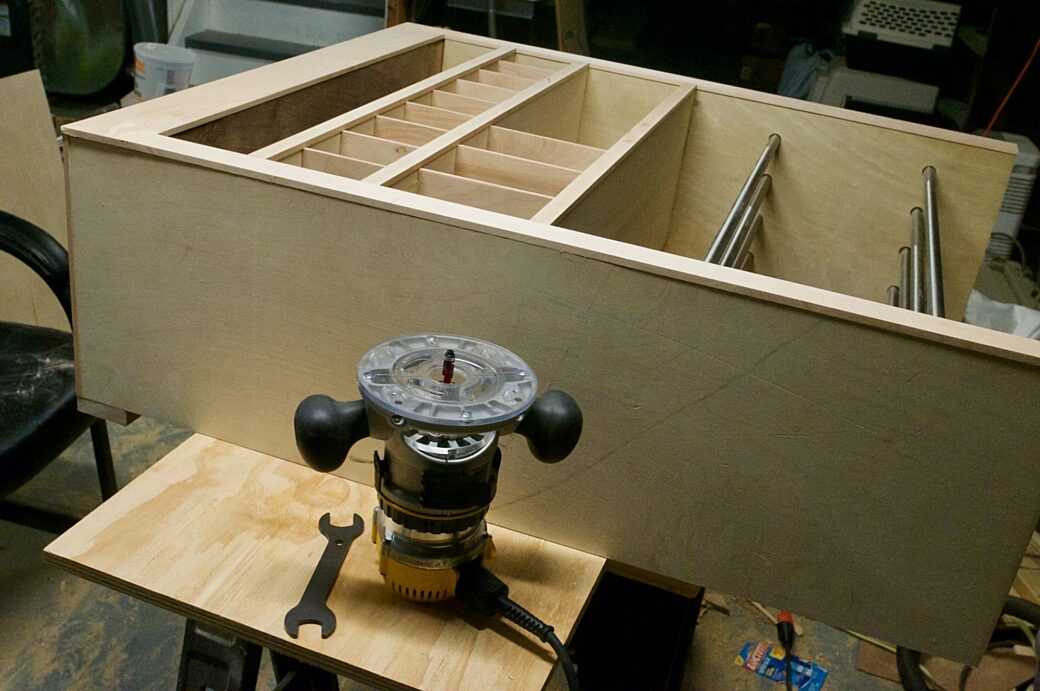
I took the techniques I learned from my previous project for routing out grooves for shelves and applied them here.
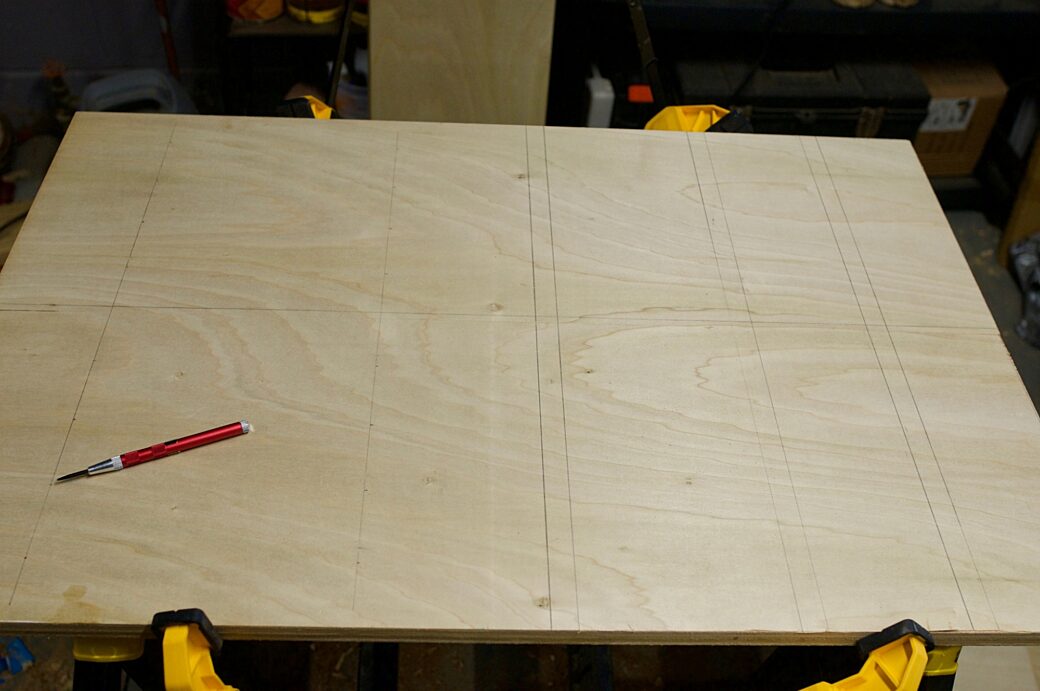
I started by measuring out the shelves and the placement of the metal bars onto the inside piece of plywood.
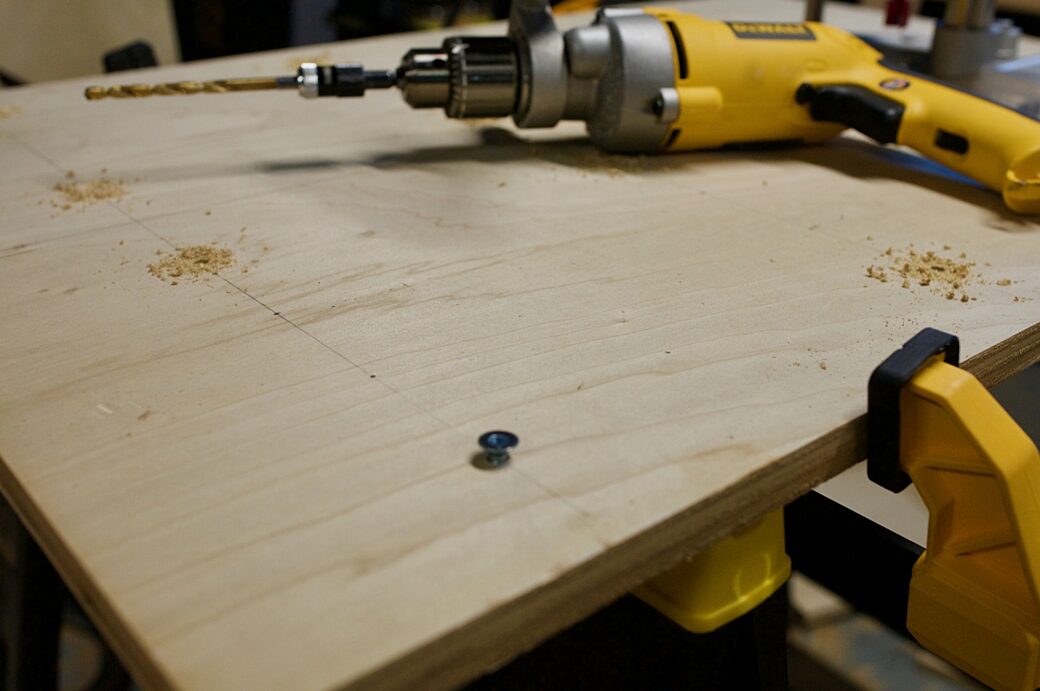
The front and back bars on TJUSIG had inserts at each end to attach bolts to the base, so I drilled through the front and back placements on my inside piece.
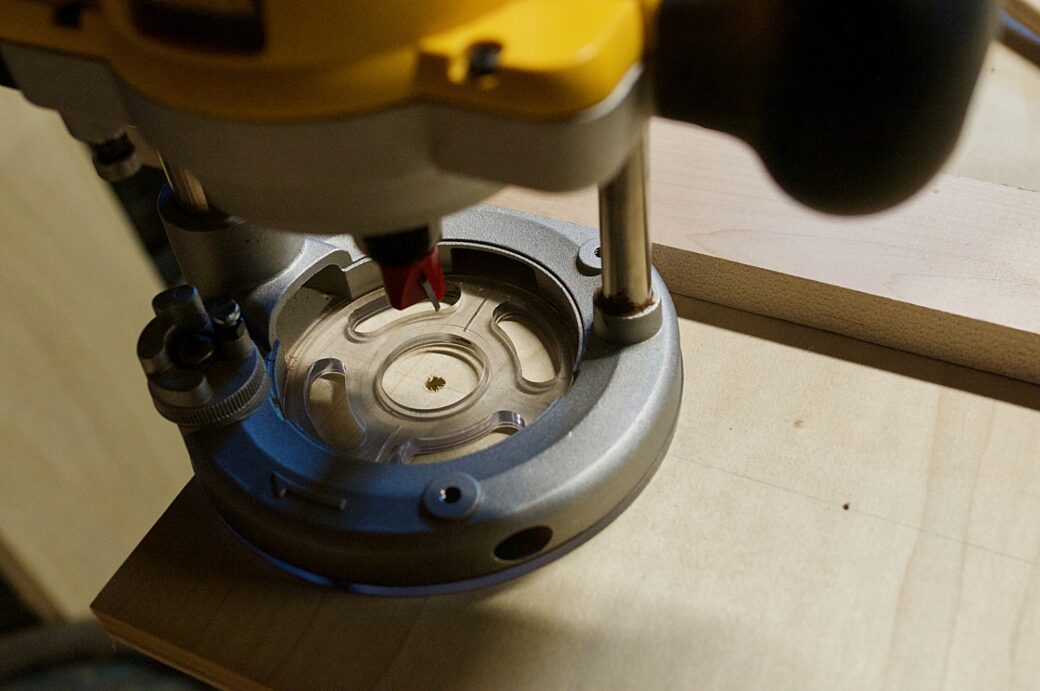
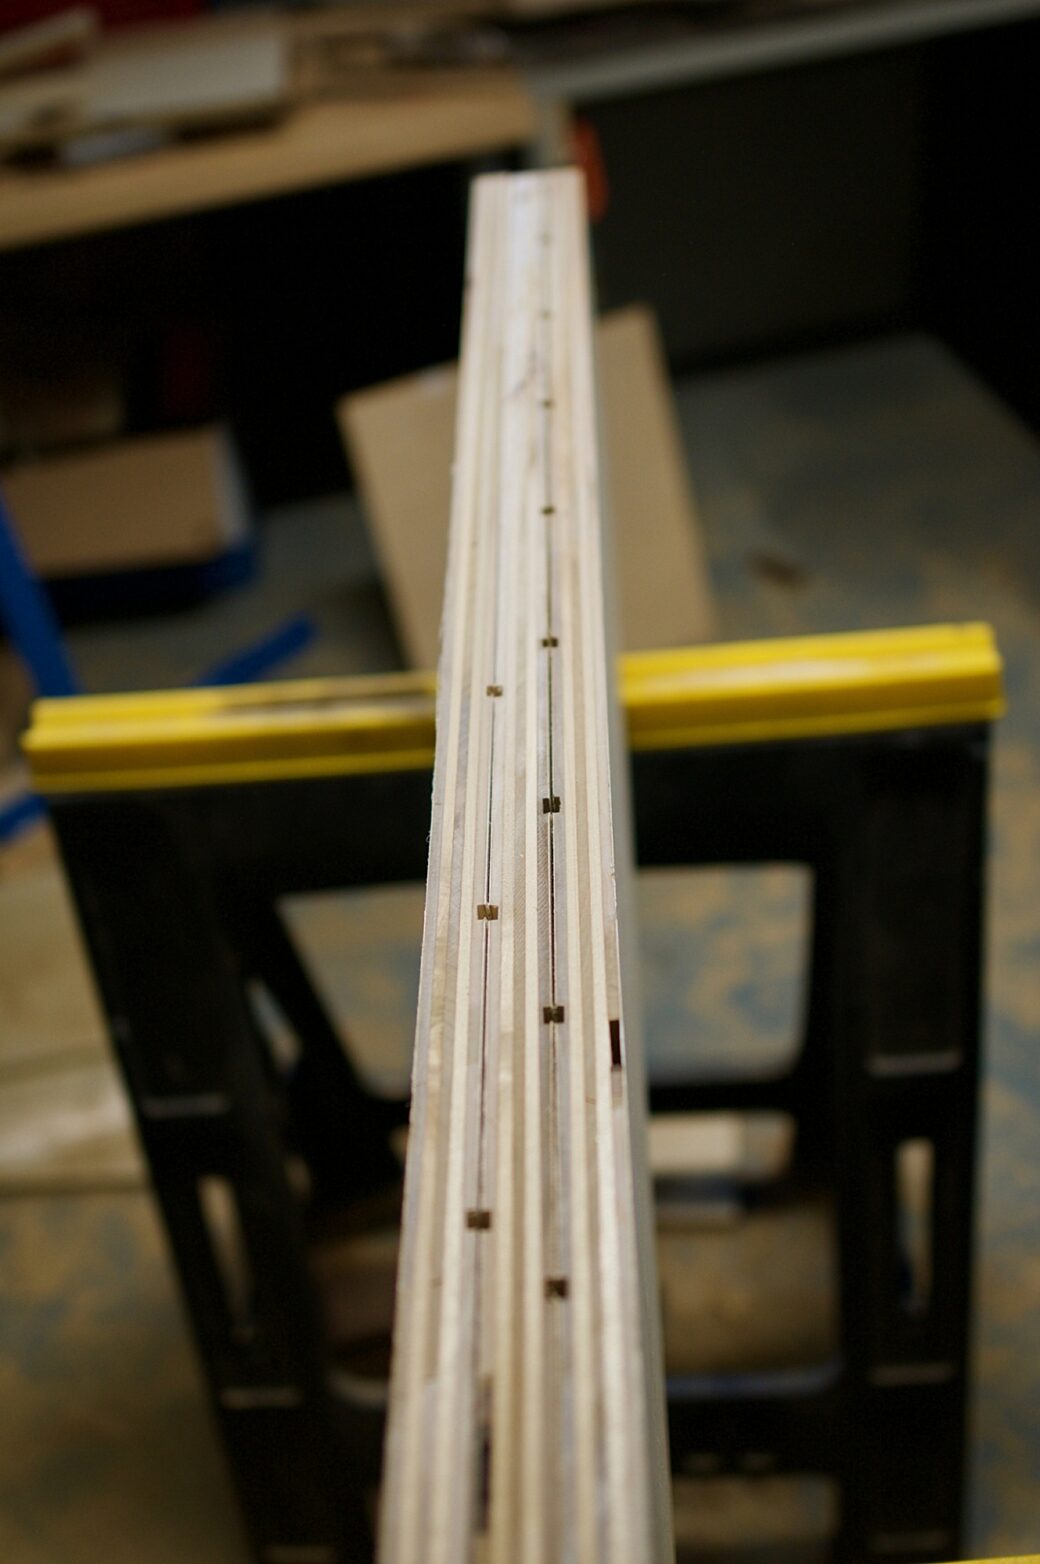
I then used my ½ inch cutting bit to route out about ⅛ inch deep circles for each metal bar.
With the same depth setting in place, I used the ½ inch cutting bit to route out grooves for each of the three shelves.
I flipped both boards over and countersunk the four holes for the metal bars.
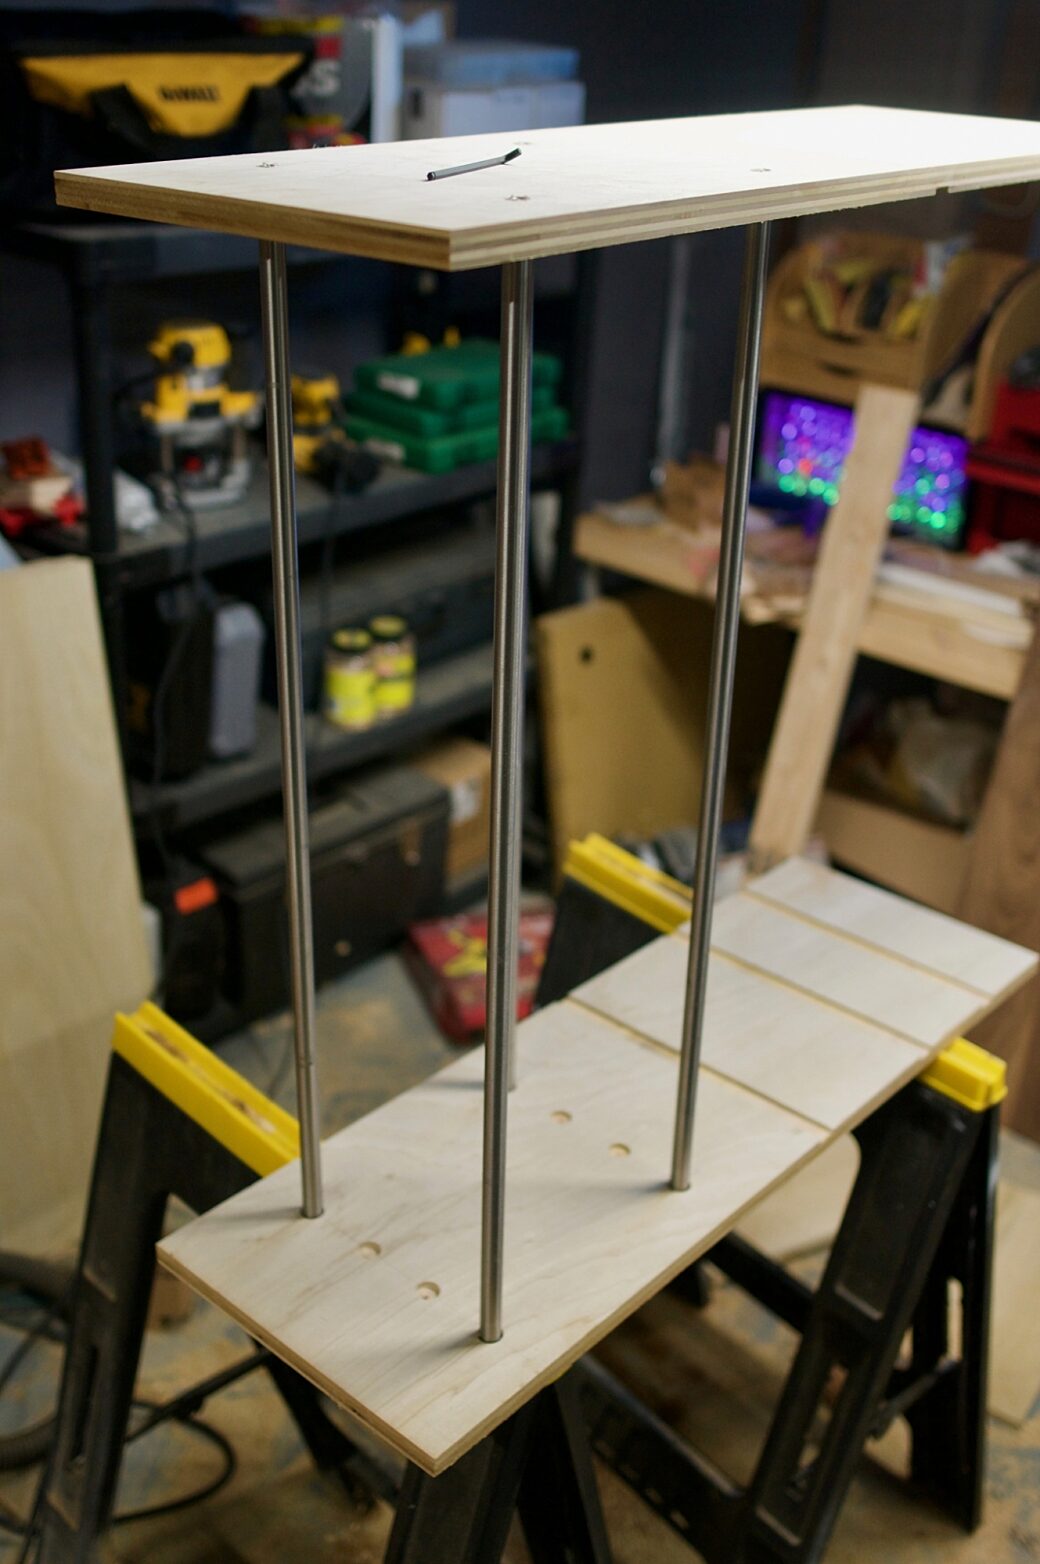
A quick test of the countersunk holes showed the bolts would be flush when the bars are attached
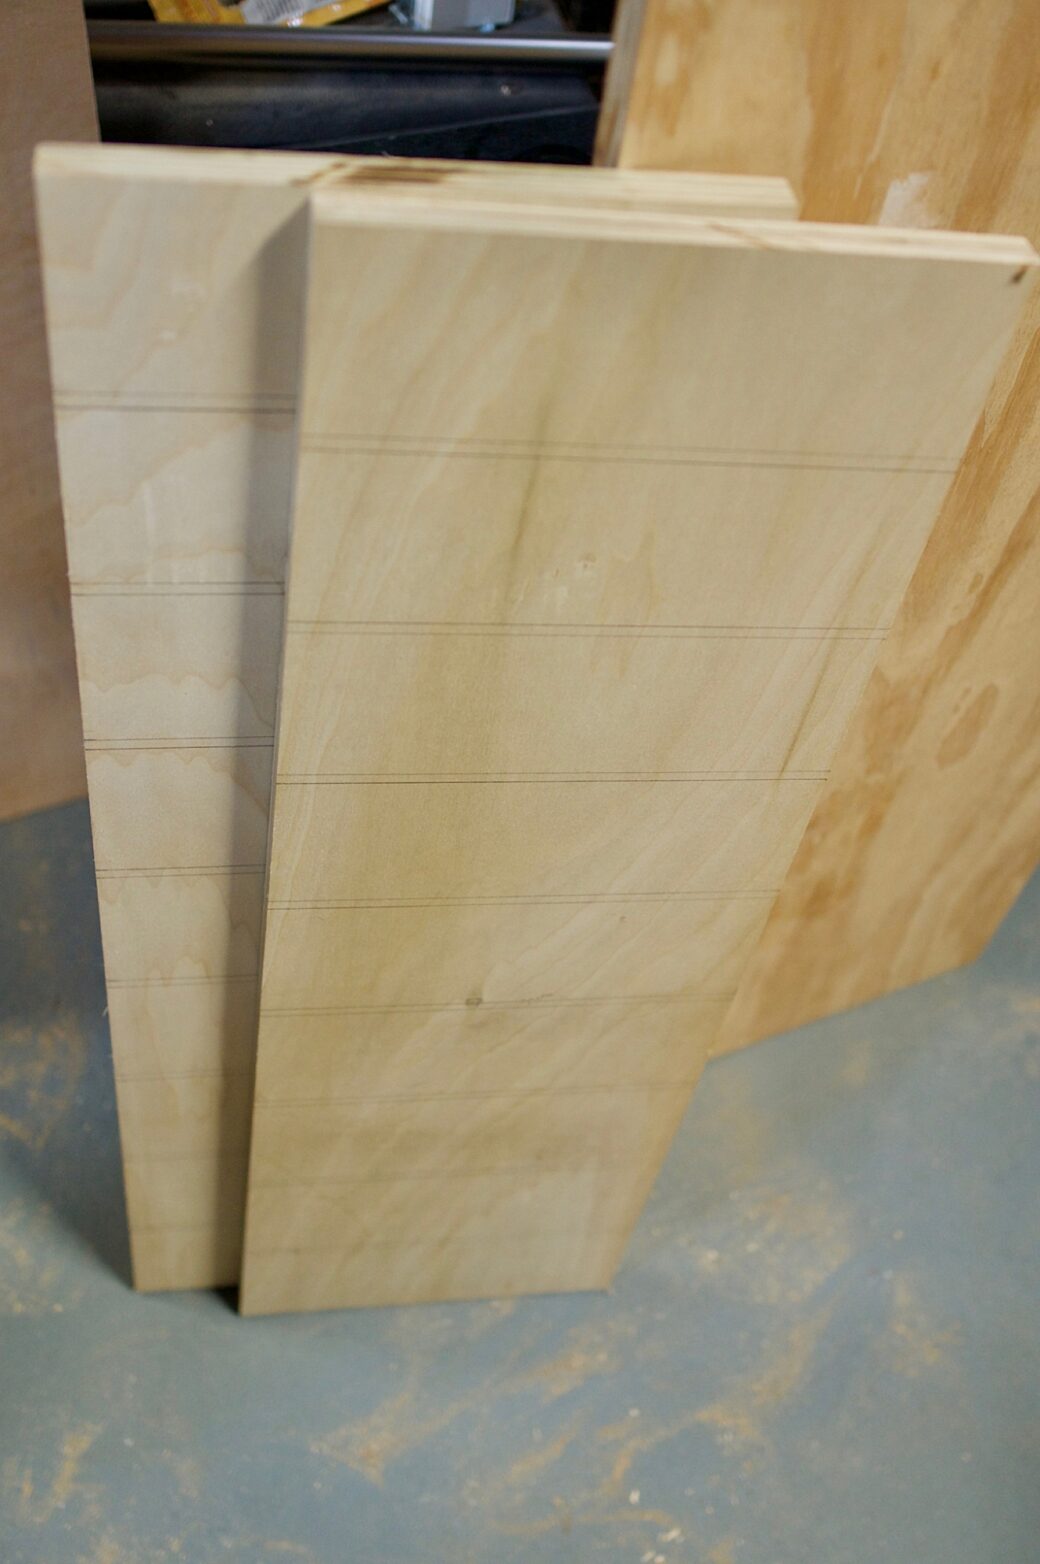
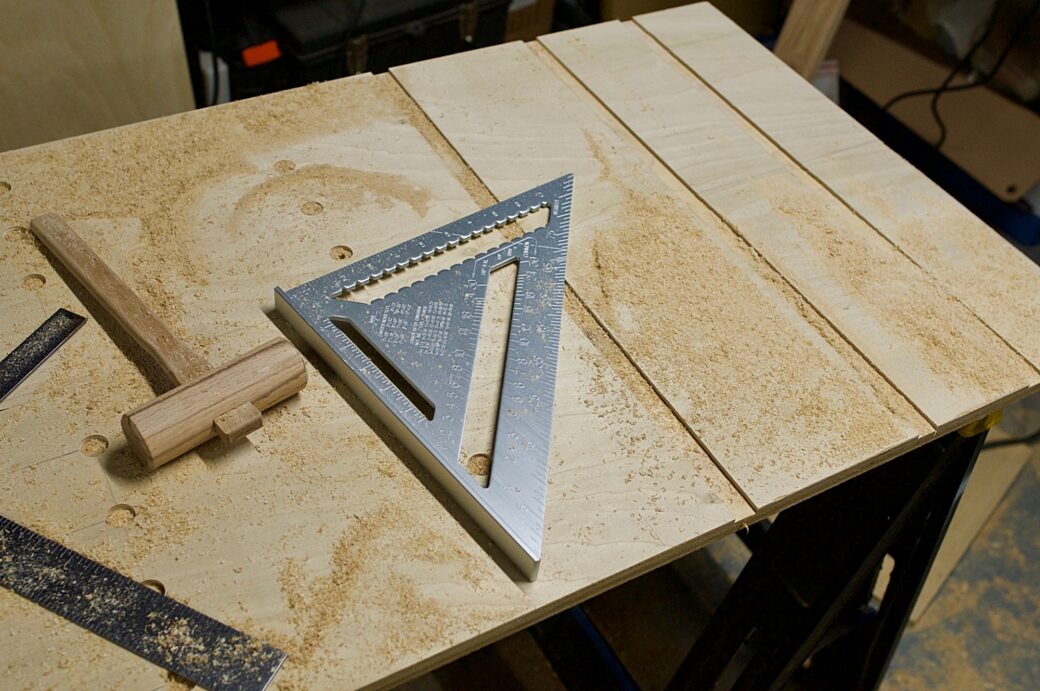
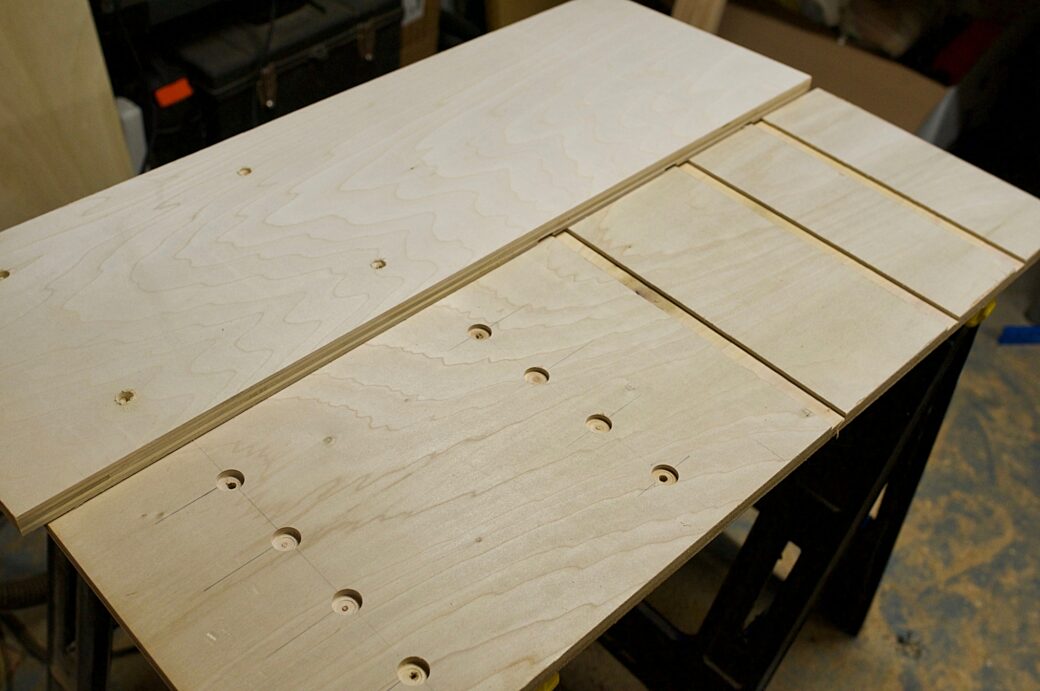
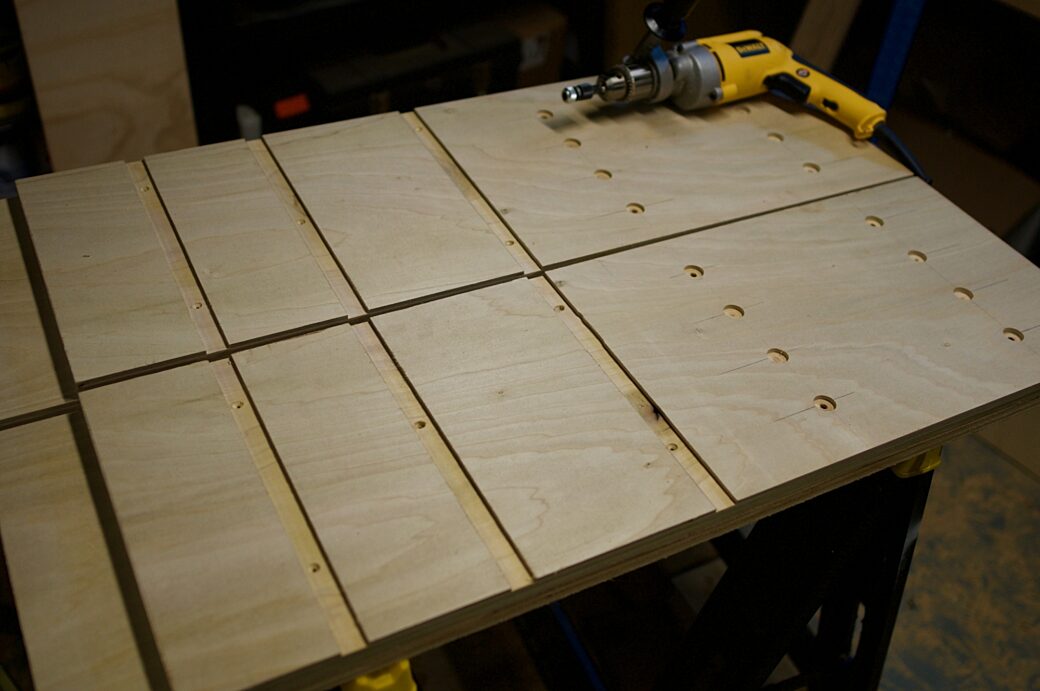
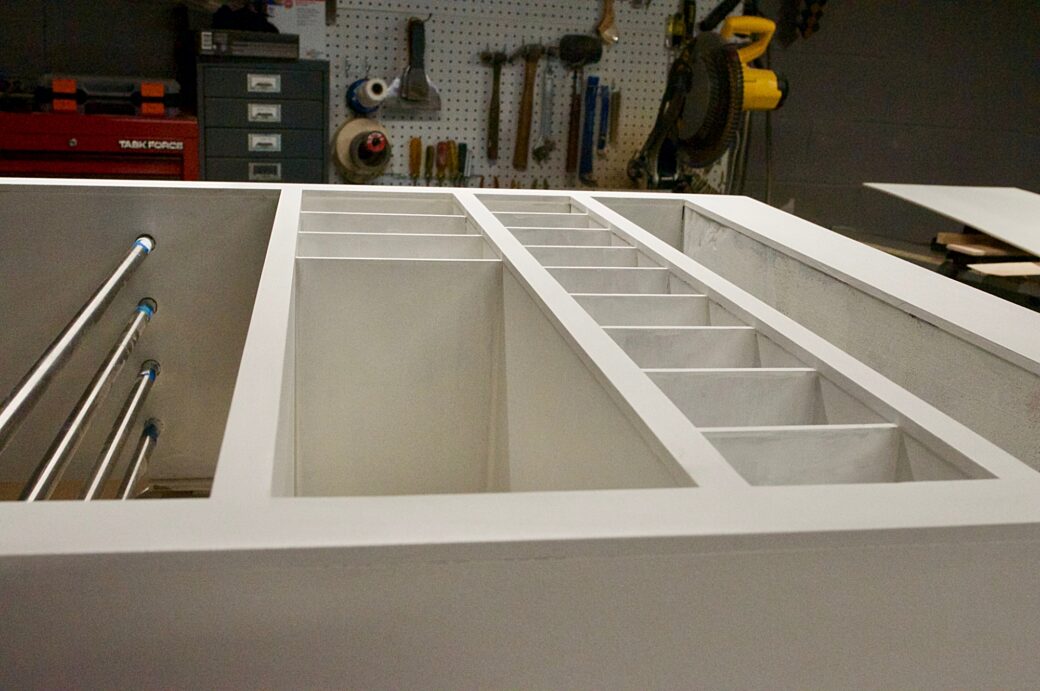
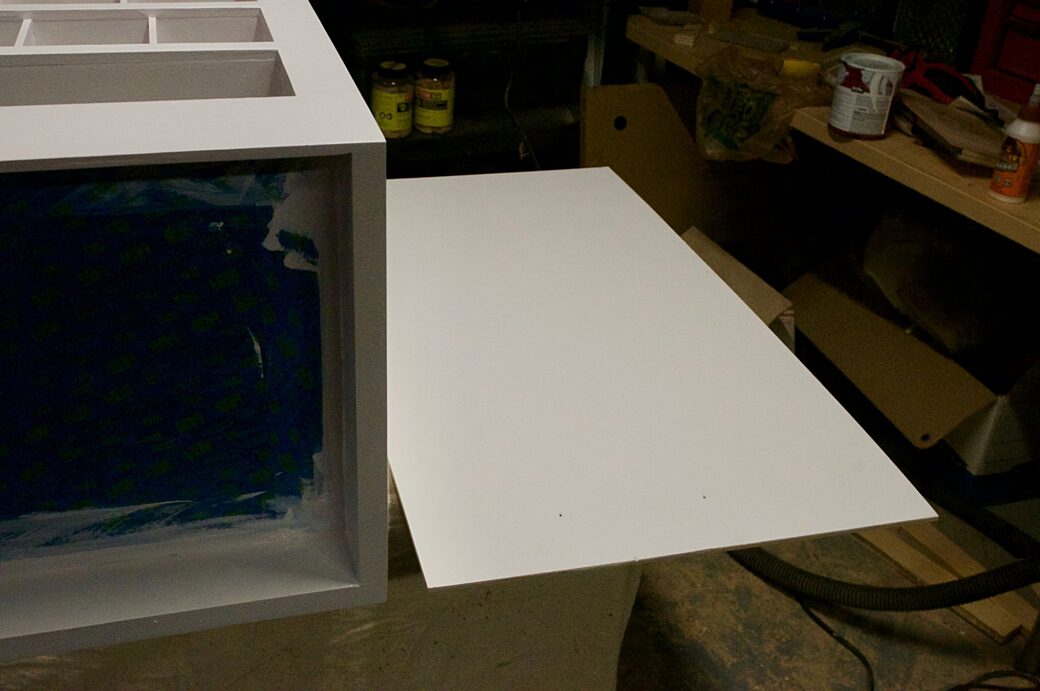
I had cut the boards for the shelves and measured out the placement of all of the cubby dividers.
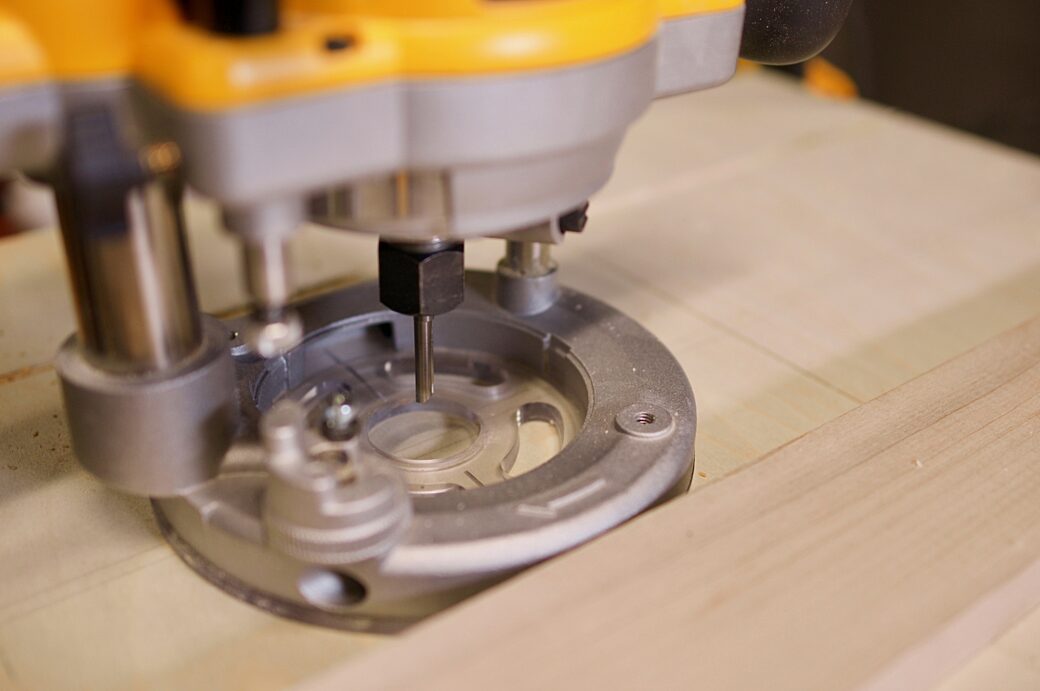
I attached my new ¼ inch cutting bit and used that to route all of the slots for the cubbies.
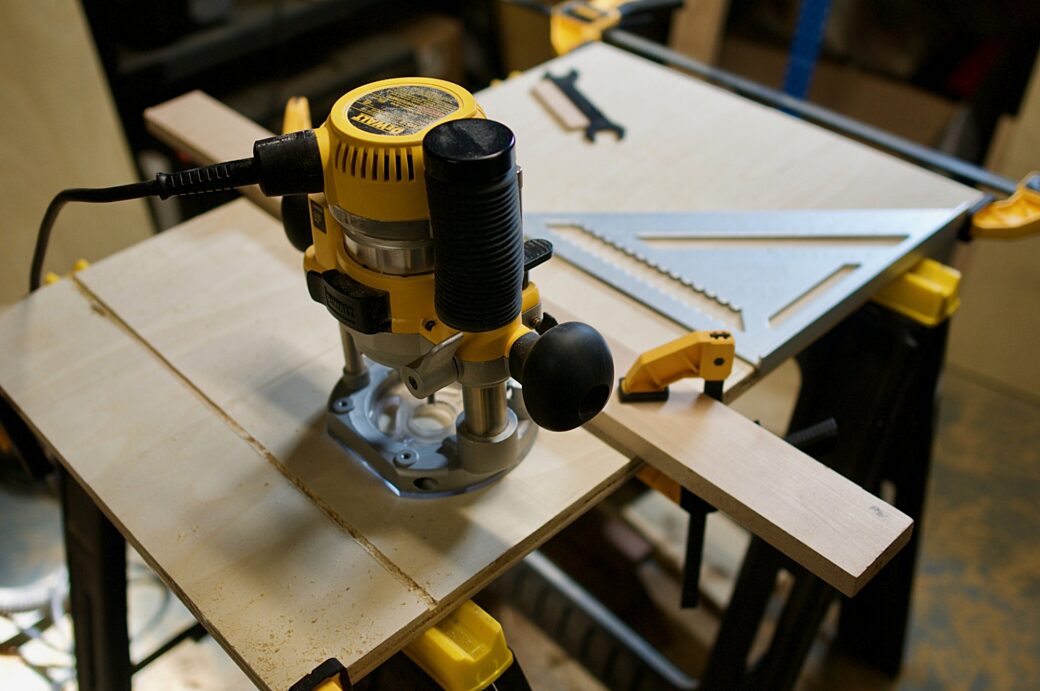
At first, I was doing things like trying to measure the distance between the round edge of my router to the edge of the bit to calculate the distance of the guide to the cut. But I wound up making this quicker by holding my guide piece up against my speed square, lining up the router bit to the cut, then moving the guide in until it touched the edge of the router. Normally I would think this would be inaccurate, but in practice it worked pretty well.
I did a quick check to make sure all of my grooves lined up
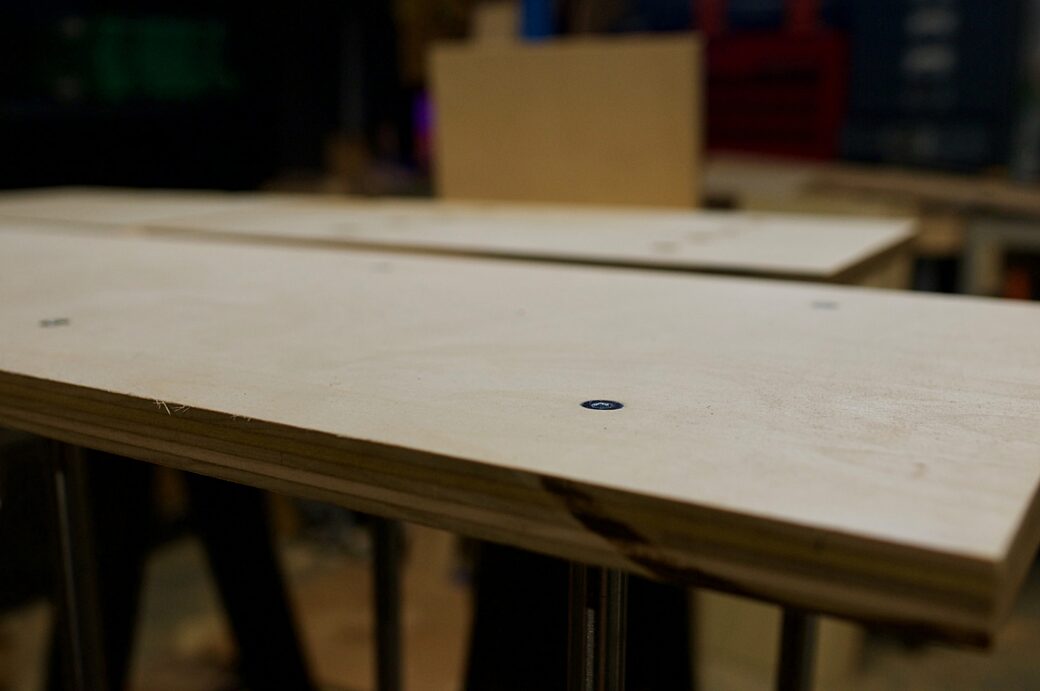
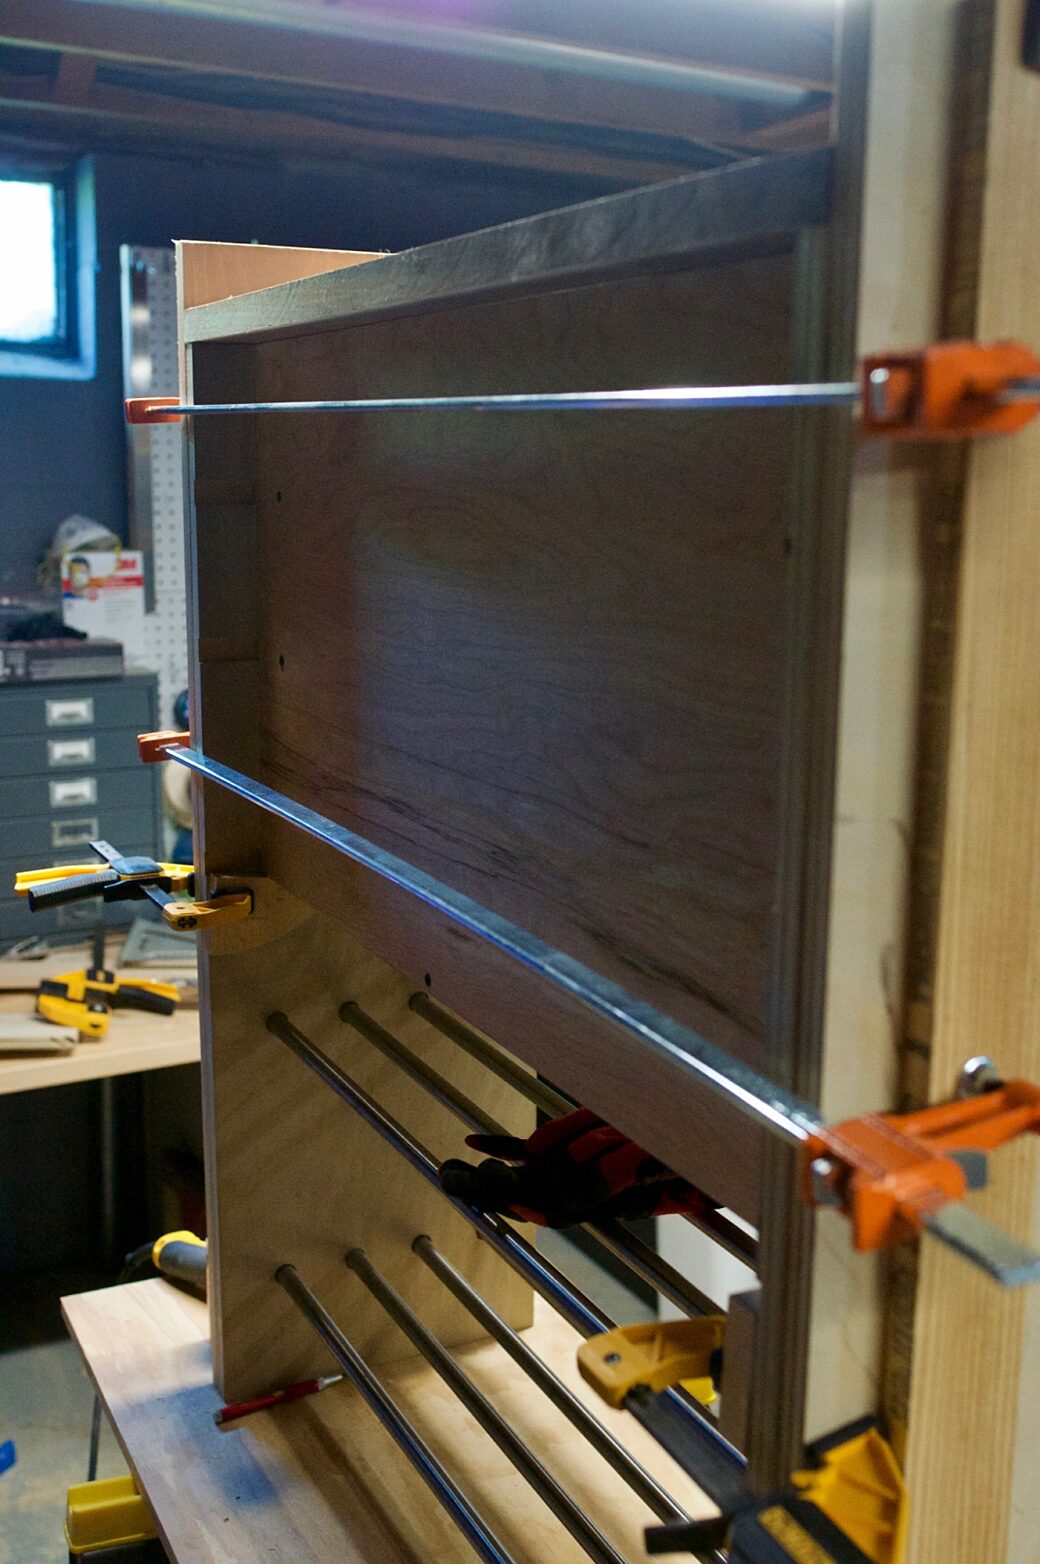
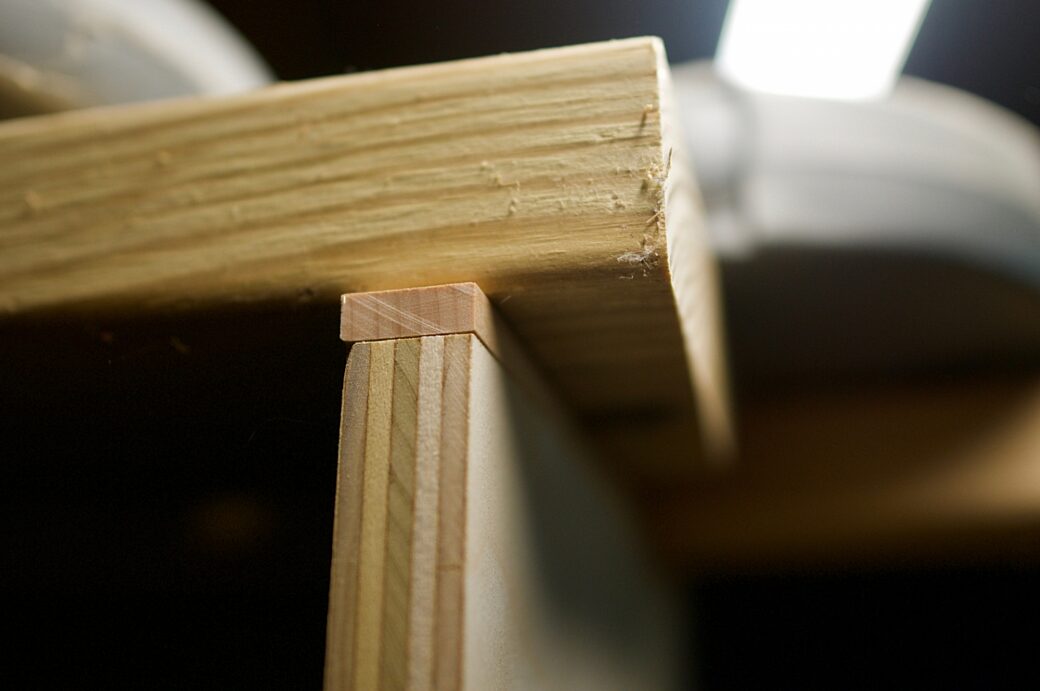
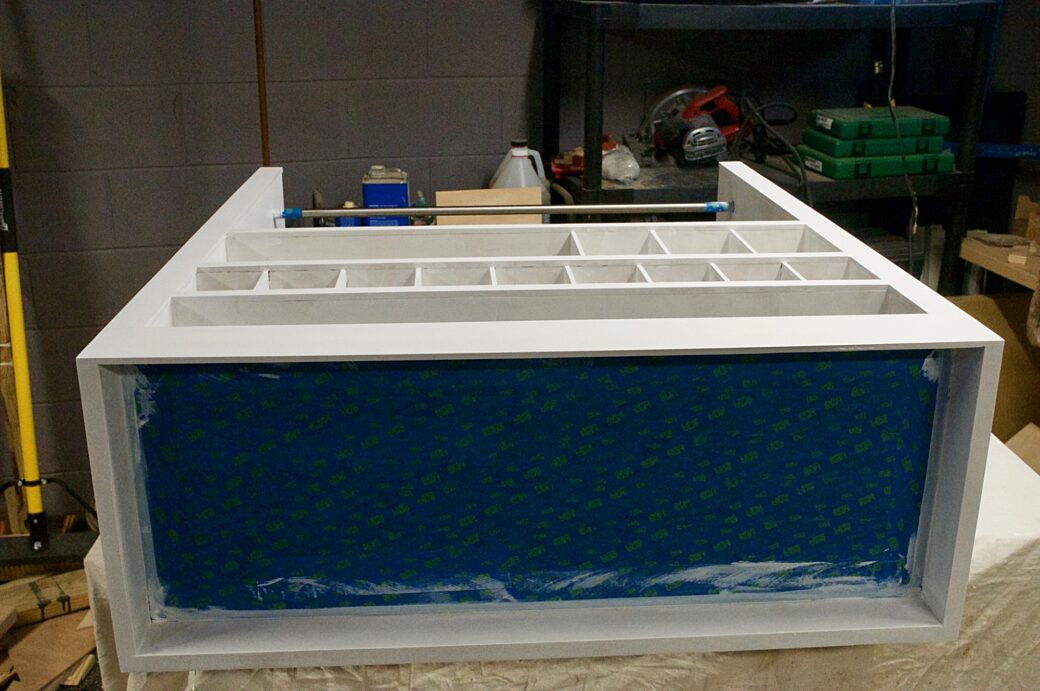
I wanted to make the sides of the organizer the thickness of two pieces of plywood, so I planned to glue an outer piece to each of the inner boards. For extra support I predrilled some countersunk holes and matched them up into the outer pieces.
I did a dry run of the shelves and once I had confirmed that everything lined up I installed the metal bars by lining them up and screwing the bolts into the inner side boards.
I then glued up the two sides with their outer boards.
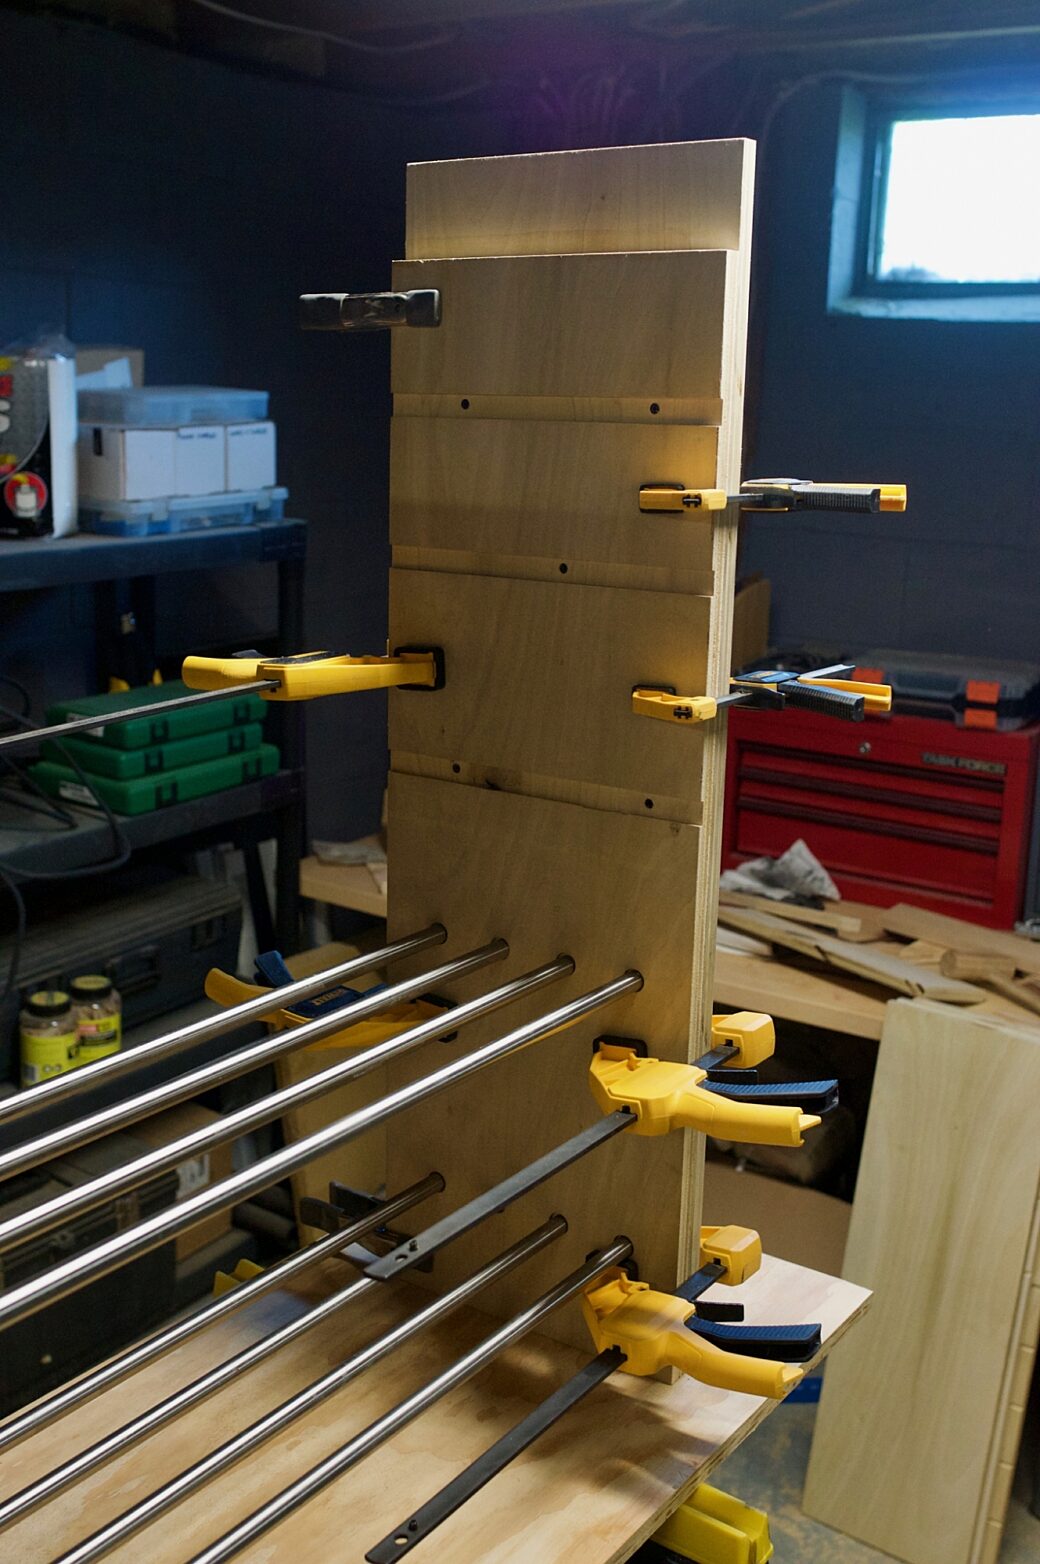
After letting the sides dry for a bit, I glued all of the shelves into place and ran some long clamps in the front and the back to hold everything into place.
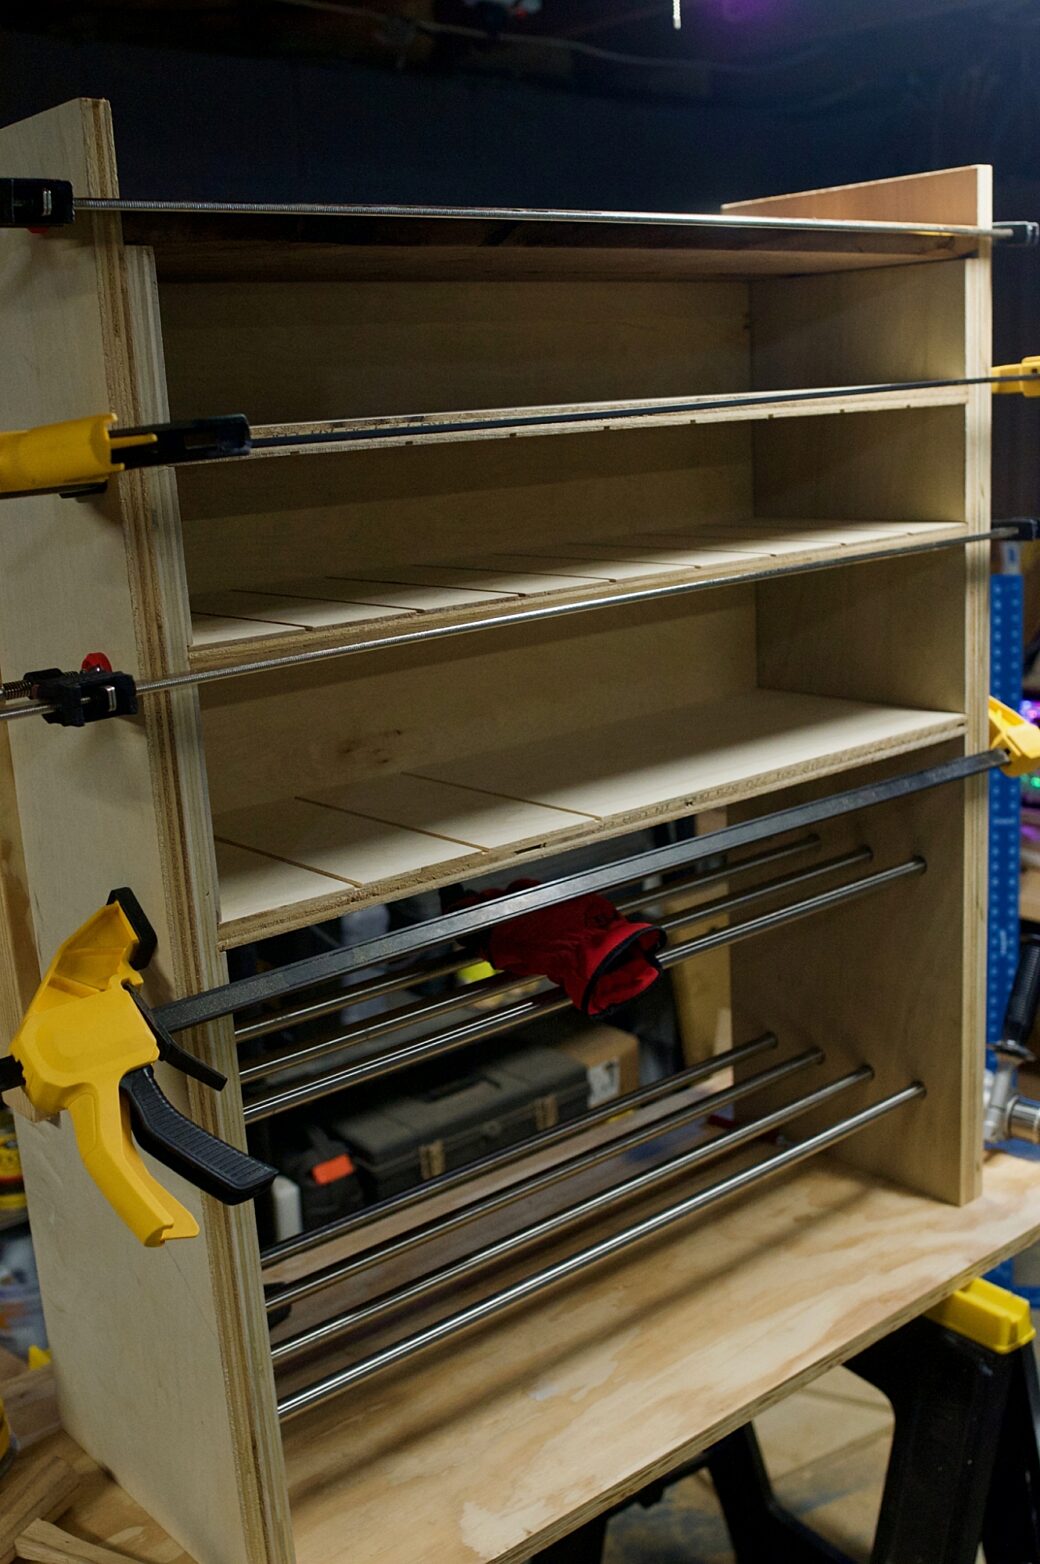
Because the cubbies weren't as deep as the sides, I screwed a thin piece of ¼ inch plywood onto the back of the shelves.
Cubby Dividers
Okay, here's where I made my first mistake. I knew that I would be painting the cubbies at some point, but my plan was to put all of the wooden pieces together, then paint the entire organizer at once. In retrospect, I could have taken the time to paint the cubby dividers separately, then glued them in pre-painted. I don't know if this would have caused a mismatch in the painted finish, but I have a feeling it would have sped up the paint job immensely.
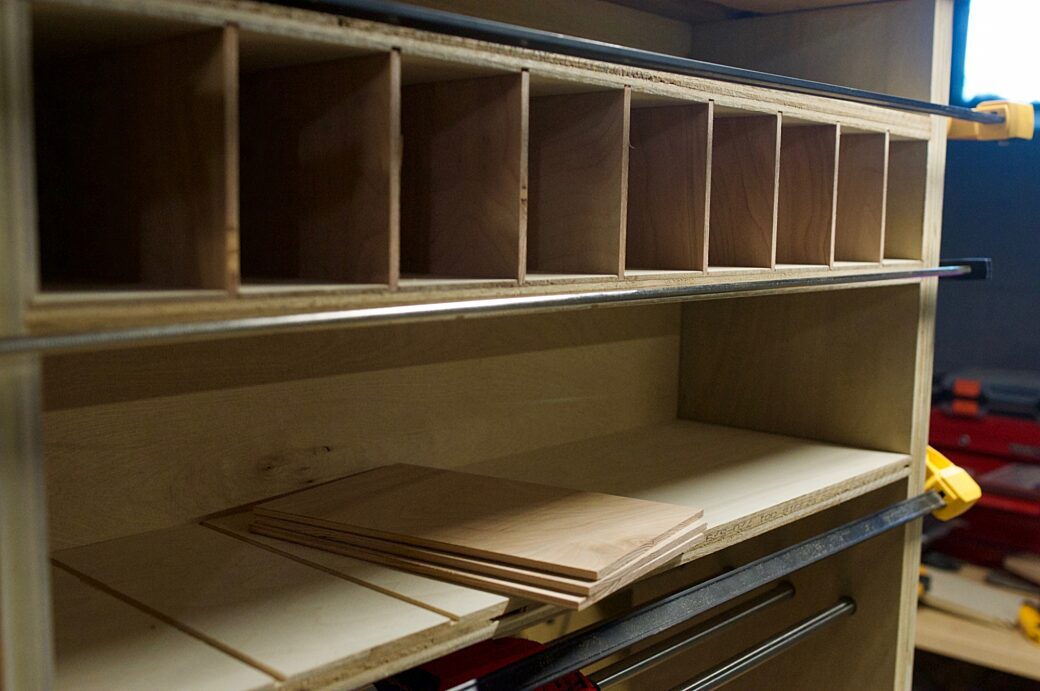
Such as it is, I had cut all of the dividers and glued them into place. I clamped the shelves vertically to lock the cubbies into place.

Trim
Since I was planning to paint the organizer white, the wood that would be painted didn't need to match, exactly. This was great because I had a bunch of extra maple from a failed glue up that I really didn't want to see go to waste.
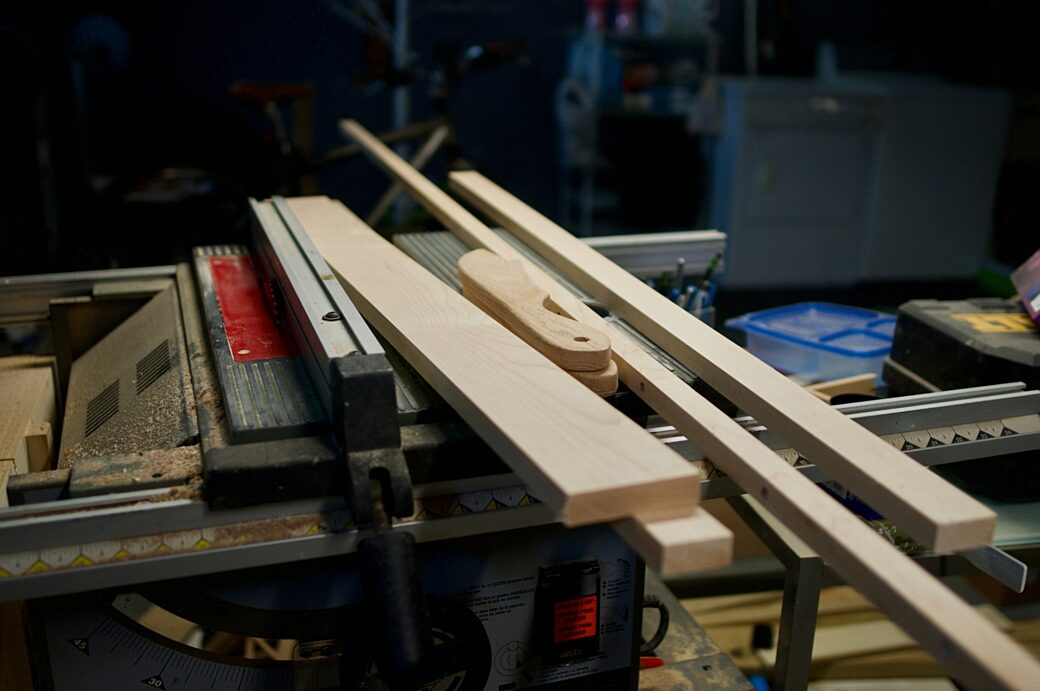
I roughly measured out how much I would need to cover the top and front faces of the organizer, then cut them to width.
I then raised my table saw blade and used my push sticks to carefully cut each of the pieces down to a consistent ¼ inch.
To make sure every piece fit as perfectly as they could, I measured and cut each piece down as I went.
This allowed me to go slowly and clamp as I went. Speaking of Diresta, I might need to follow his advice and pick up a couple more clamps each time I have a big project. The pace of this part of the project could have been greatly sped up if I had maybe four or six more long clamps.
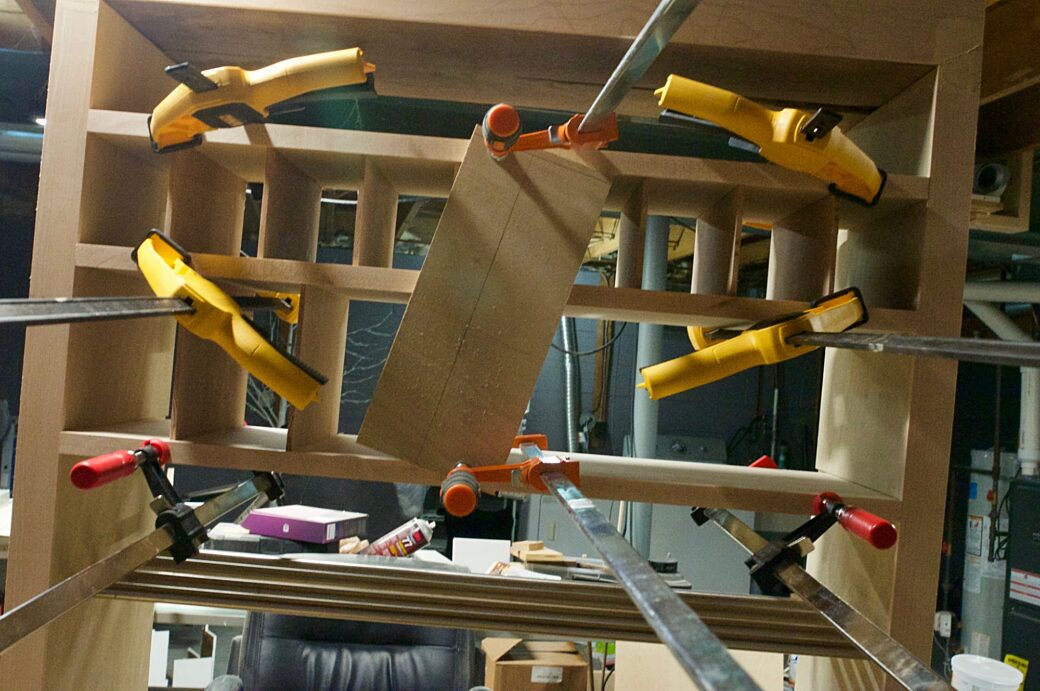
Creatively clamping to distribute the force as much as possible
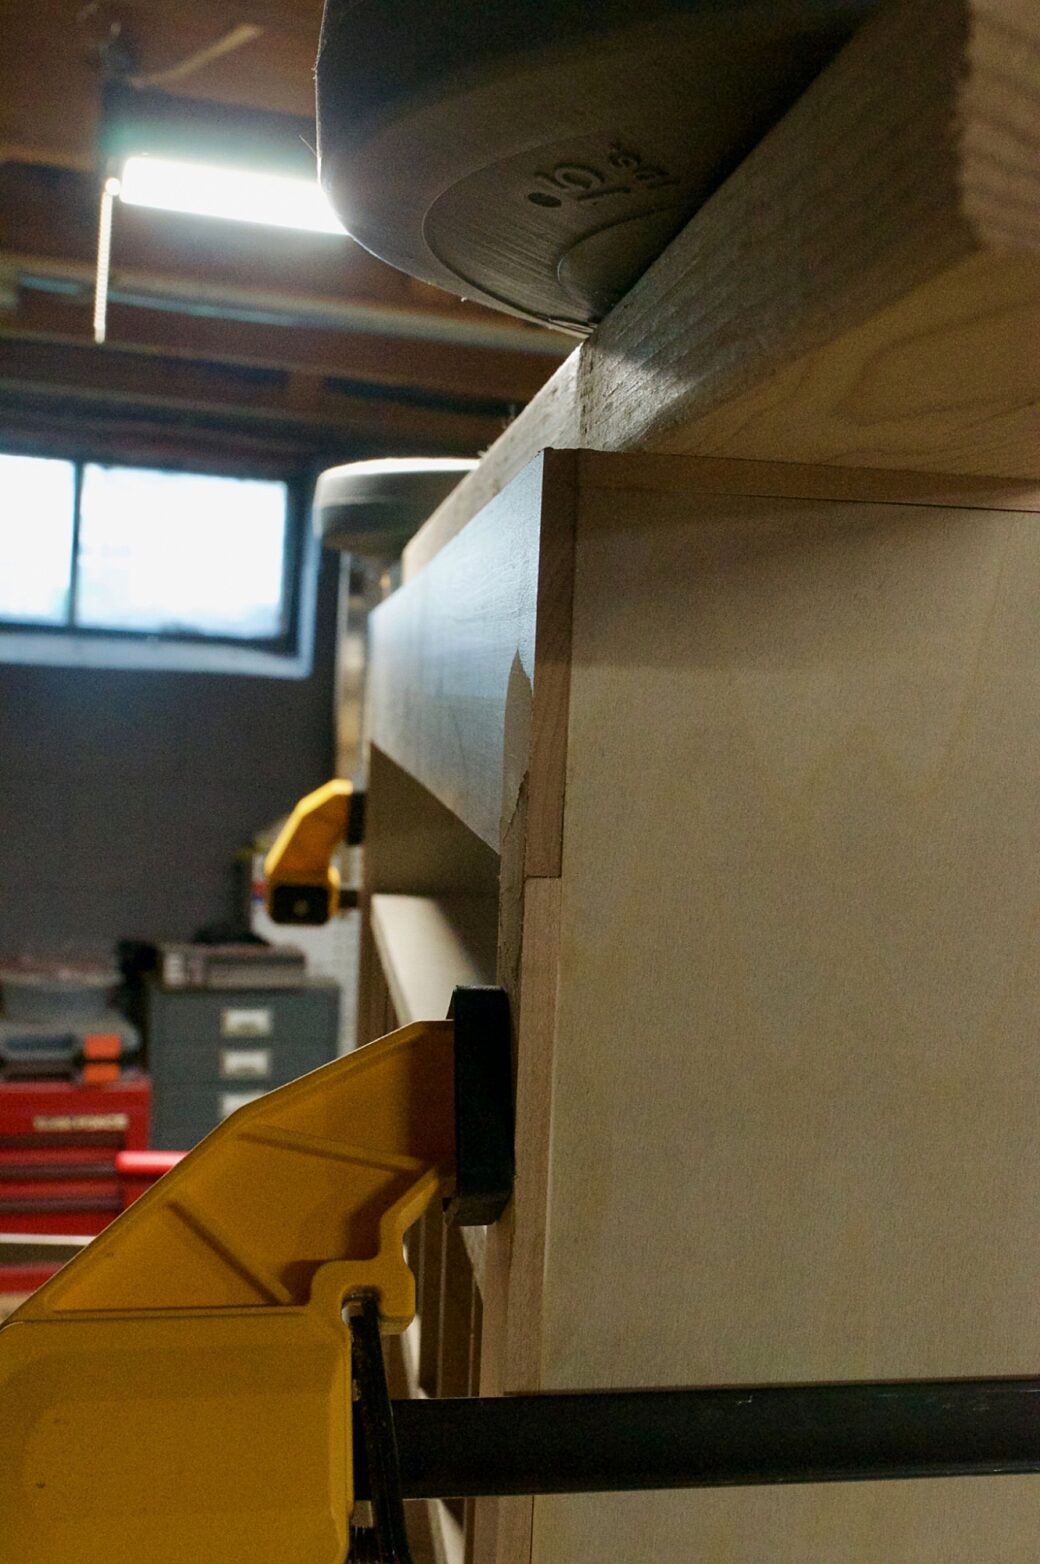
Another thing I did to make sure the sides were as strait as I could get them was to let the trim hang over the sides just a bit. I then took an edging bit and used my router to cut the trim right to the edge of the side board.
If you look closely at the shadow, the trim is uneven over the side board
Paint‘s Double-Edge
Other than the walnut boards for the top, some new rollers, and the paint, I didn‘t need to purchase anything to make this project. I had a ton of scrap or wood set aside for future projects that could easily be replaced. Since I planned on covering everything in paint, I didn't have to go to the trouble buying new wood that would match.
However, I'm learning that paint is messy to work with and—in this case—takes the finely crafted details and makes them look chunky and unrefined. Granted I wouldn‘t claim to be good at working with paint and the paint I‘m using may not be the right choice for this kind of project (for example, I probably should use several passes of spray paint instead of brushing on acrylic).
Anyway, I did my best to hide drips and to cleanly paint each cubby and shelf. I used a roller for the larger areas and I tried using foam brushes for the corners and smaller areas. Being my first time using the foam brushes, I was happy with how well they worked, but I can‘t say I prefer them over brushes, just yet.
I took the back off of the organizer and painted that separately. This worked out well because with so many corners in the shelf and cubby areas there were many drips that I had to tend to and clean up. Painting the back separately turned out smooth and fit nicely back into place.
After putting the back on, I took a look at the painted piece and realized that with so much white, the organizer looked a bit chunky. I wanted to put in a pop of color that wouldn't clash with the orange wall that the organizer would sit in front of. Because our orange wall was already an accent wall that was meant to pop on its own, I thought that using a lighter, yellower color would hold up well.
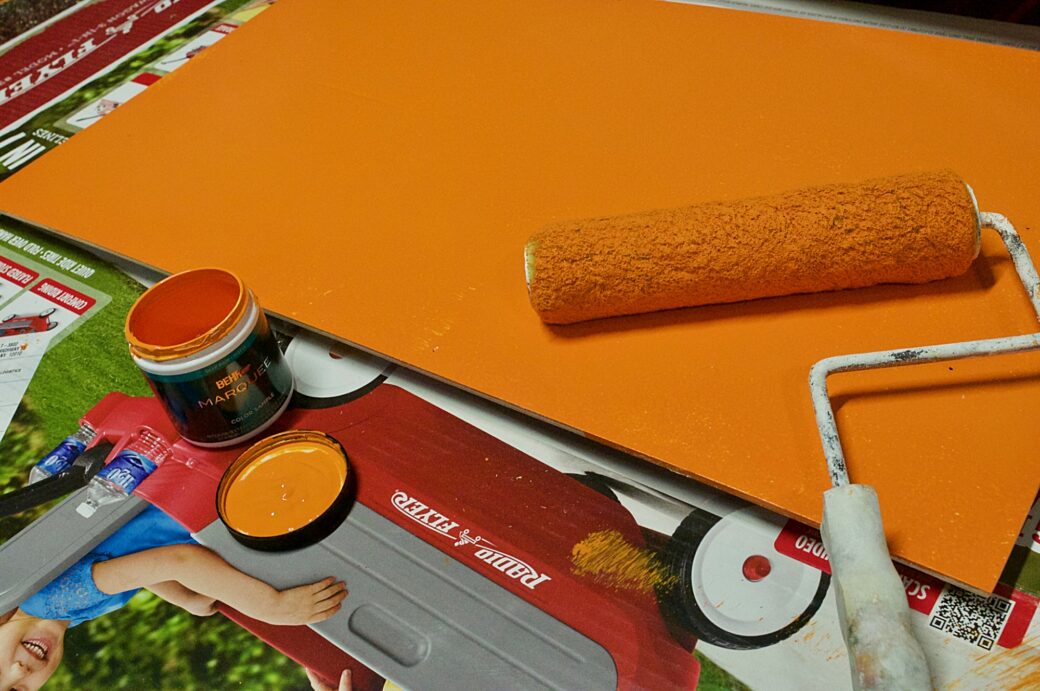
I rolled on two coats of paint and once the back was dry I screwed it back into place.
Metal Work
While waiting for the paint to fully dry, I took some time to clean everything up and put on some final details.
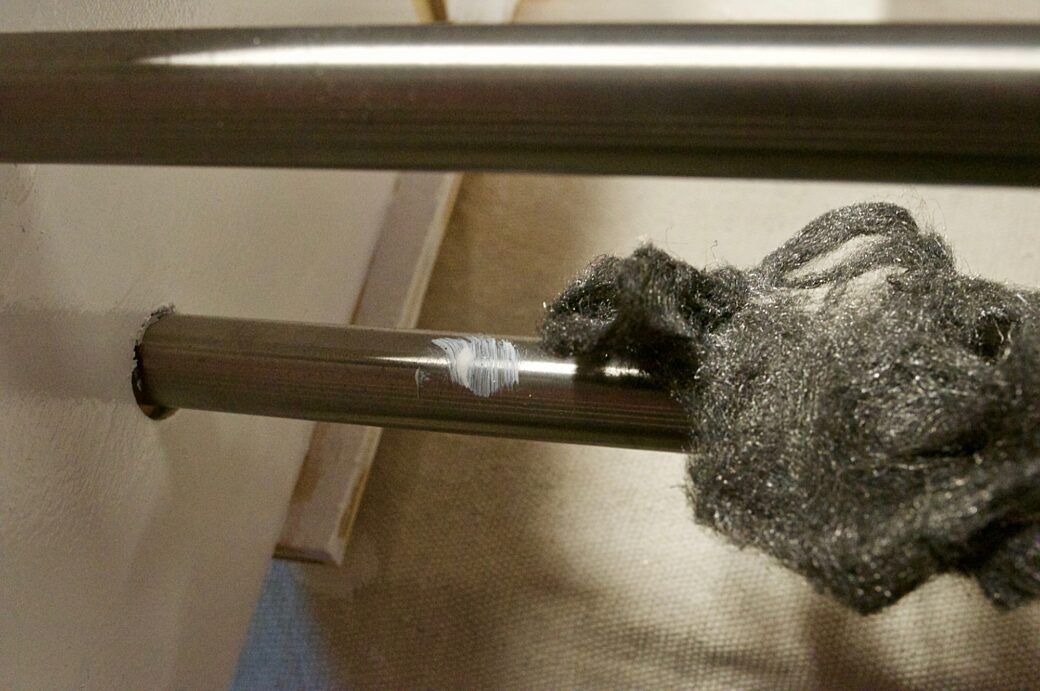
First, I had to clean up a few smudges of paint off of the metal bars. I tried doing this in a few ways, but the material that worked the best was some steel wool that I had laying around.
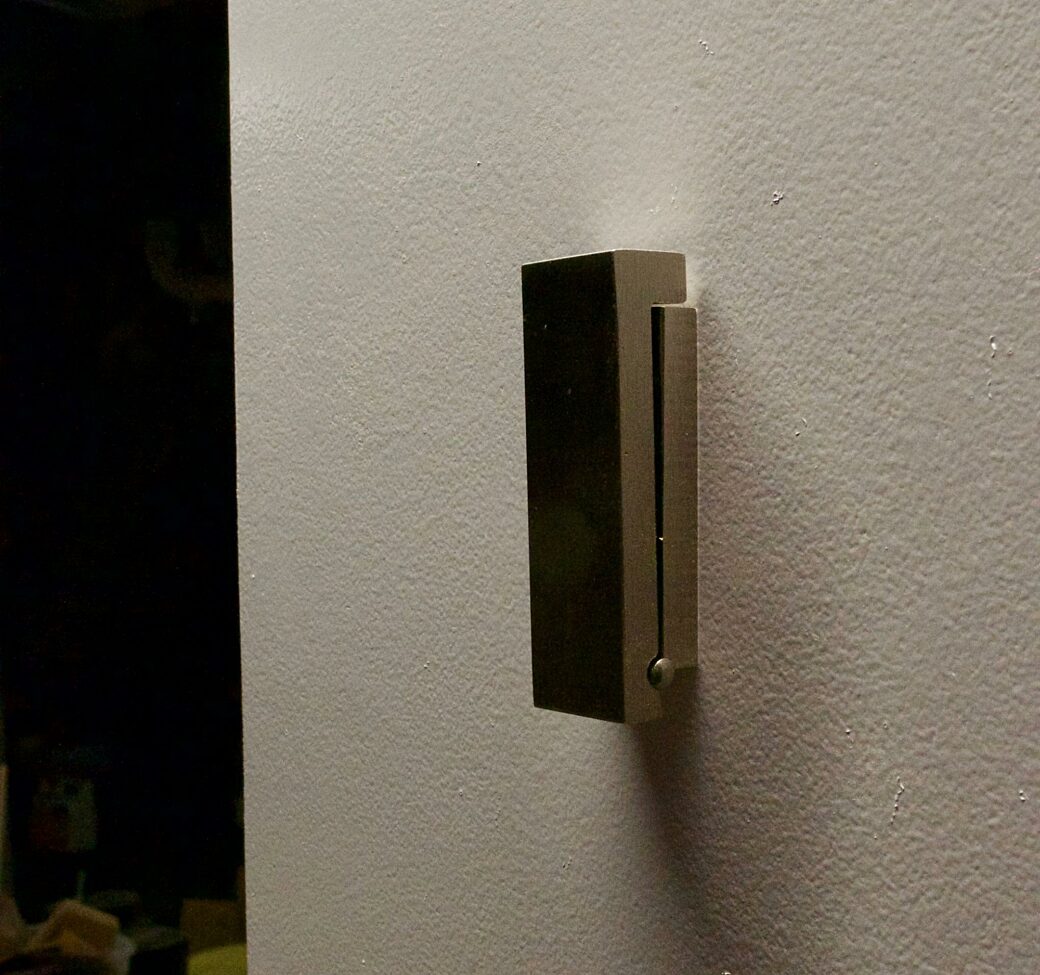
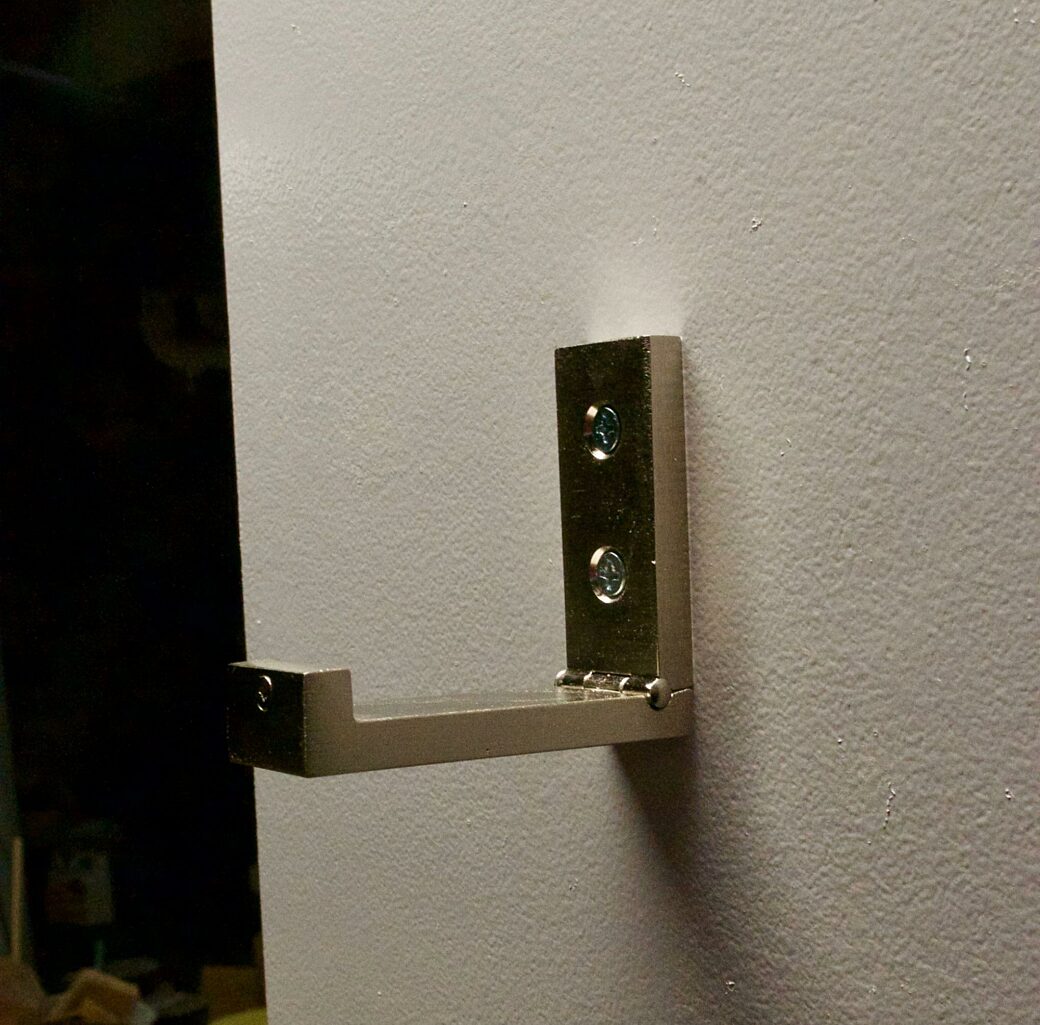
Speaking of IKEA ... Around the same time as our trip to buy TJUSIG, we picked up a few sets of folding wall hooks—also known as BJÄRNUM. We‘ve used these hooks in other areas of the house and decided these would work well for hanging book bags onto the bare sides of the organizer. With those in place, the piece was complete.
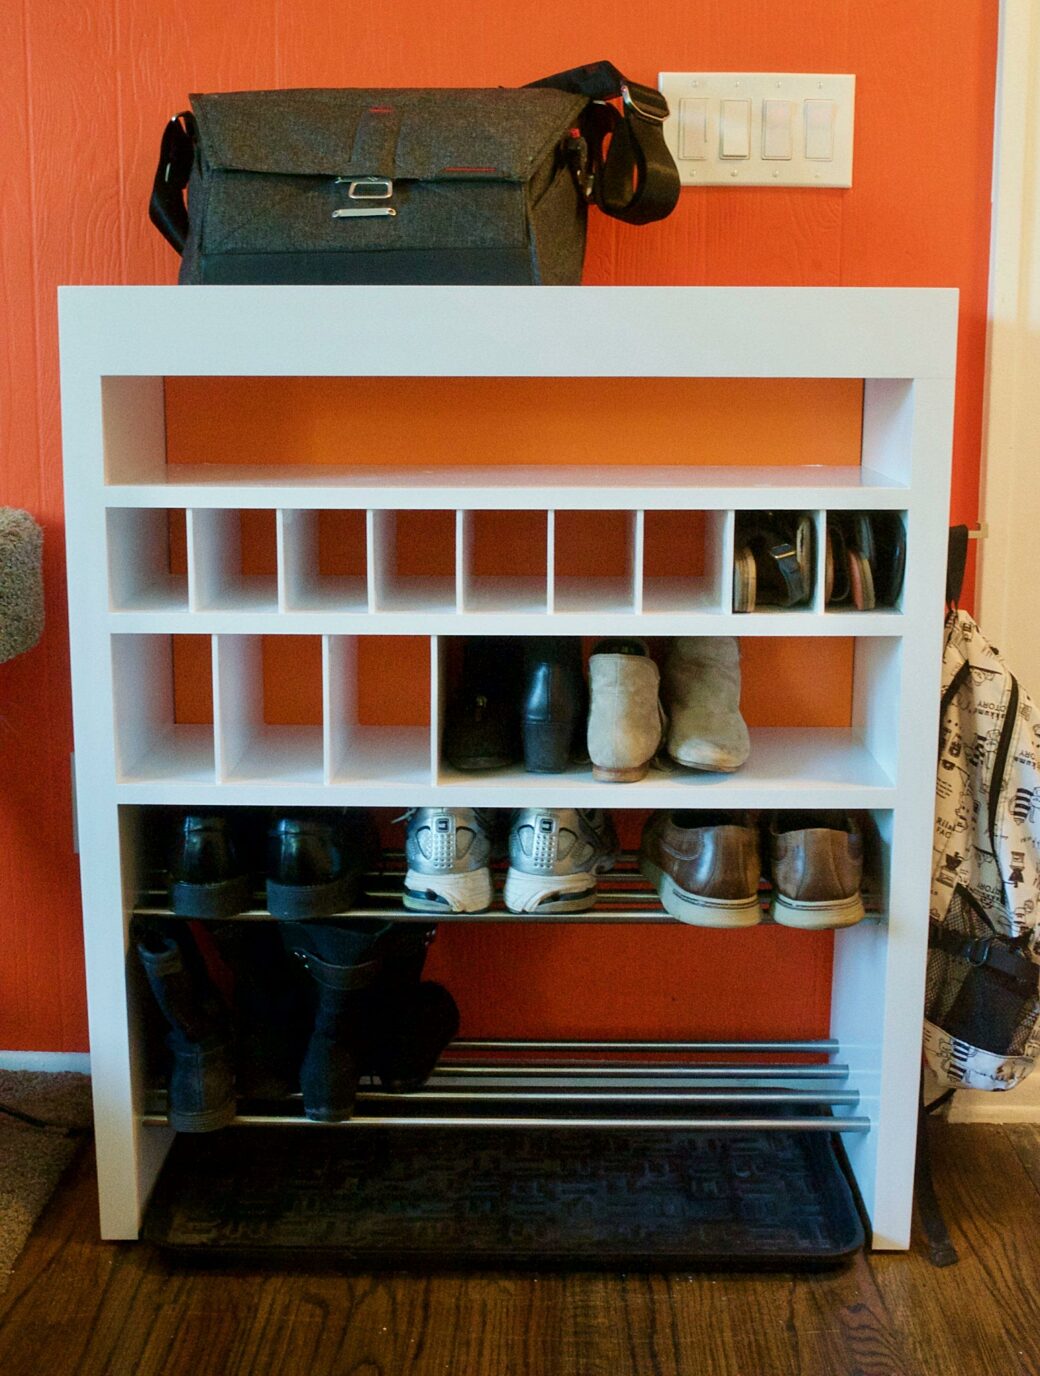

This piece is pure function over form, but it solves a problem in a way that‘s tailored specifically to the needs of my family, in our home, at a price that you just can‘t beat.
With a new baby on the way, finding time to work on project like this may become scarcer and scarcer, so before I take a break from these larger projects, I‘m glad I got a chance to put the learning I‘ve done over the past couple of years into good use.
My favorite thing was realizing the ability to take rough wood and turn it in to a smooth, seamless surface. This opens up a new approach to deciding on materials to use and I‘m looking forward to seeing what I can do with this in the future.