
School’s out and my son’s teacher proactively provided a way to fend off summer boredom by sending home a Summer Bucket List filled with ideas of things to do to. On that list there were items like "Make a root beer float" and "Read a good book". The one that got us really interested was to "Make a bird feeder". My kids get excited when we pick up project kits from Lowes and Home Depot, so this seemed like it would be a fun project to do together.
Design
So there are lots of ways to go about making a bird feeder. We looked around and found plans for classic bird feeder designs that could be made with just a few planks of wood and some hobby glass. We also found lots of one-off designs on places like Etsy where makers used materials like glass or 3D-printed pieces to create some really detailed pieces. One of the trends that I liked was bird houses and feeders that reflected modern buildings or homes.
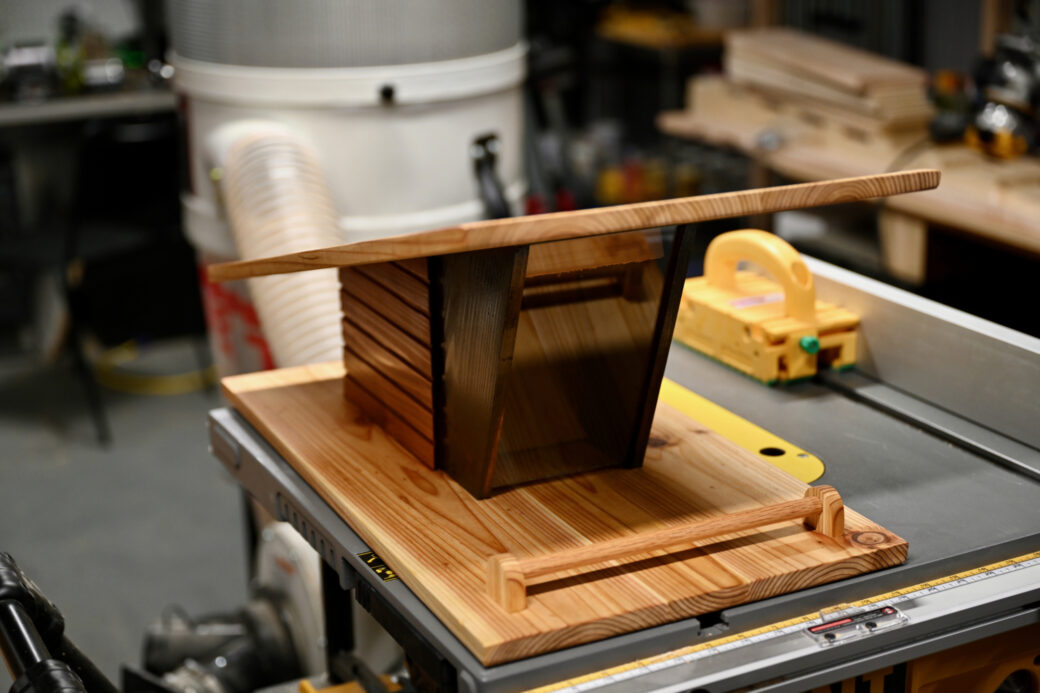
As a fan of mid-century style furniture and architecture, I really liked the idea of using angles and the use of different materials to create visual impact. In our case we planned on doing everything with wood, so we thought we'd use different color stains to achieve the look of using different materials.
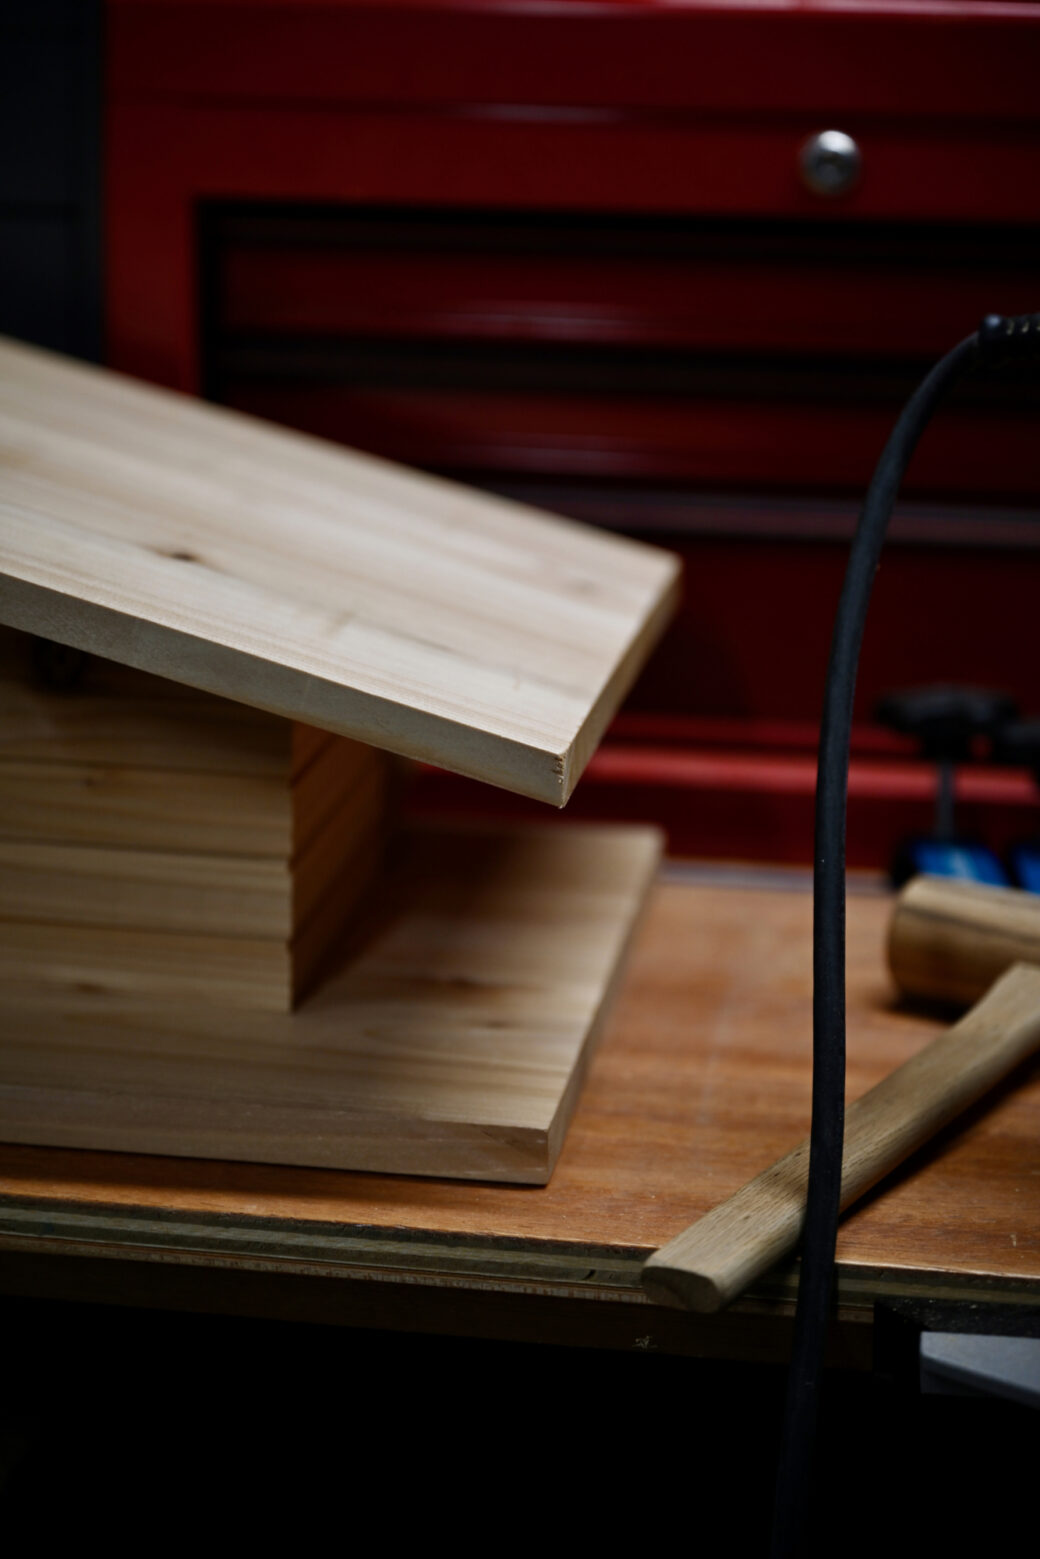
We planned on using cedar and glass for the whole thing. We designed it to have a roof that comes off where you can pour bird feed into a hopper that dispenses it through a gap at the bottom. We designed in a perch to give the birds a comfortable place to stand when coming in for food.
Glue Up
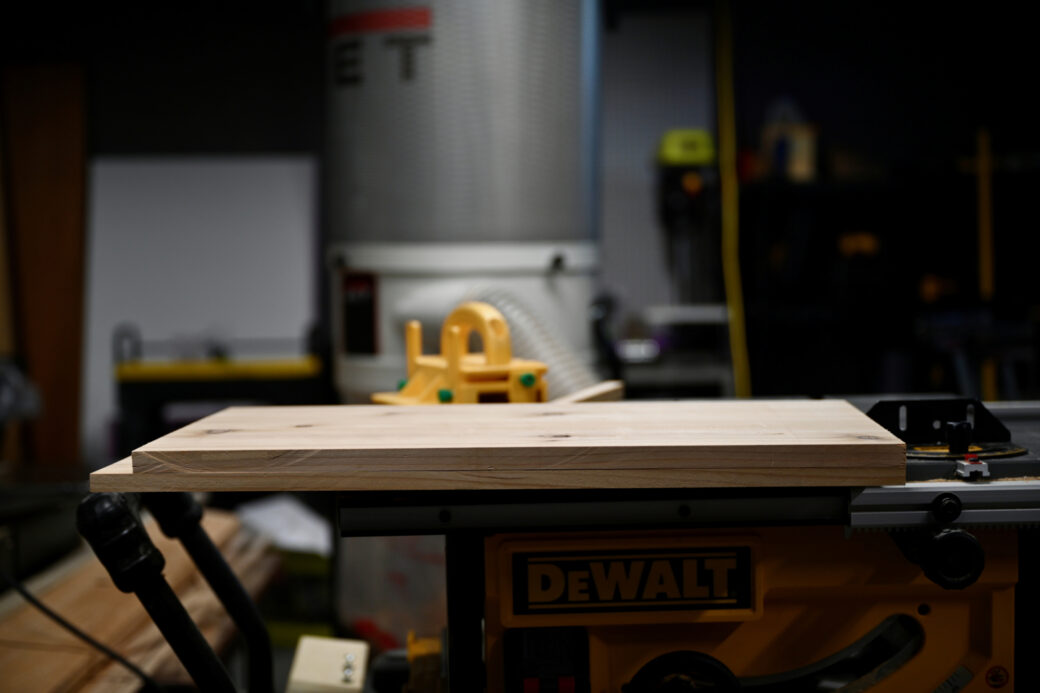
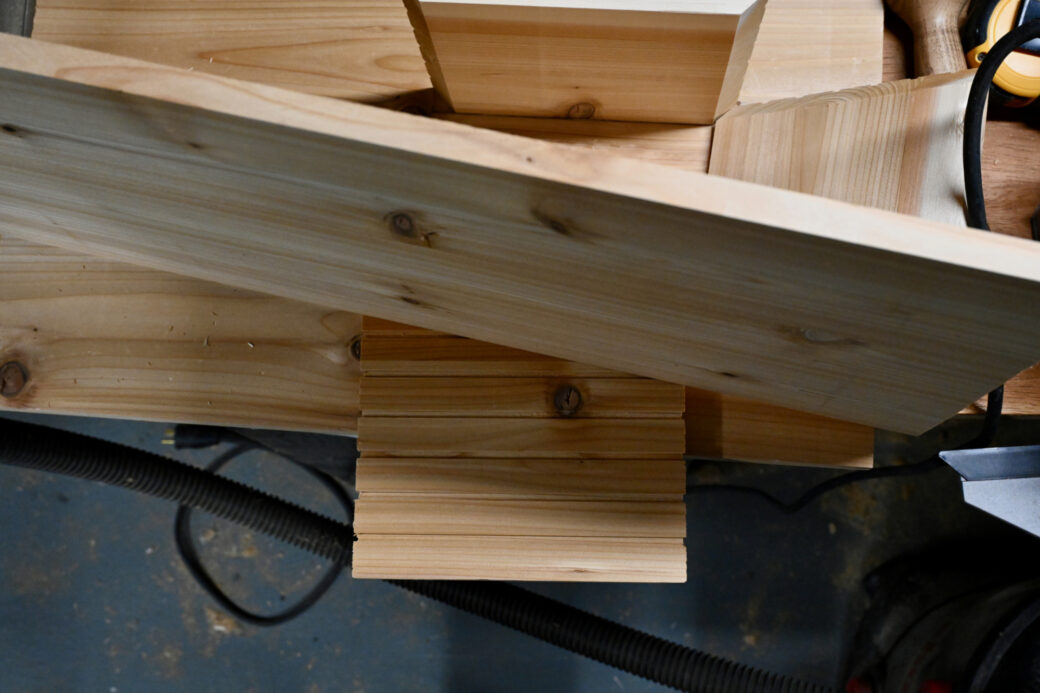
To construct the bird feeder I picked up about 16 feet of cedar. I had a few feet left over from a previous project, so I had a little extra on hand as well. The roof and the base of the feeder were designed to be about 2.5 planks wide, so I used the miter saw to cut out 6 pieces at equal length.
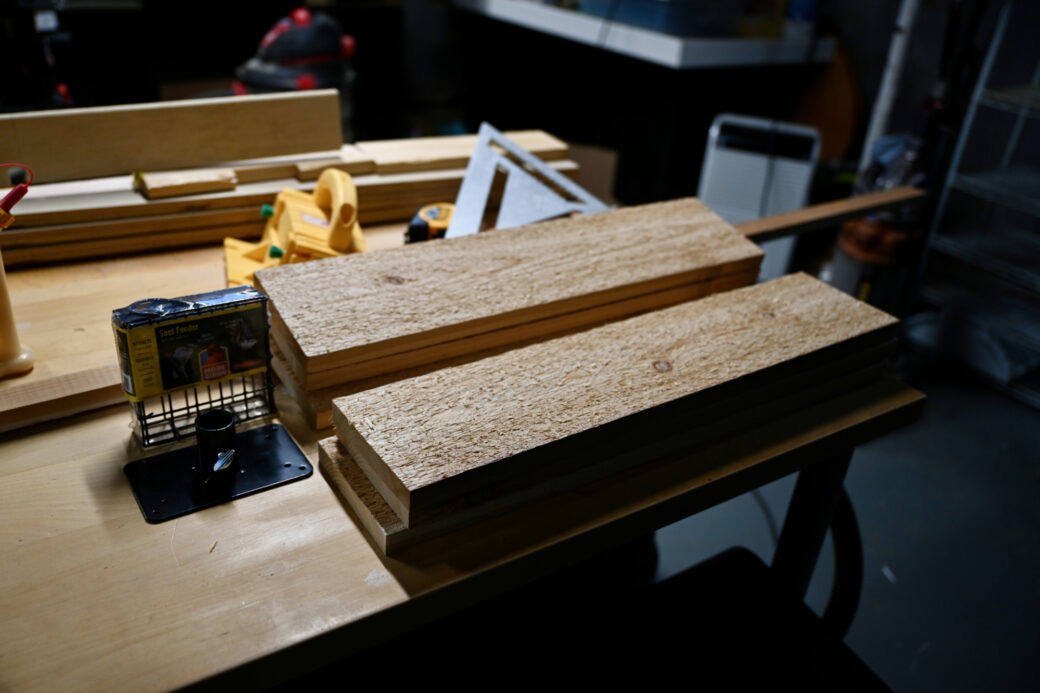
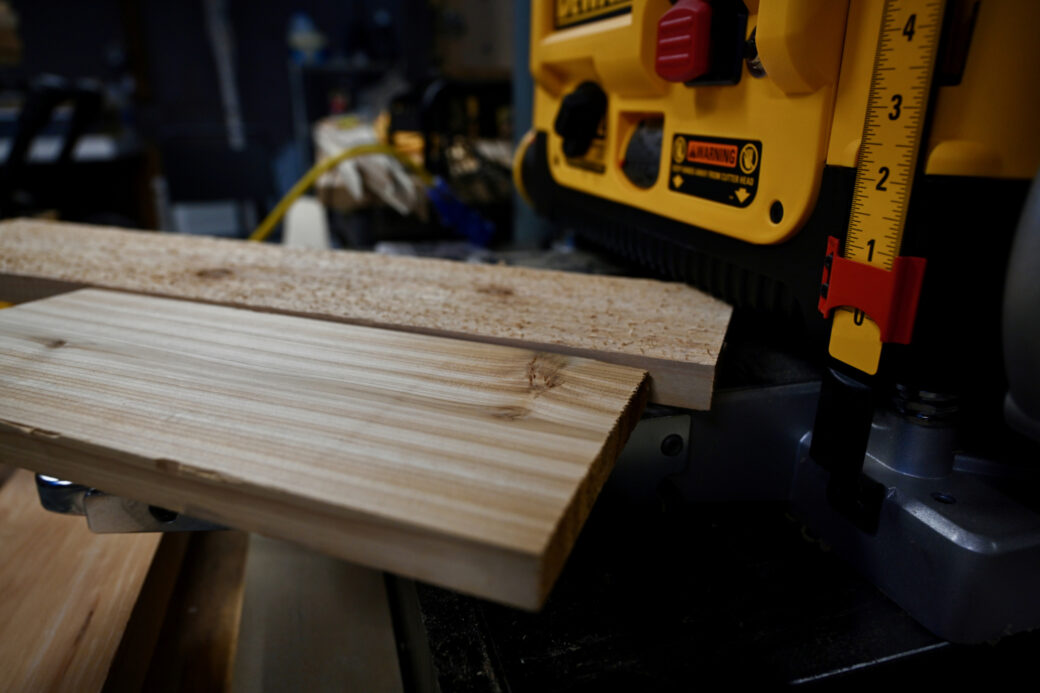
I recently got a planer and used this as an opportunity to test it out. I ran the planks through to smooth out the top and bottom of each piece. I cut down two pieces to the half size and then lined up all of the pieces I'd be glueing up to see how they’ll fit. I marked the tops of both glue ups and then used a biscuit jointer to cut out slots for biscuits.
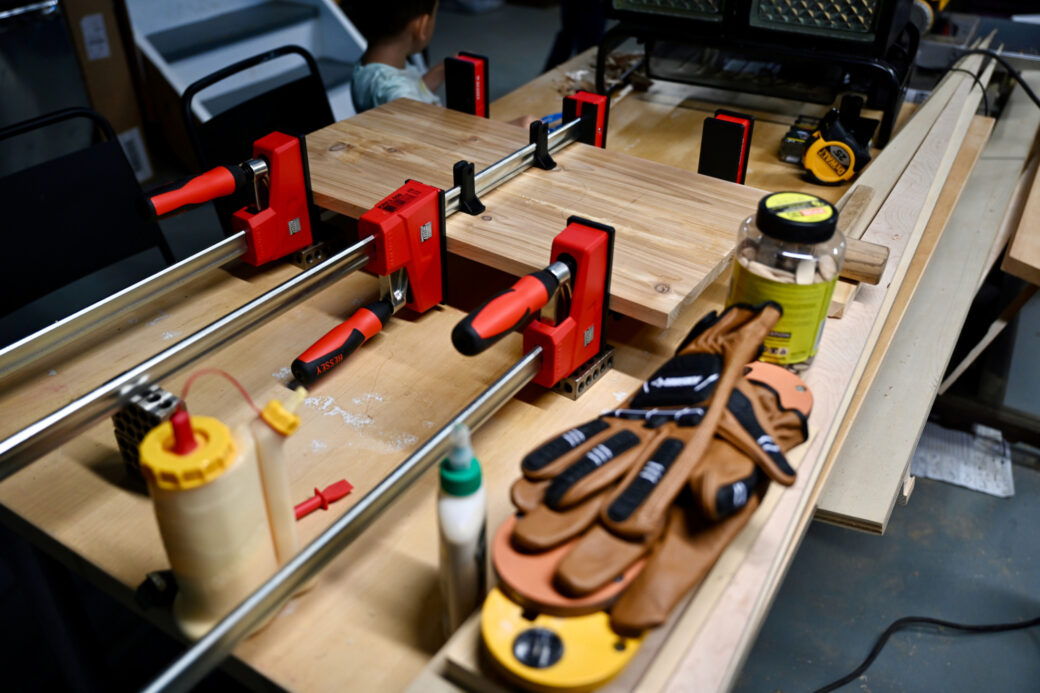
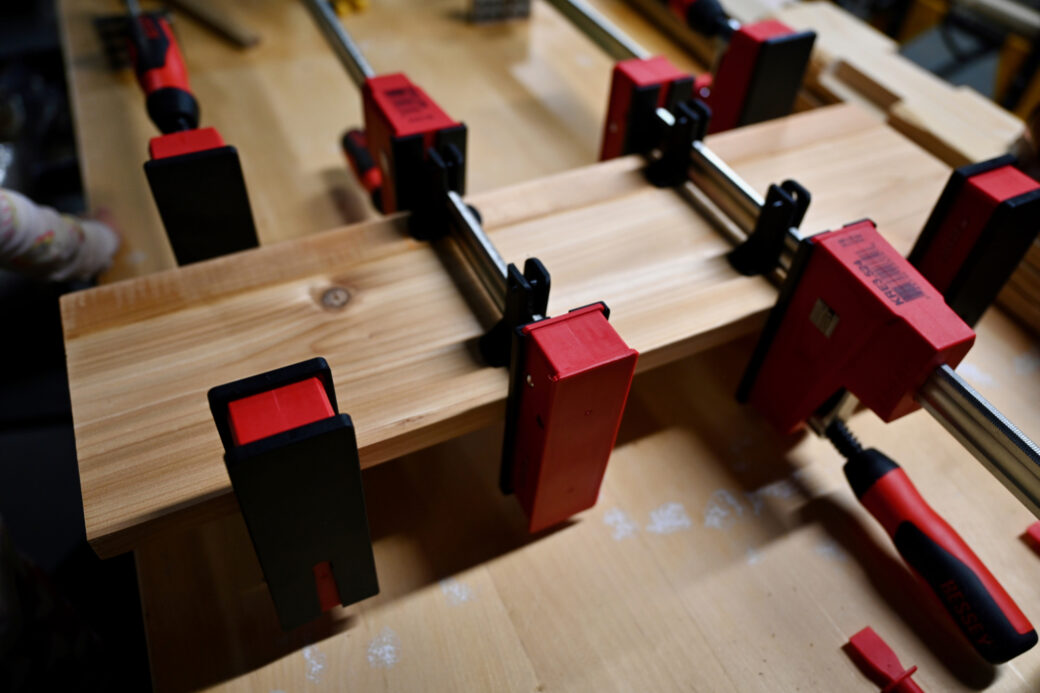
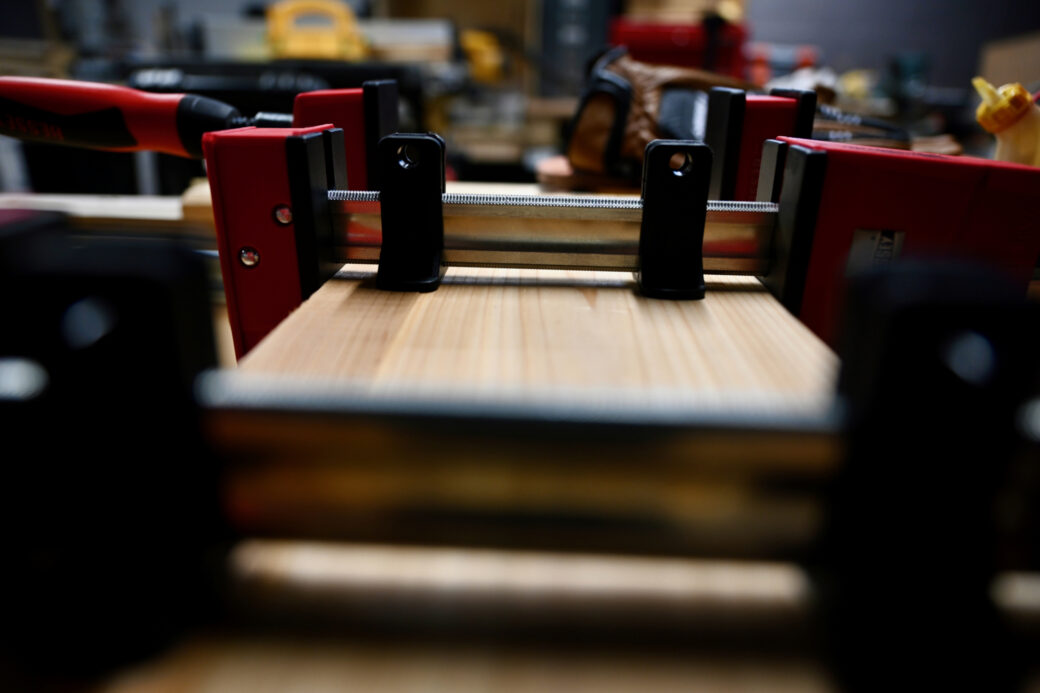
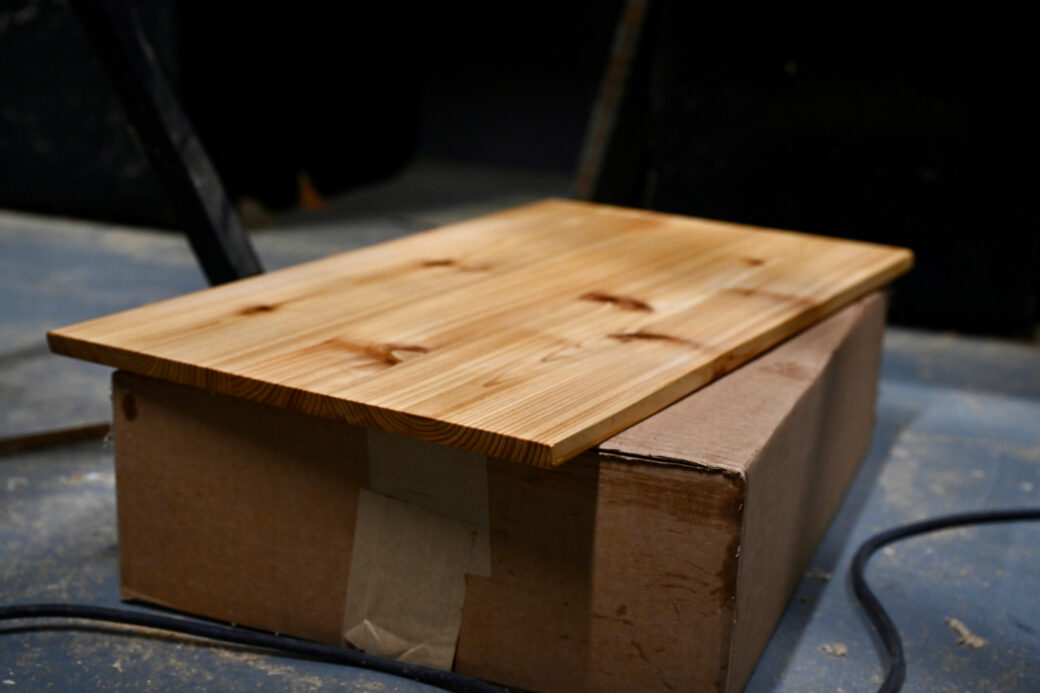
I applied an even layer of glue to the edges and used a set of parallel bar clamps to glue the planks for the top and the base.
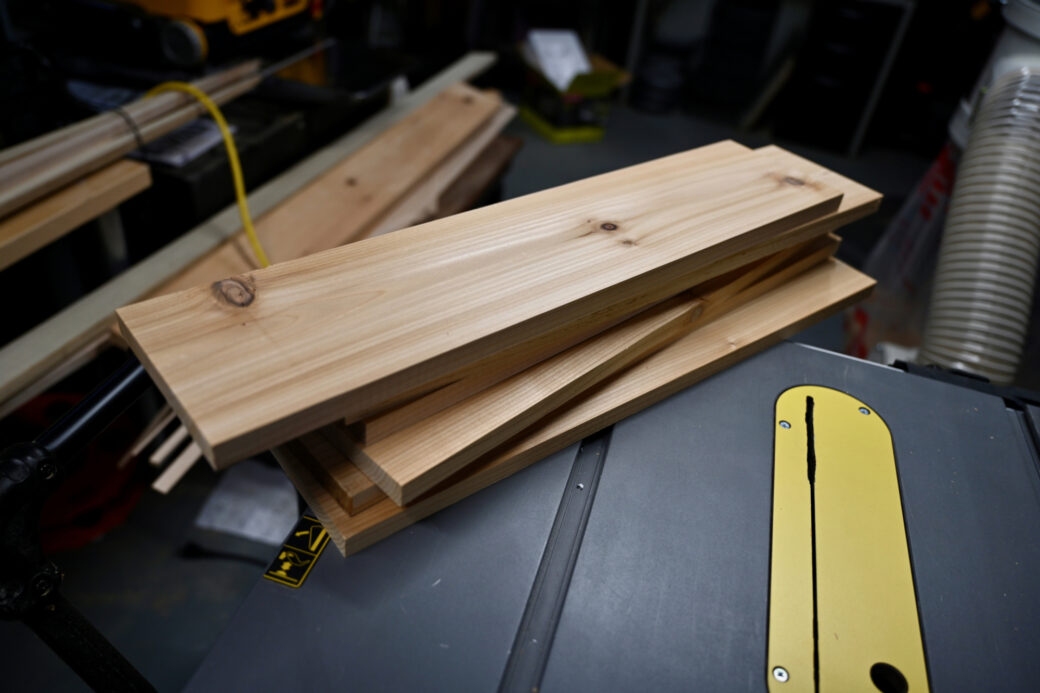
Even though I used the parallel bar clamps I found that both pieces were a little uneven. Since the thickness of these pieces didn't have to be precise, I ran them both through the planer one more time to smooth out the surfaces.
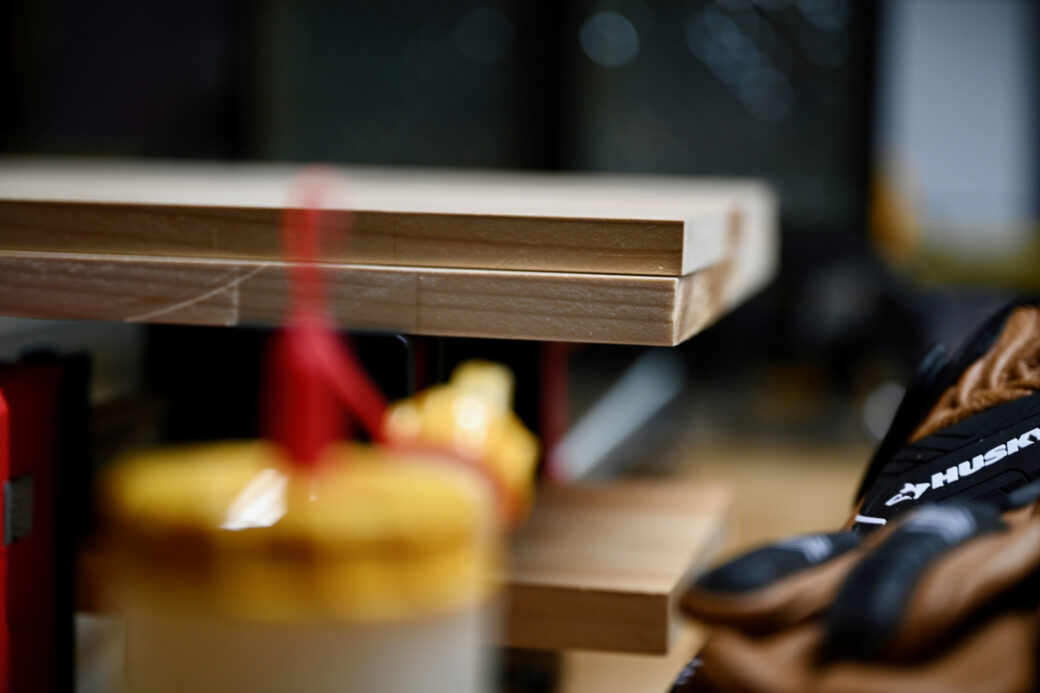
I wanted to base to be nice and sturdy, but I wanted to roof to be a little lighter, as well as a little longer (to account for the angle), so I used the planer to cut the roof down to about 2/3 the height of the base. I then used the table saw to trim the base down to it’s final length.
First Floor
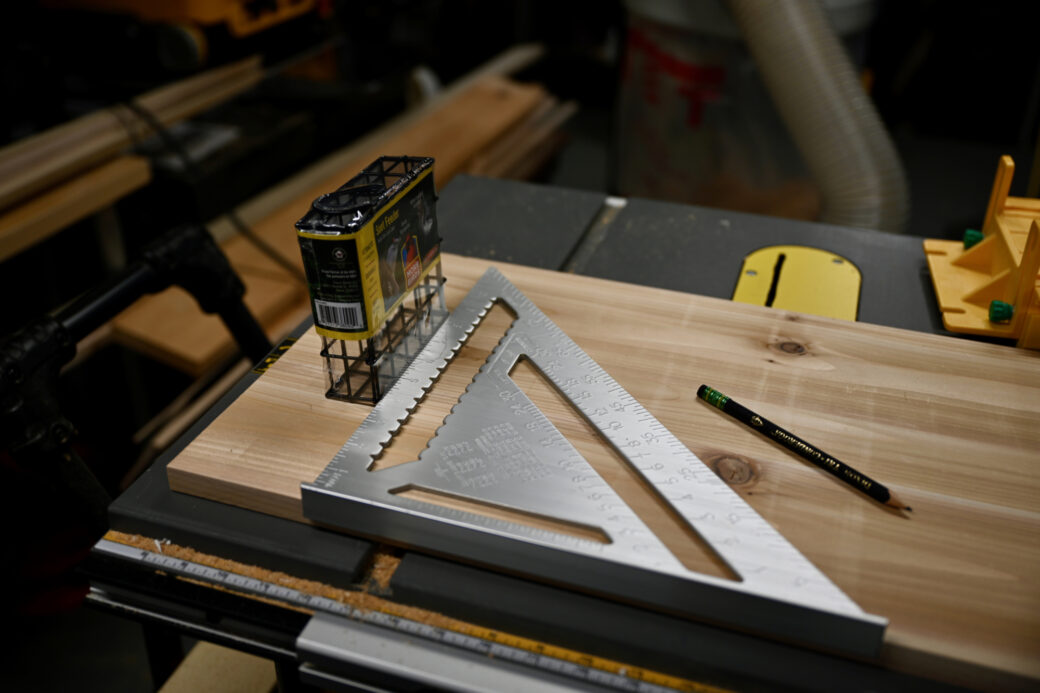
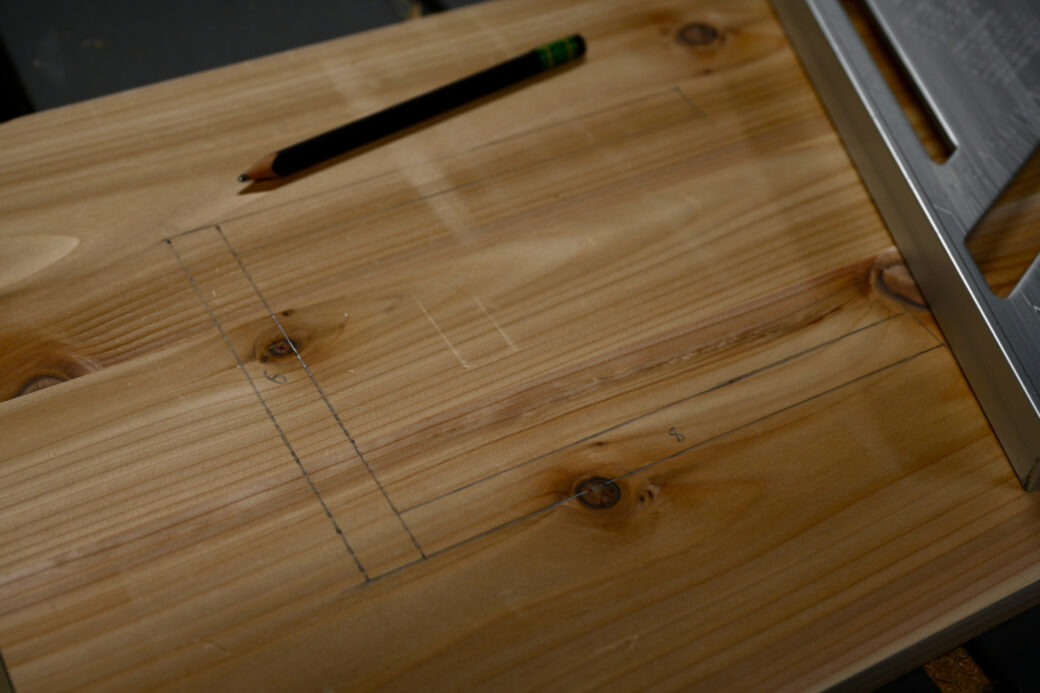
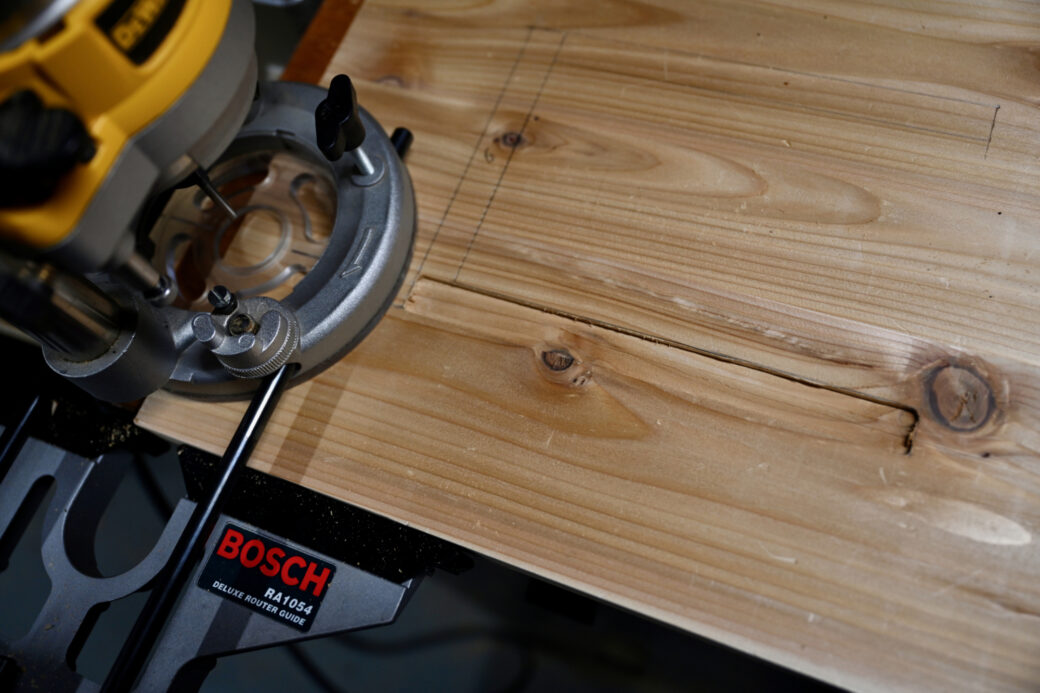
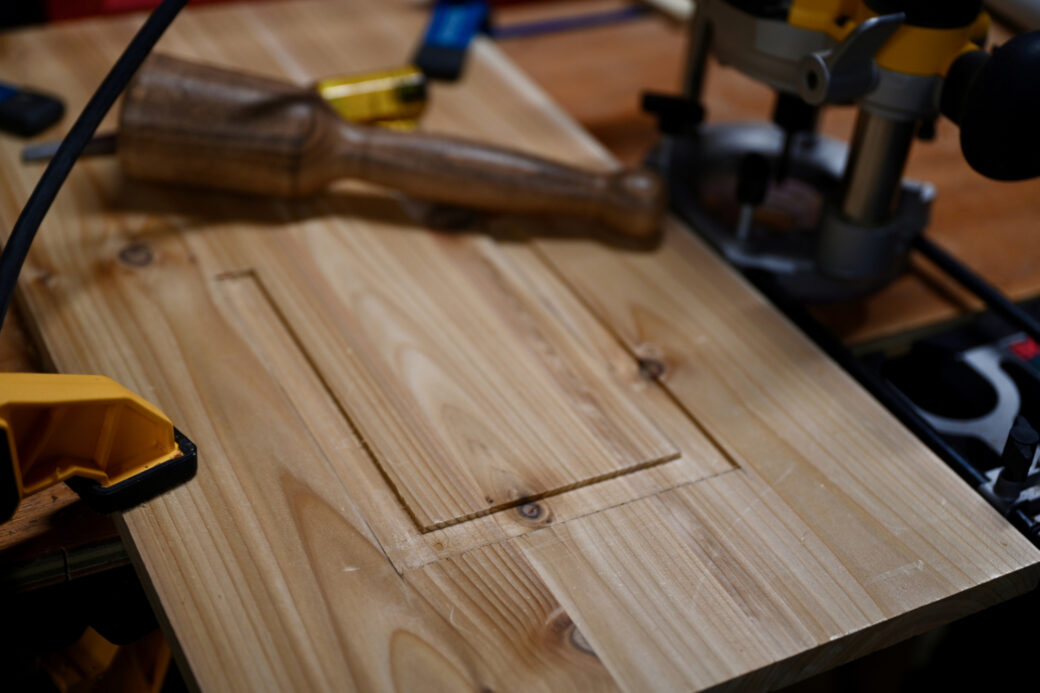
The hopper would be made up of a three-sided box with horizontal cuts that butt up agains two vertical pieces that hold the glass in place. I drew the plan for this on the base so I could check things like the miters as I went. I also wanted to route out the space for the planks so the base would help in holding them into place.
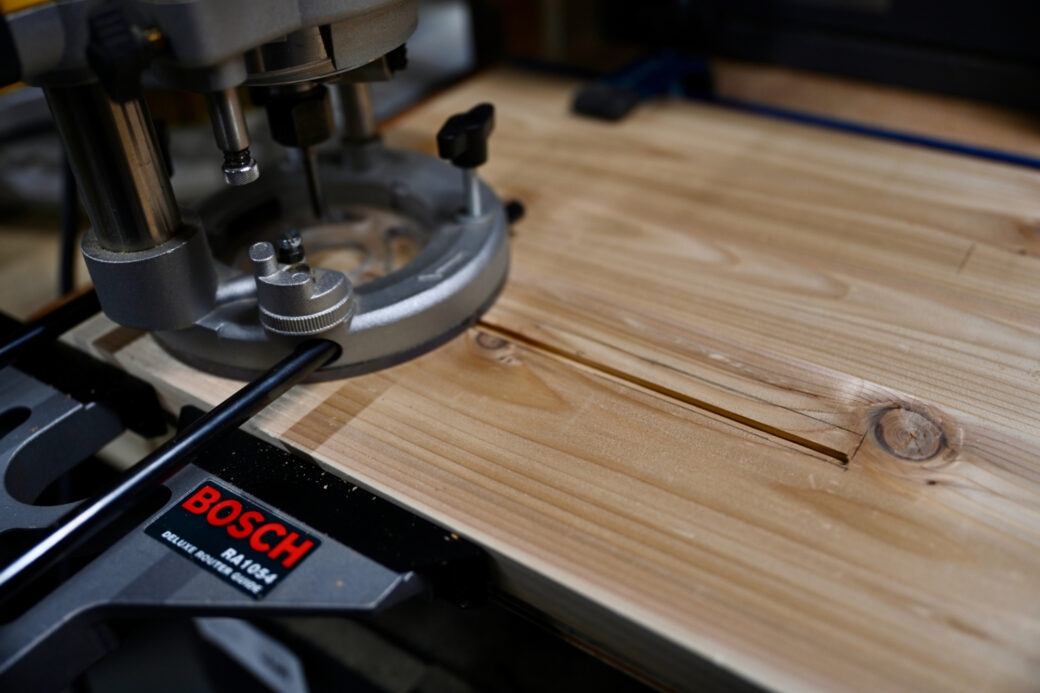
At some point I came across a router edge guide and set it up to work with my router’s plunge base. This way I could line up my cutting pieces, start up the router, push it down and make cuts at a clean line, at a precise depth.
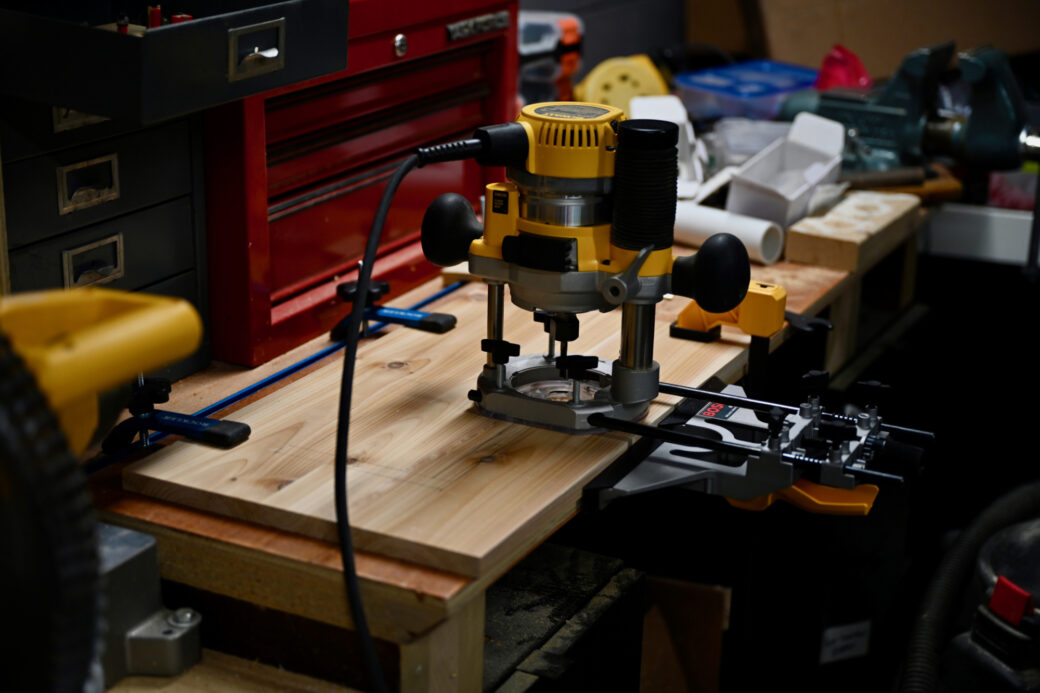
This worked fantastically well.
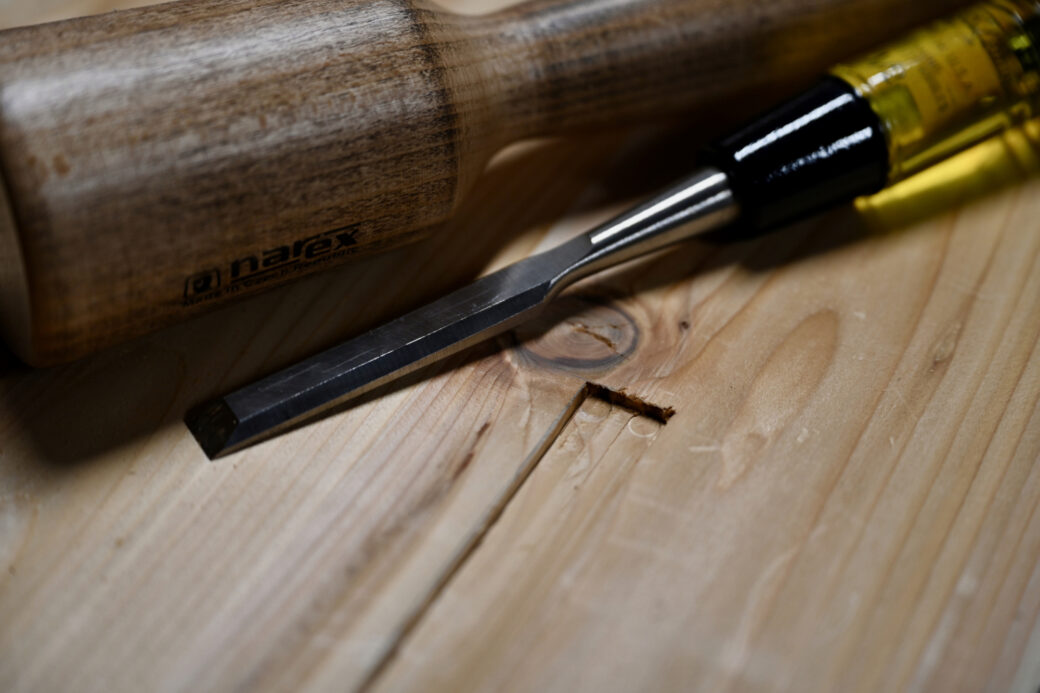
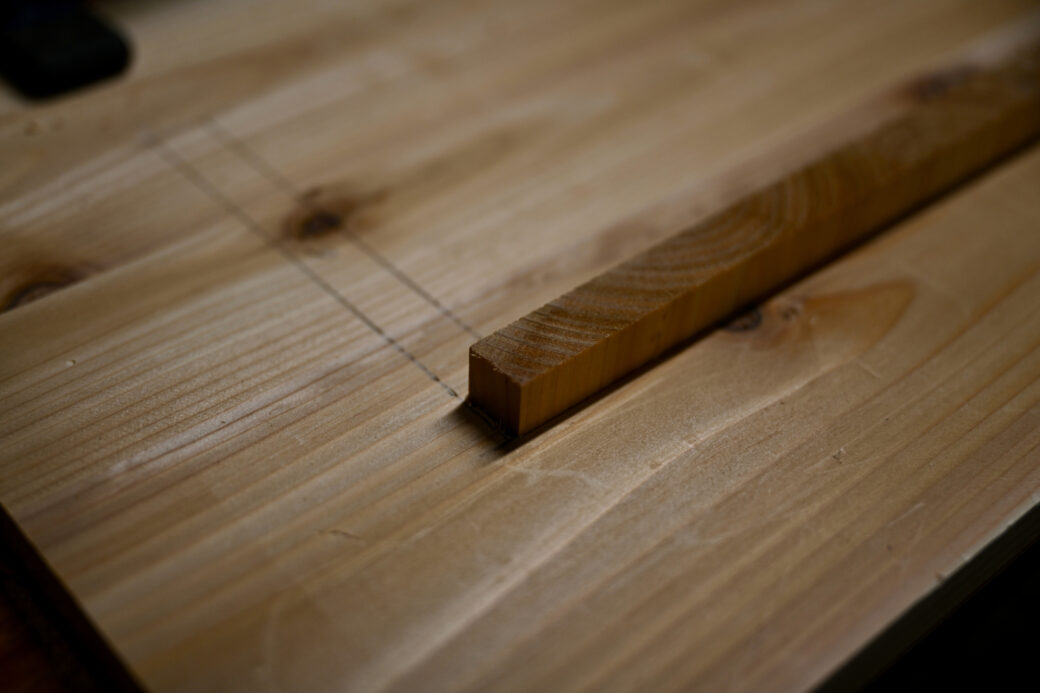
I used a chisel to clean up the corners and used a cutoff to test that the width of my cuts.
Angles on Angles
To get the height I wanted for the box we needed to do another glue up. After the glue dried, I used one piece in a dado blade set to cut thick, flat dados lengthwise.
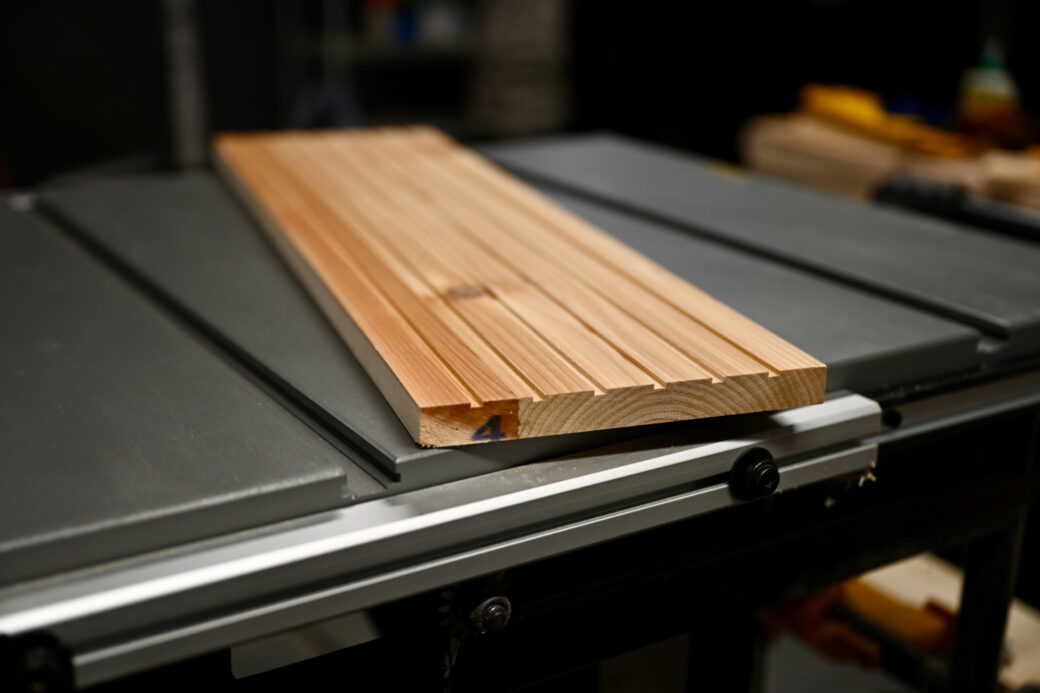
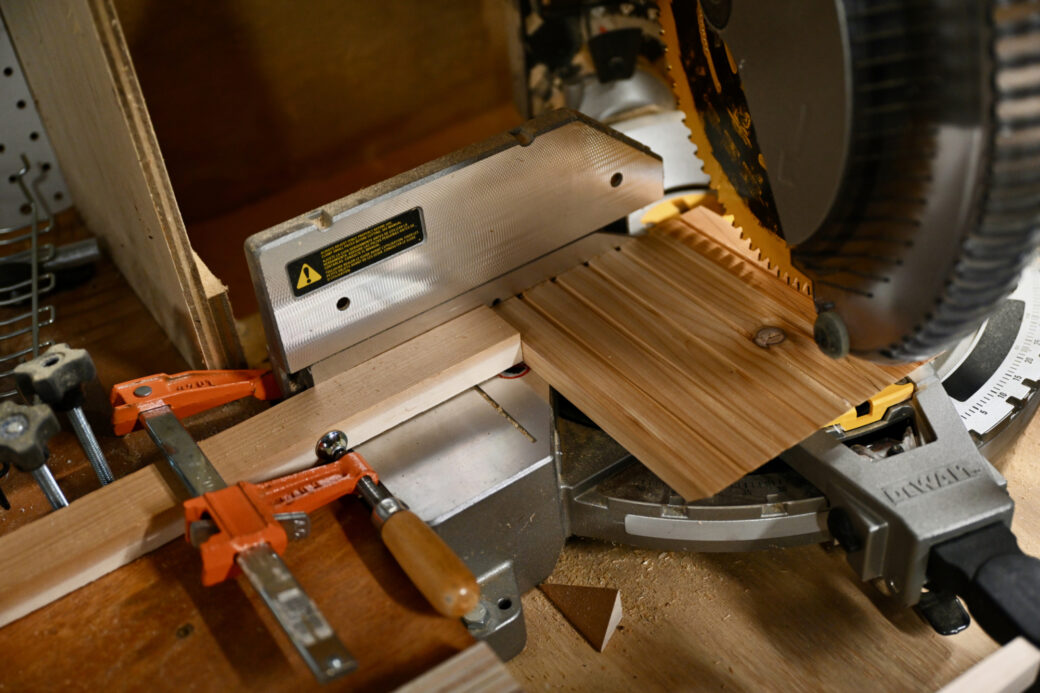
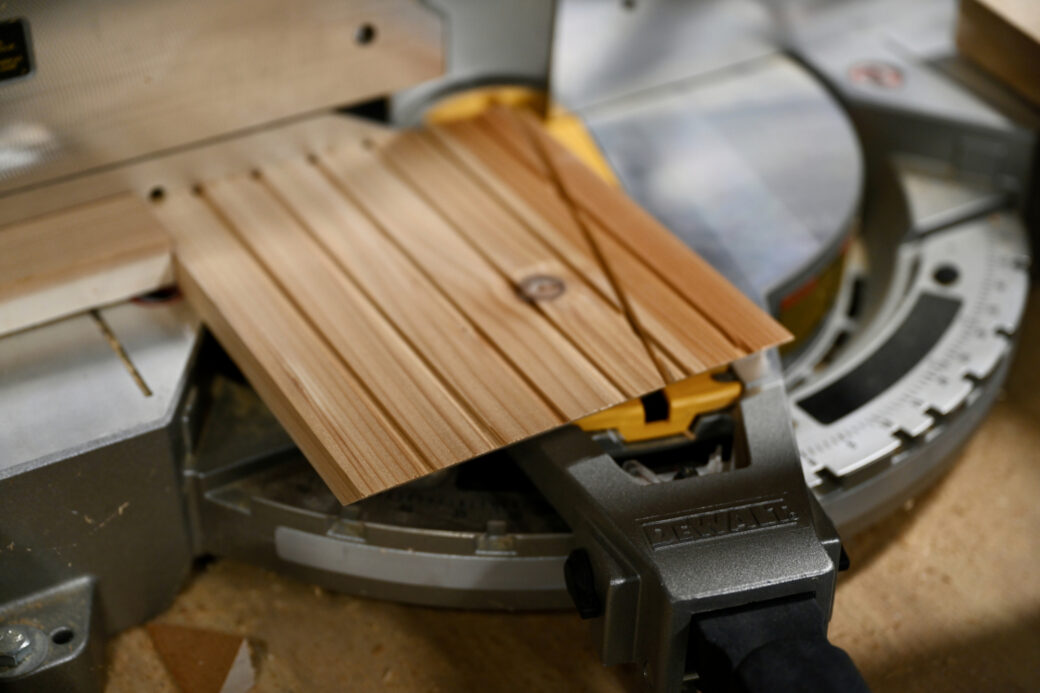
Starting with the middle of the box’s three pieces, I rotated my table saw to 45° and used a cross-cut guide to make the cuts for the box. For the sides, I made one cut and then planned to use the miter saw to cut the flat edge to of the pieces to size.
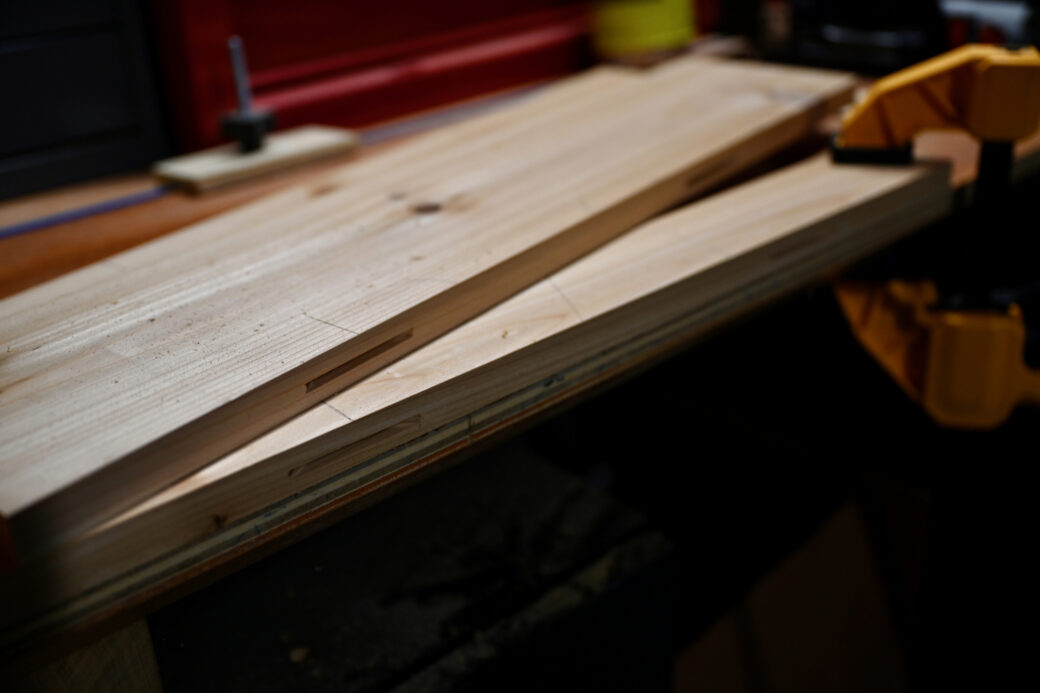
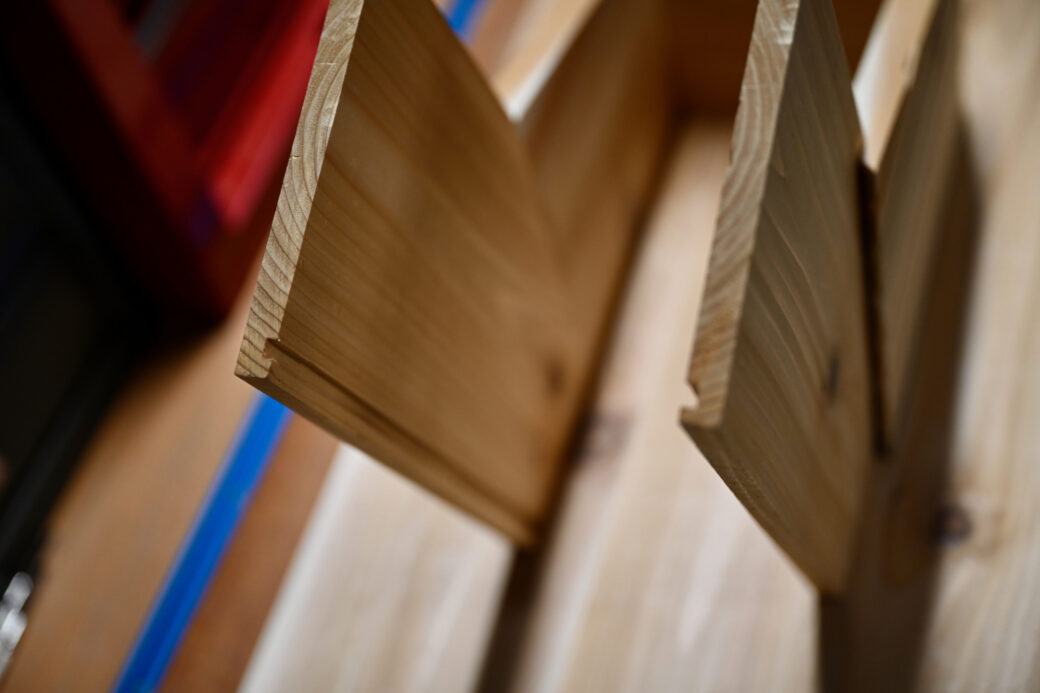
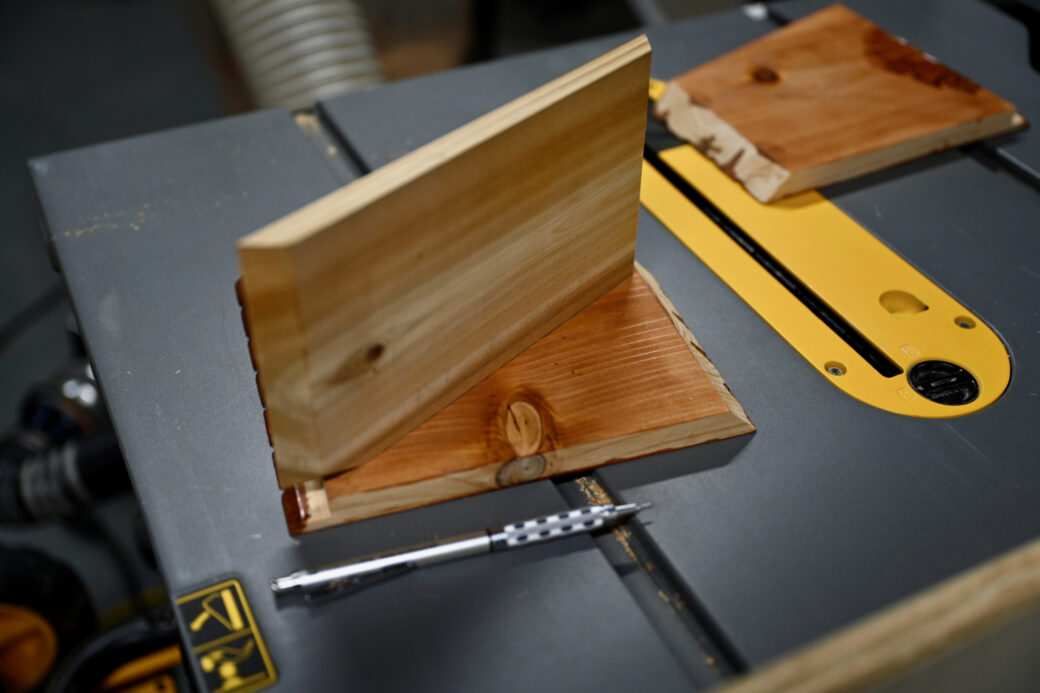
This is where I made a mistake.
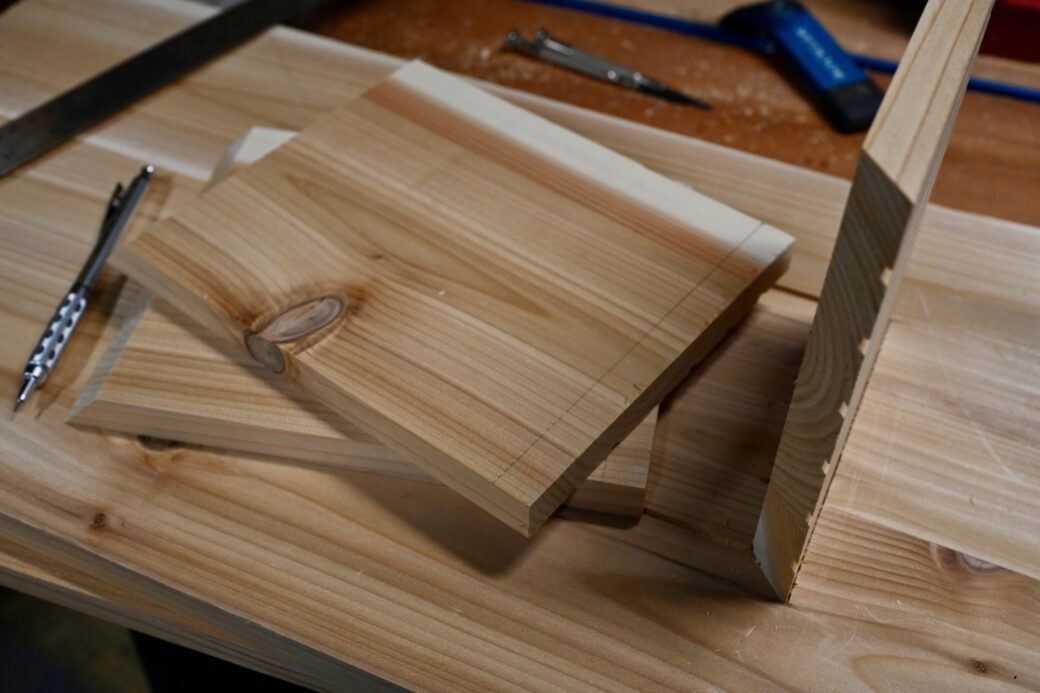
If you look closely at the photo below, you can see where my dados didn't line up. I made the angle cut on the wrong side, so the groves didn’t line up and the grain didn’t match.
At this point I should have started over, by redoing the glue up, then re-cutting the dados, then re-making the cuts. However, I decided that if I can make a good 45º cut on the two side pieces I'd keep them as-is and work around the mixup. Luckily things went smoothly in the angled cuts, so I moved forward from there.
When I started thinking about the design for this, I envisioned myself sketching out the proportions to get a feel for what the design would look like, then taking that into something like a vector drawing app, or even something like Fusion 360. There I could work out all of the angles and get exact measurements to work from.
Or I could just wing it all.
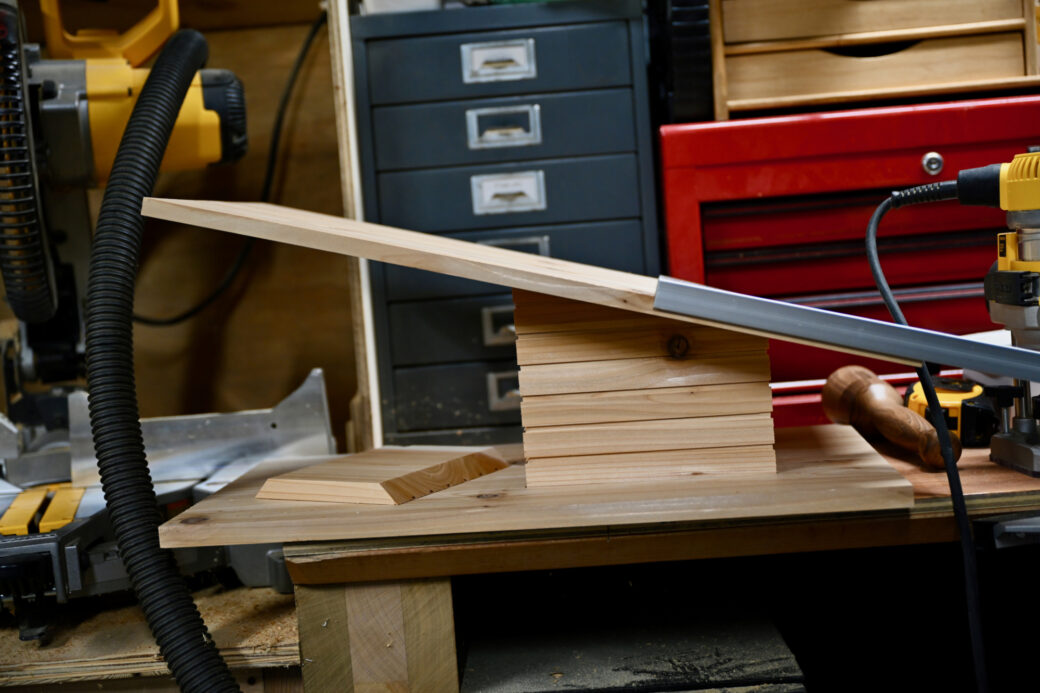
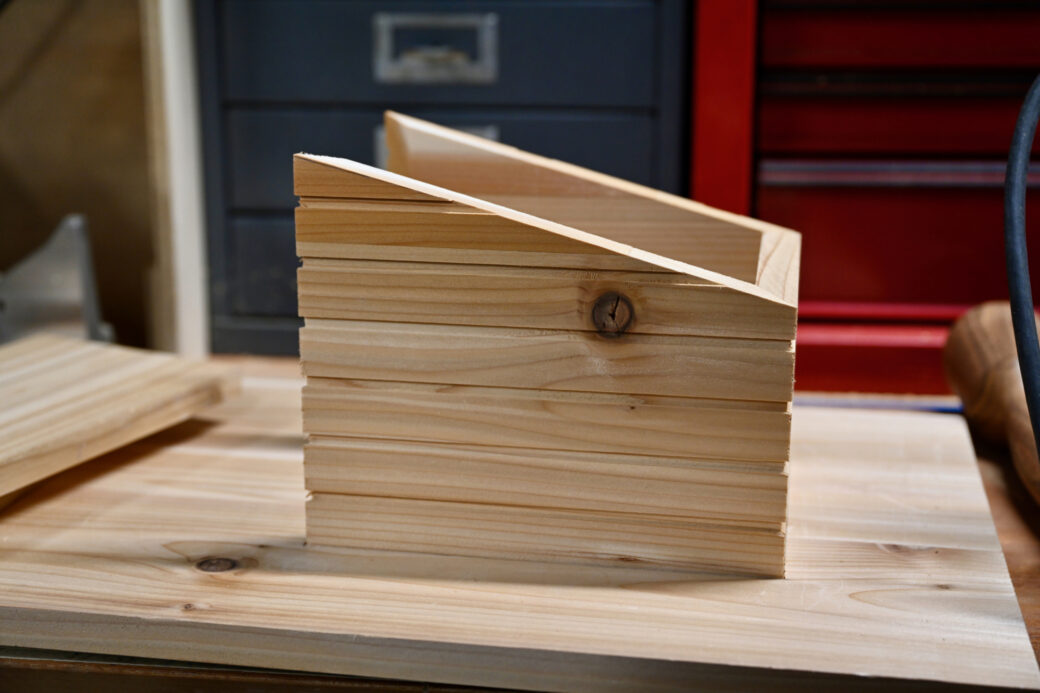
I opted for the latter and at this moment needed to make a decision on the main angle that determined the rest. I visually lined up the side of the first floor box with the roof piece until I got an angle that I liked. I marked the angle and then used a straight edge to draw that on the box piece.
I took the box piece over to the miter saw and carefully lined it up. I used a stop block to make sure I could repeat the cut again on both side pieces.
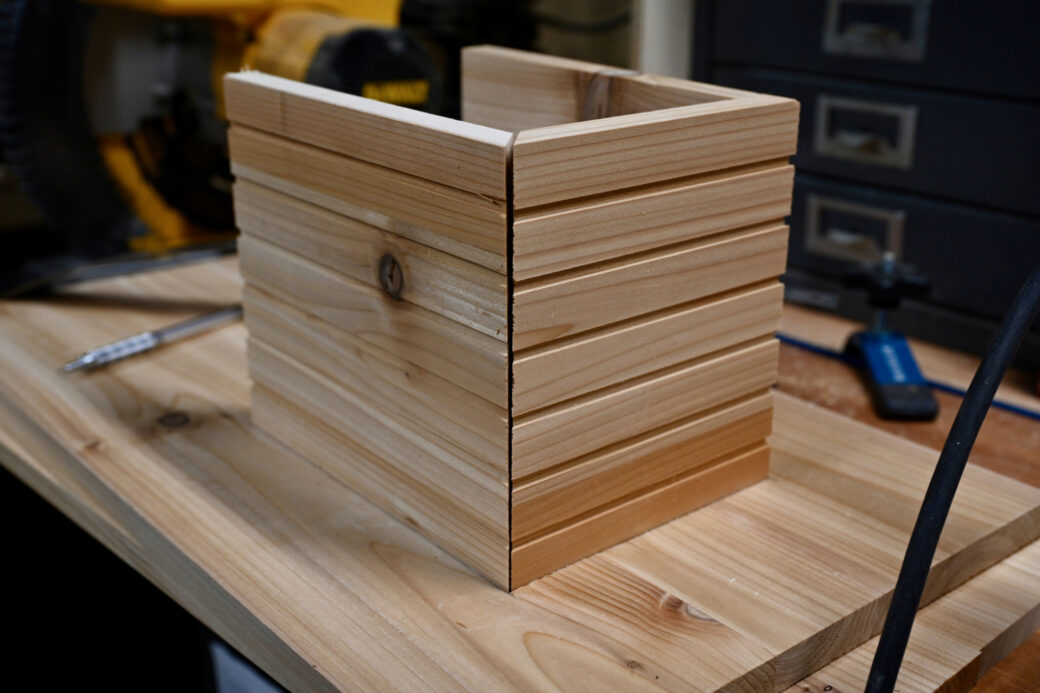
I took the side pieces and placed them in the grooves of the base, then took the top piece and placed it along the top to verify the angle looked good. I felt like this first cut was spot on!
As far as the back side of the box goes, I could have cut it on the miter saw and left it flat, but as a challenge to myself I marked what the matching angle should be and used the table saw to cut down.
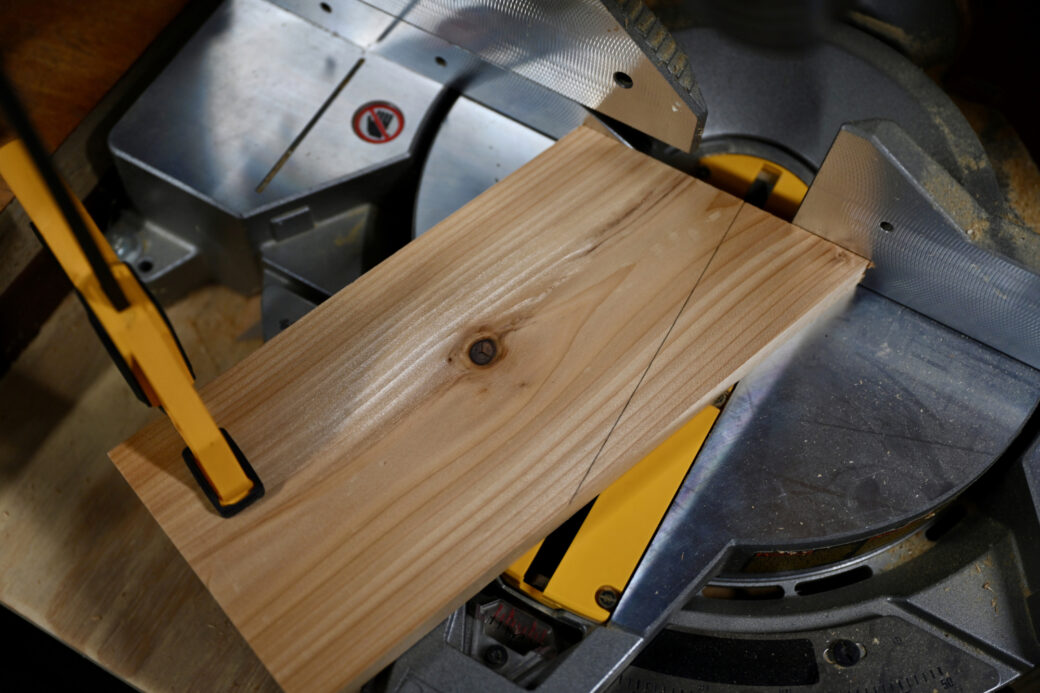
The two front sides of the hopper were meant to change up the grain pattern to give the design a little contrast. I took two more pieces of wood and planed them down to be about a half an inch thick. Then I took my time and used the miter saw to cut down the angles for the bottom of the pieces. Where possible I used clamps so I could use one cut on both pieces at a time.
I went back to the feeder base and routed out grooves for these side pieces. I also took the two sides of the box with the mistaken miters and used the table saw to cut in 90 degree rabbits that lined up with the two vertical side pieces.

After testing the fit, I set up my router edge rig again—along with some clamps—to cut out the grooves for the glass.
The last step was to match up the final angle at the top and use the miter saw to make the cut.
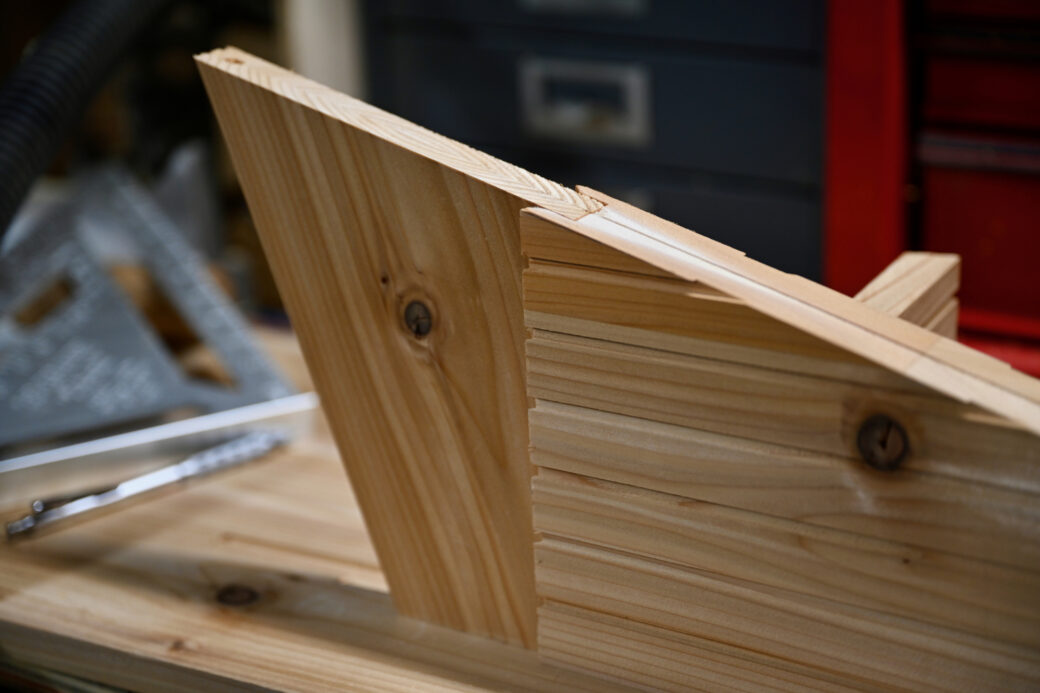
As a bonus detail, I noticed the angle of the roof looked a little unfinished, so I used a quick square to line up and match the edge of the base. After another adjustment of the table saw, I made the cuts to the front and the back of the roof.
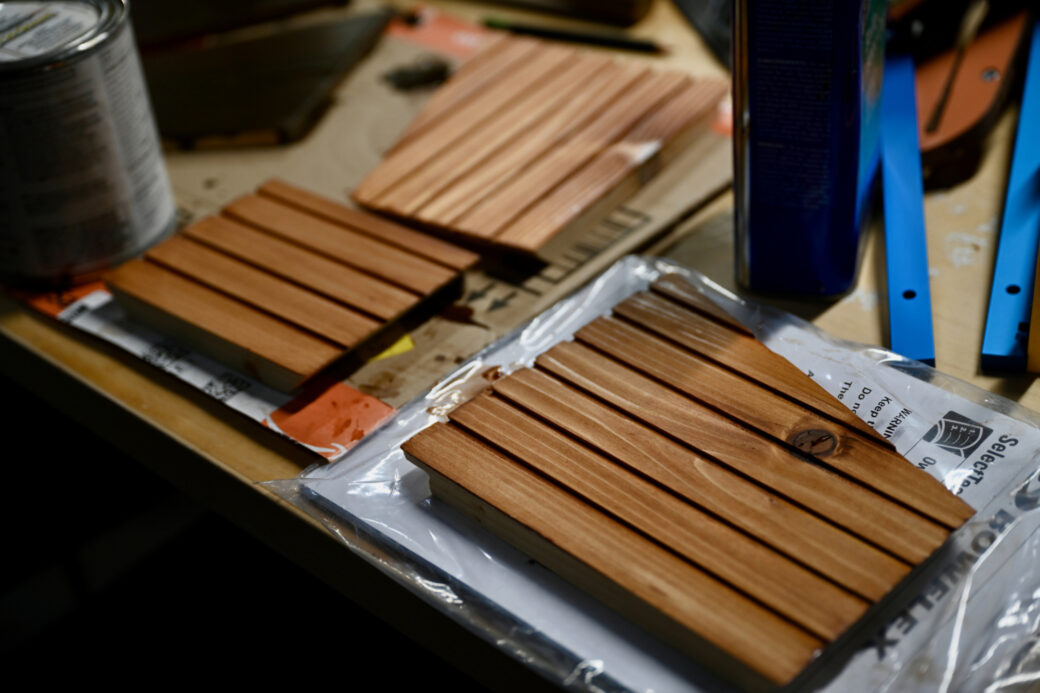
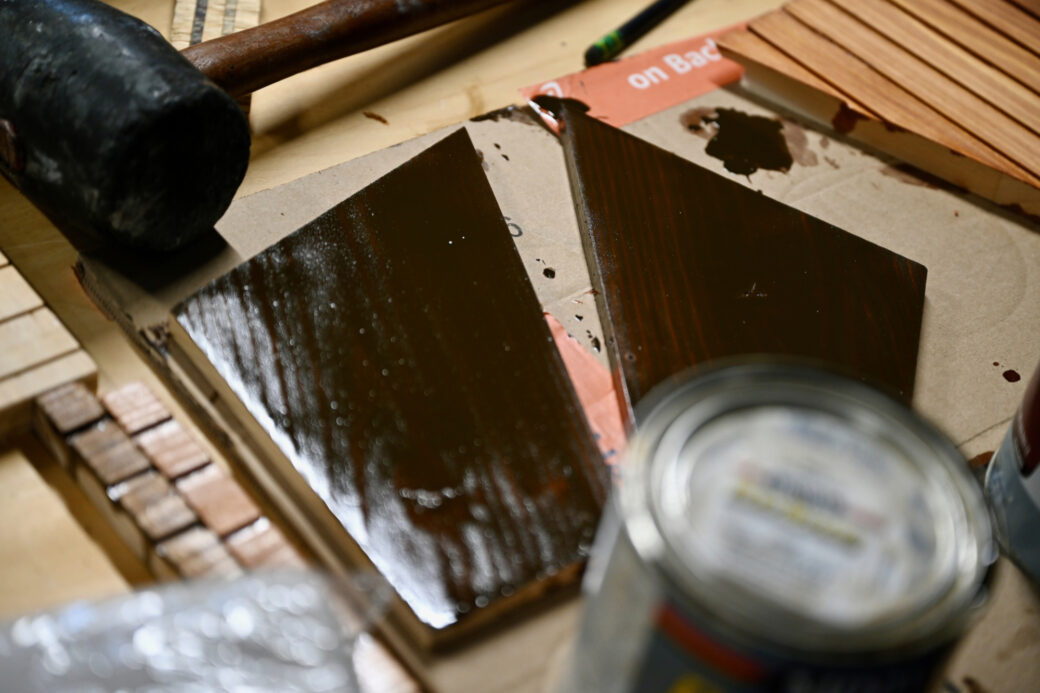
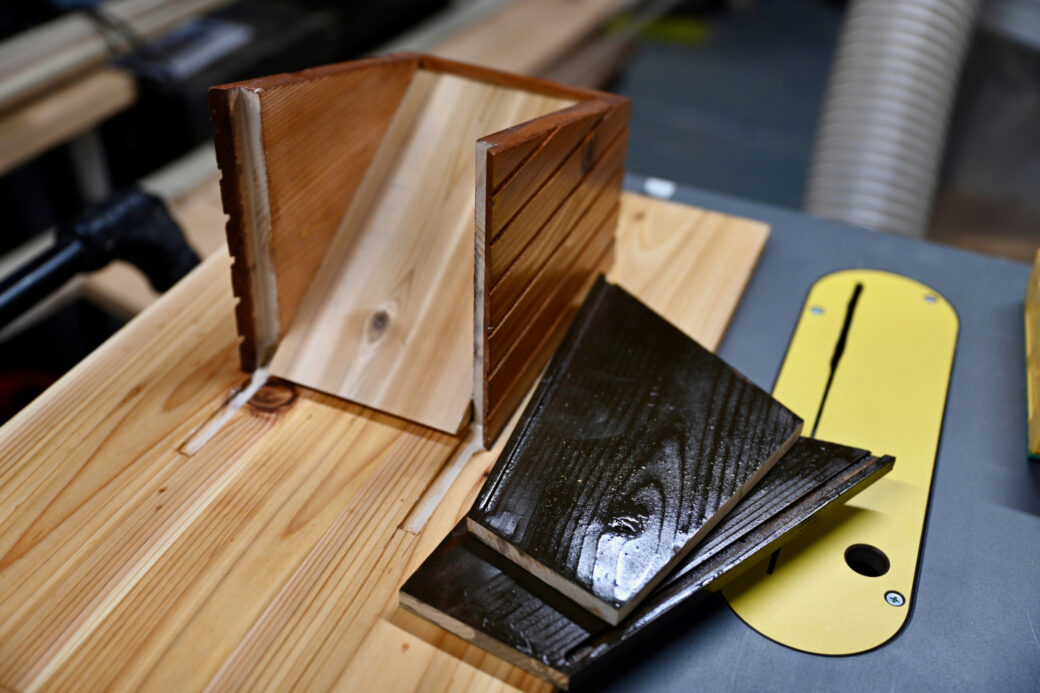
With the hopper pieces all cut, I started the process of staining them. A few years ago I bought a few different colors of this stain and polyurethane mix and my kids and I thought that this would make a good color combination for our feeder. We used a lighter, redder color to show off the dado grooves, and a darker color for the horizontal sides of the hopper.
I wanted to stain the side pieces first because I didn't want to make any mistakes or messes during the staining process. I made sure to avoid staining any side that we planned on gluing together or to the base.
Dowel Movement
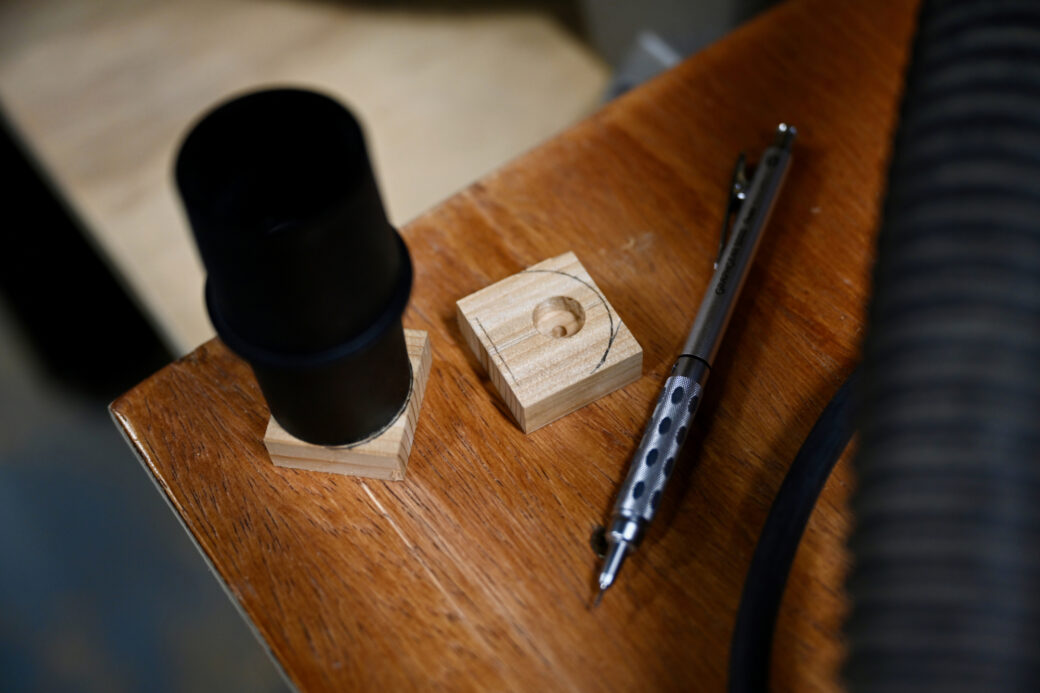
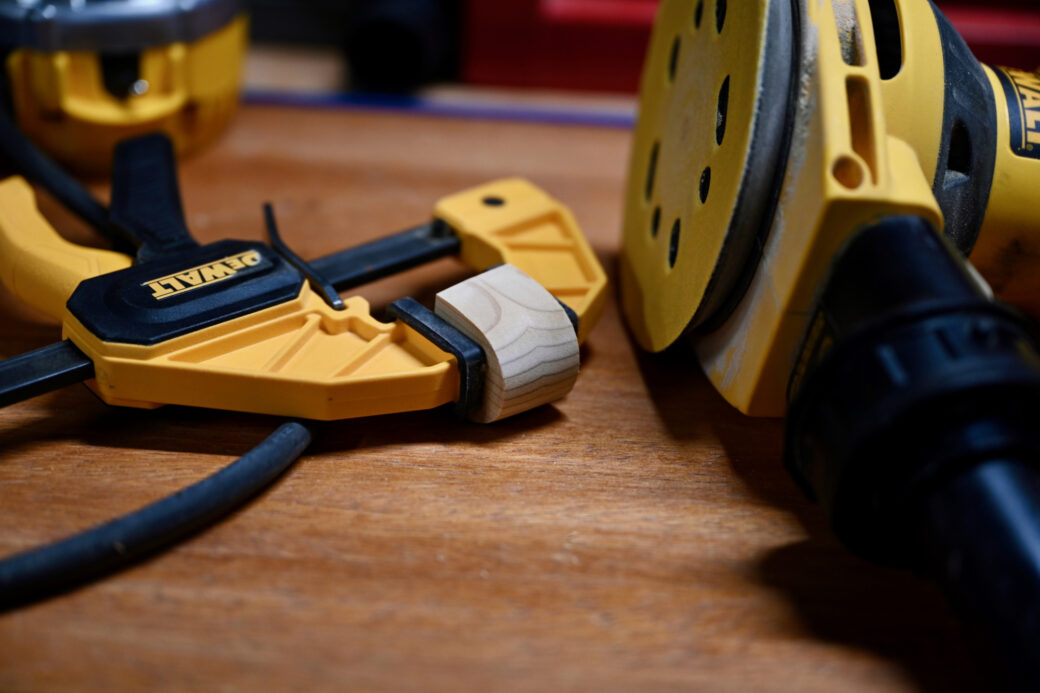
The perch was designed to be super simple. I had a hardwood dowel on hand (I think it was made of red oak), so I based the perch around the size of that. I started with a couple scrap pieces of cedar and cut them down to size. I used a drill press with a forstner bit on it to cut out holes on each piece.
I used a dust collector part to help draw out a rounded angle at the top of each piece. I then took this over to the belt sander, thinking this would be an easy way to get the rounded edge. This proved to be harder to do on a belt sander. It seemed like a better job for a disc sander or a band saw.
To smooth out the edges, I clamped both pieces together and manually used an orbital sander to sand them down.
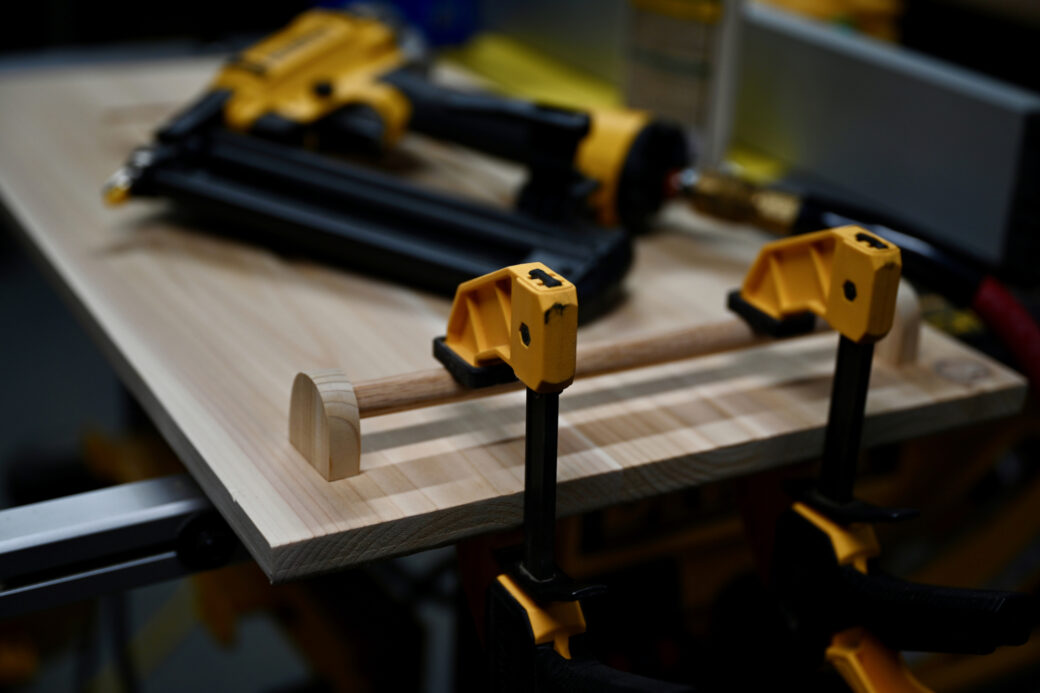
I cut the dowel down to size, put a little wood glue on each end, then attached it to the base pieces.
I put a little glue on the bottom of each perch base piece and lightly clamped the whole perch to the feeder base. I then used a brad nailer to drive a few nails from the bottom of the base up into the perch base.
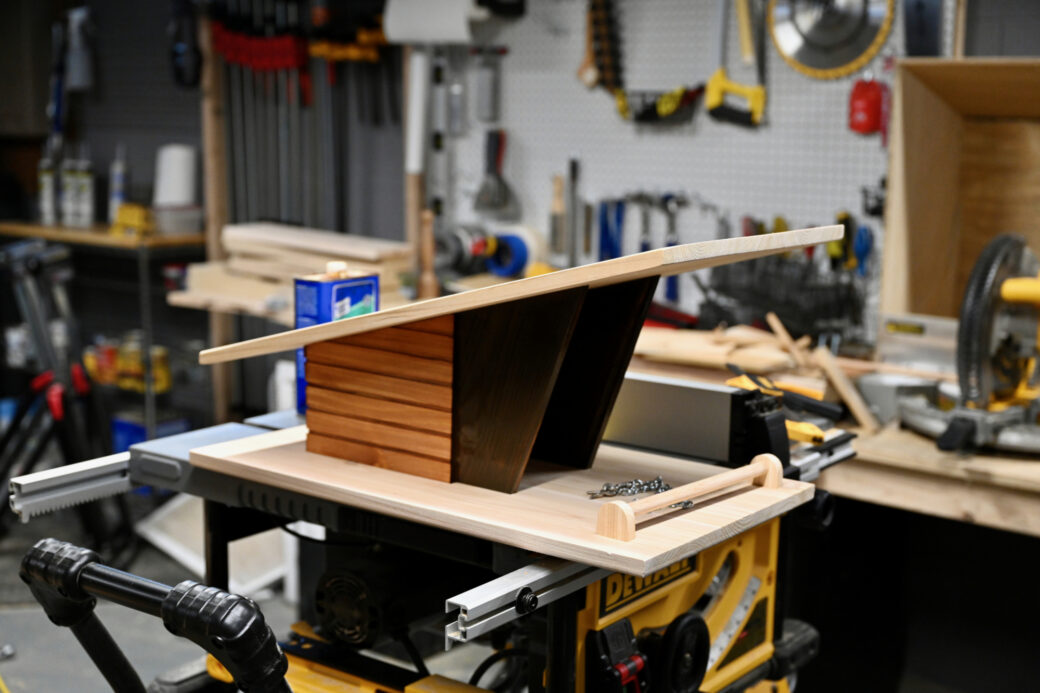
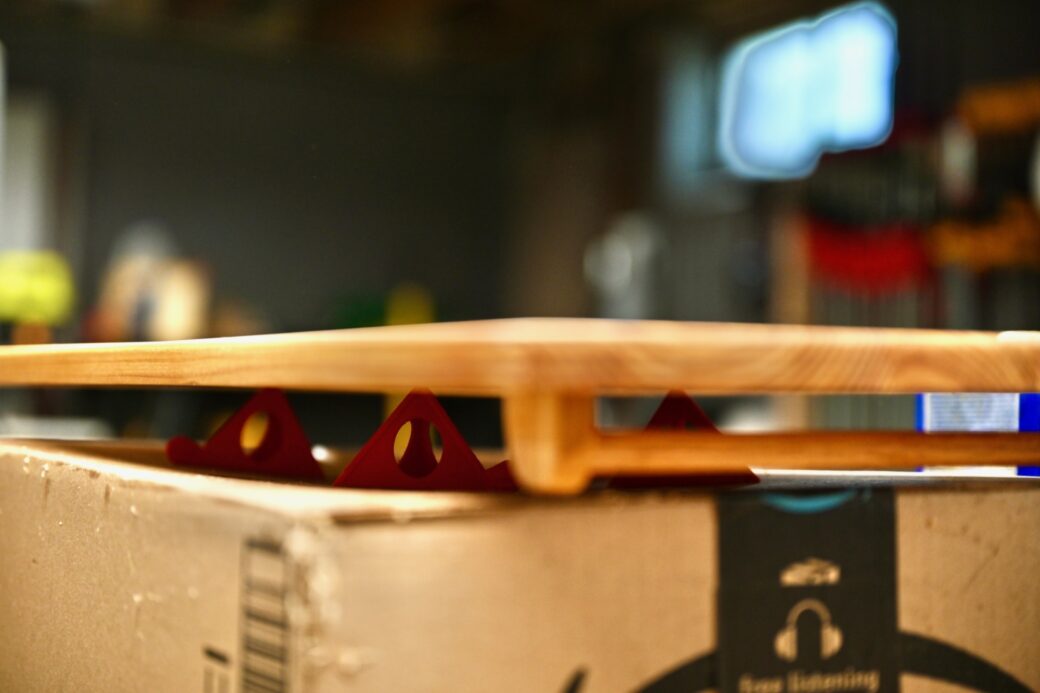
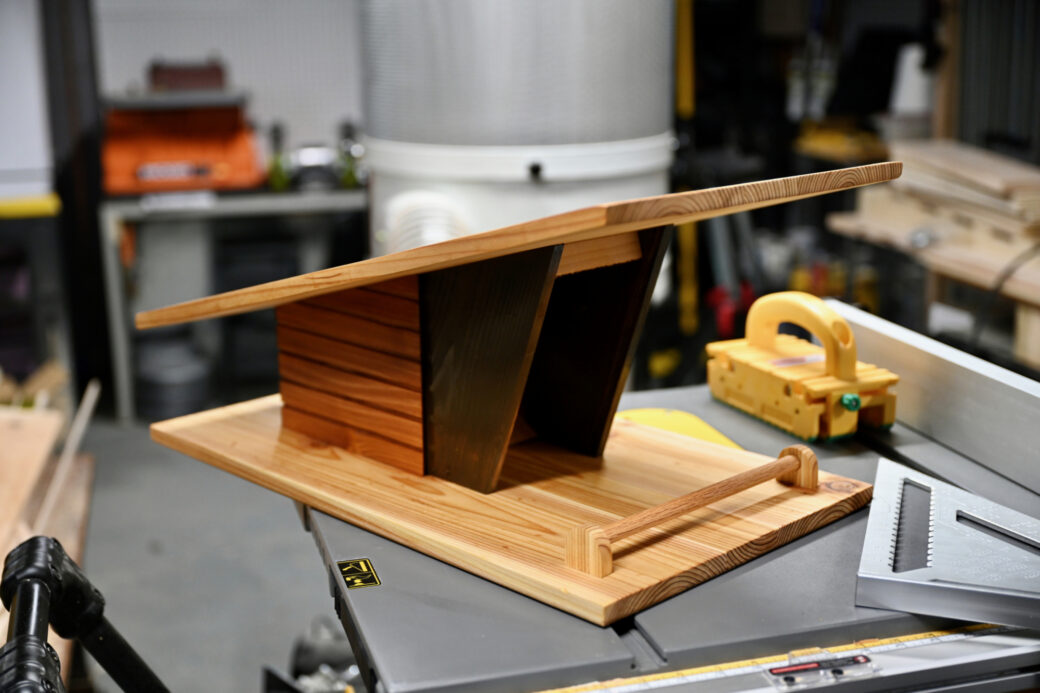
With the perch fastened into place, I used some boiled linseed oil to coat the roof and the base of the feeder. A friend of mine 3D printed a set of pyramids that can be used to help in drying pieces like this. They come in handy when you want to coat the top and bottom of a piece.
Again, I avoided applying oil onto any area that was going to be glued to another piece of wood.
Construction
With all of the main pieces ready to go, I started the final assembly.
I was thinking about how the hopper would work and in order to avoid having a bunch of bird seed that doesn't make it to the front of the feeder, I used some scrap to cut and place a ramp along the back side of the hopper.
I used glue and the brad nailer to put it all together from the inside to avoid any visible nails on the outside.

From there I started gluing the pieces into place. While each piece of the hopper would be glued together, I also drove nails up from the base into each of the sides to give it some extra support.
With the base in place, I started to think about how to keep the roof on. After a few different ideas I settled on attaching a flat piece to the roof that matched up with a support beam inside the hopper piece.
I cut the piece to fit the width of the hopper, then cut it into two part. I attached the larger part onto the roof, then attached the smaller beam to the sides of the hopper.
I used the brad nailer at an angle to give the beam some extra support.
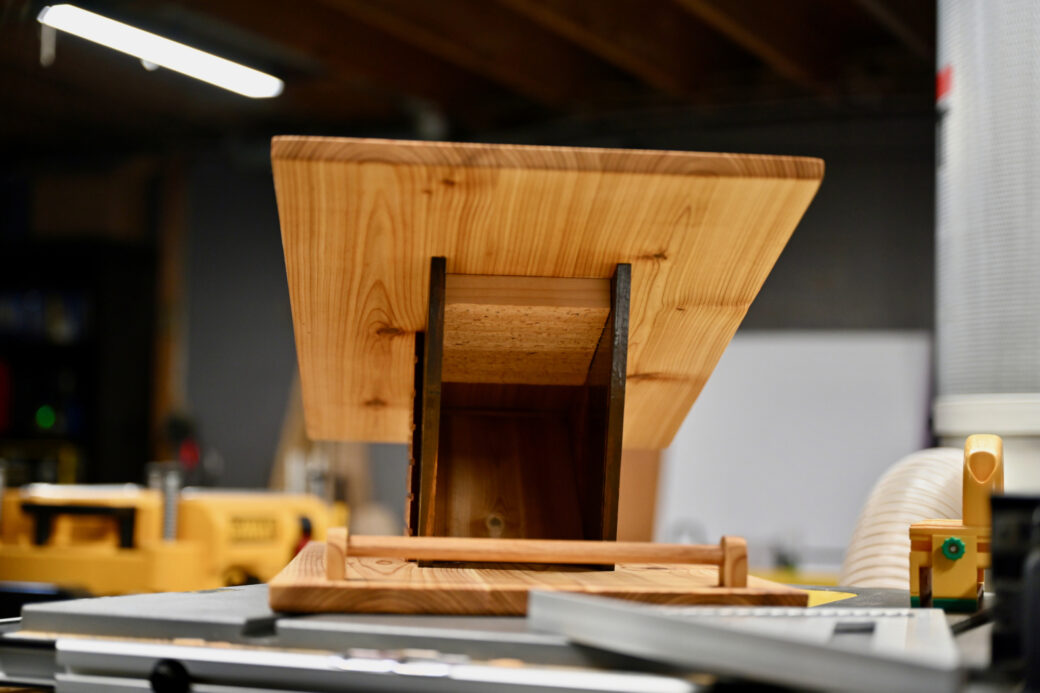
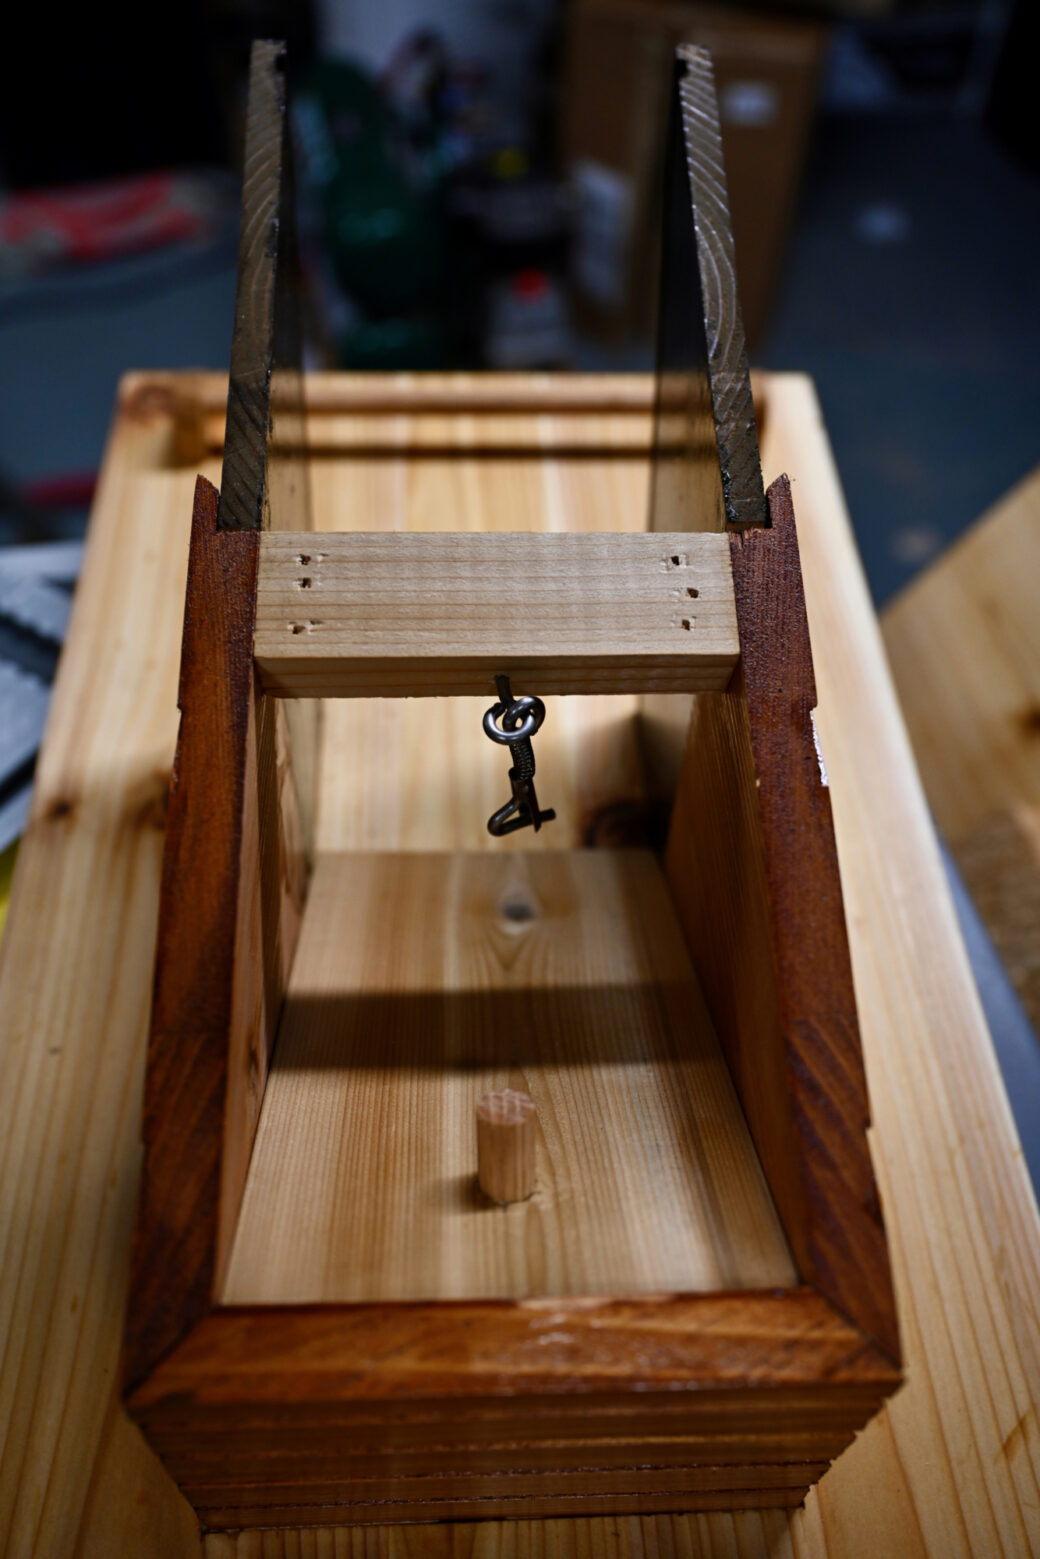
I was thinking about the process of filling in the bird feeder, a well as what might happen on a windy day, so I attached a chain to the support beam and the roof, as well as added a short dowel to act as a place to hang up the chain to keep it out of the bird seed.
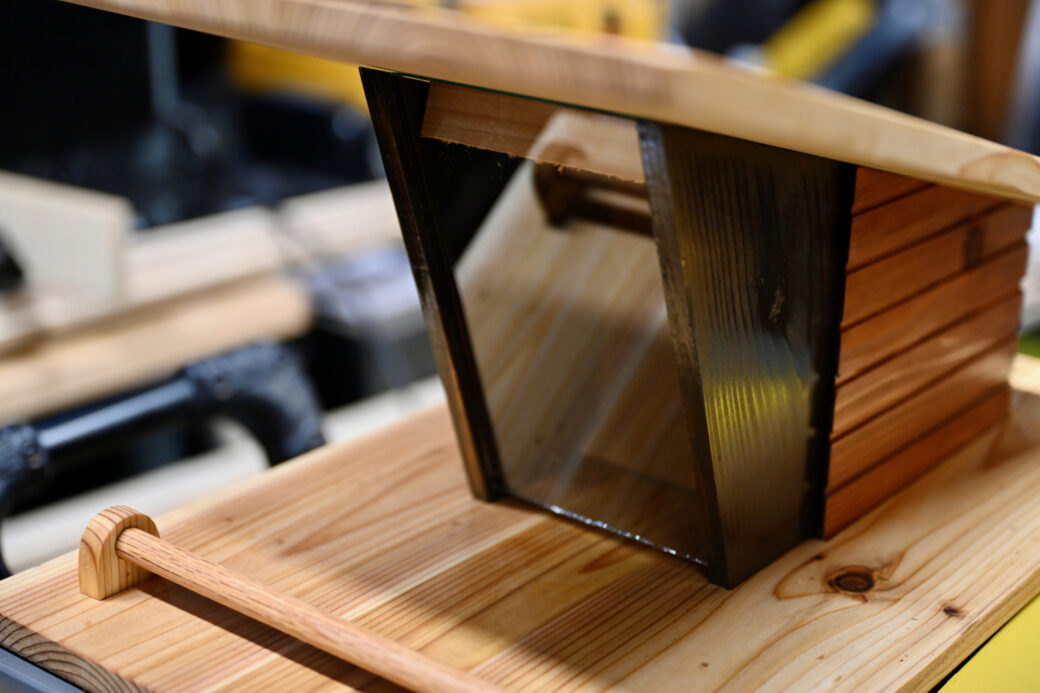
The final piece for the hopper was the glass. I had bought a glass cutter and a few pieces of glass to work with.
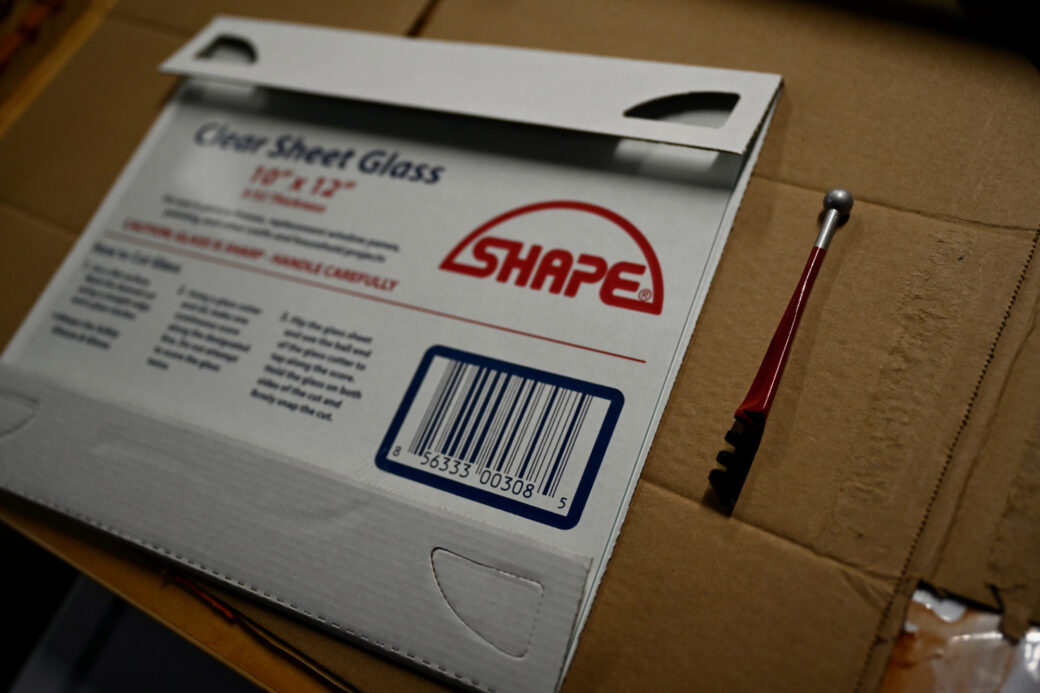
This was my first time cutting glass, so of course I watched about a dozen videos on YouTube on how to do it. While most of the videos said the same thing, one tip from this video, in particular, was very helpful: After you score the glass with the cutter, placing a dowel right below you break line helps to create a clean cut.
I forgot about this tip and in my first attempt I had to break off the glass in a couple of places, making the cut uneven. When I did use the dowel the breaks were perfectly flat and precise.
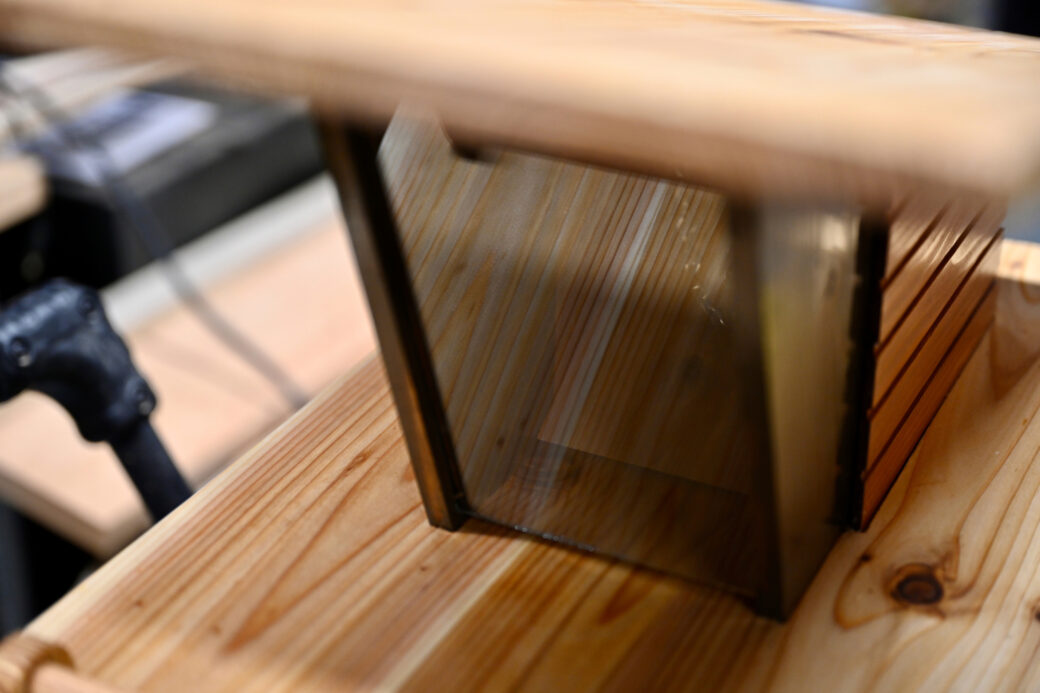
With the glass cut out I placed it into the hopper. As cool as this looked, after I took these photos I realized that I needed a bigger gap at the bottom of the hopper so I wound up with a gap of about 3/4 inch.
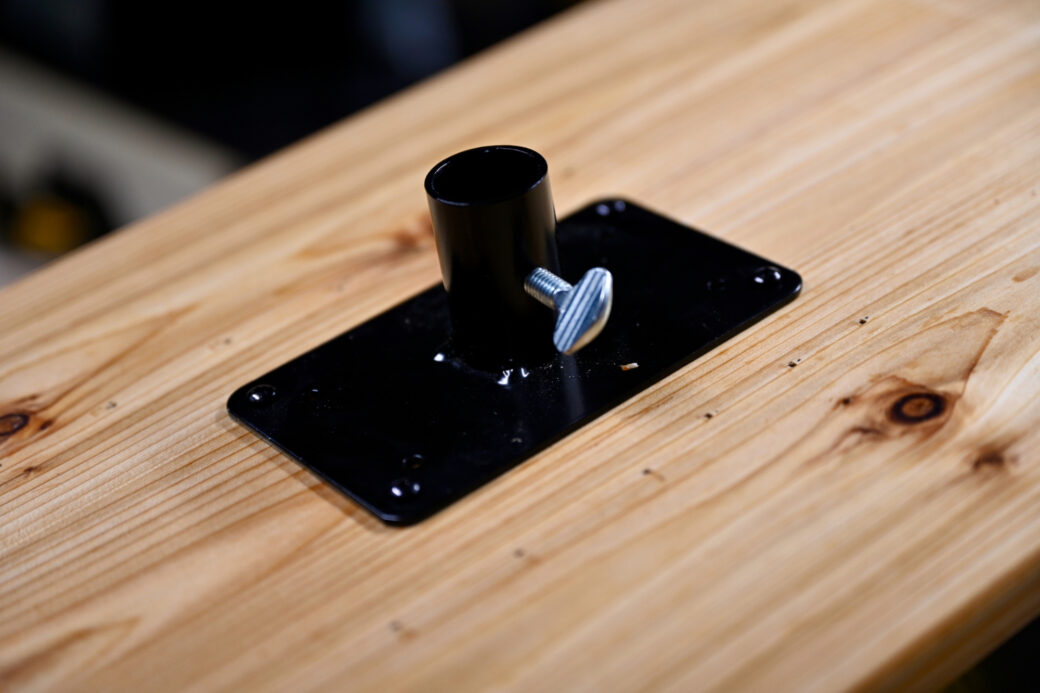
The final step was to attach the mounting hardware to the base. I got this mount at a garden store along with a long pole and a base that you screw into the ground. I used a post leveler that I got for putting in a mailbox and used that to level out the pole.
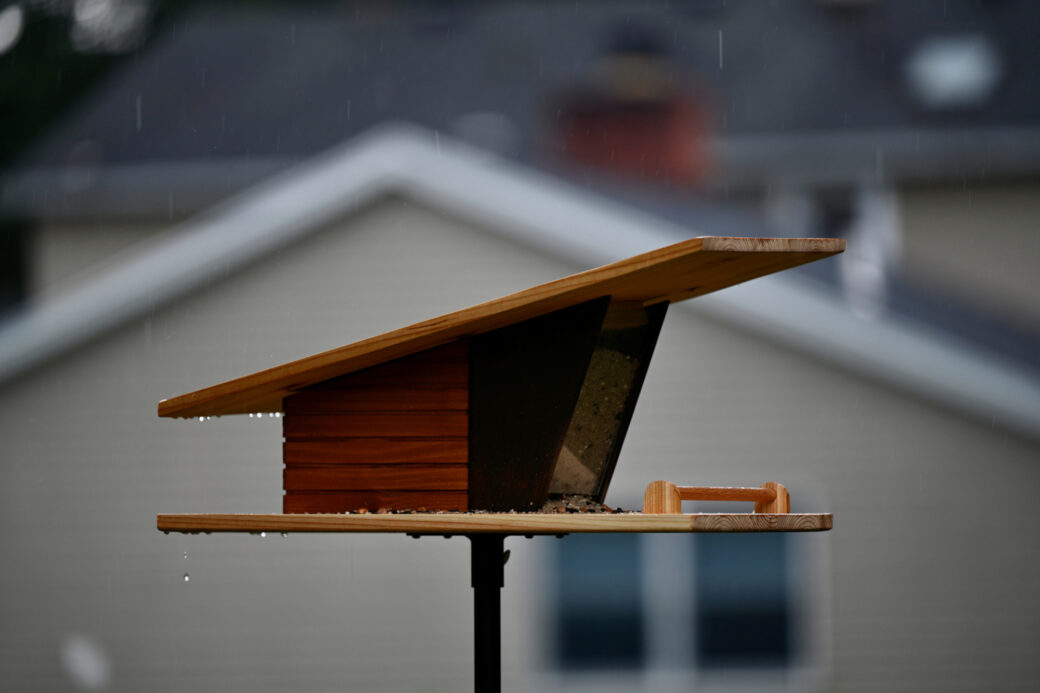
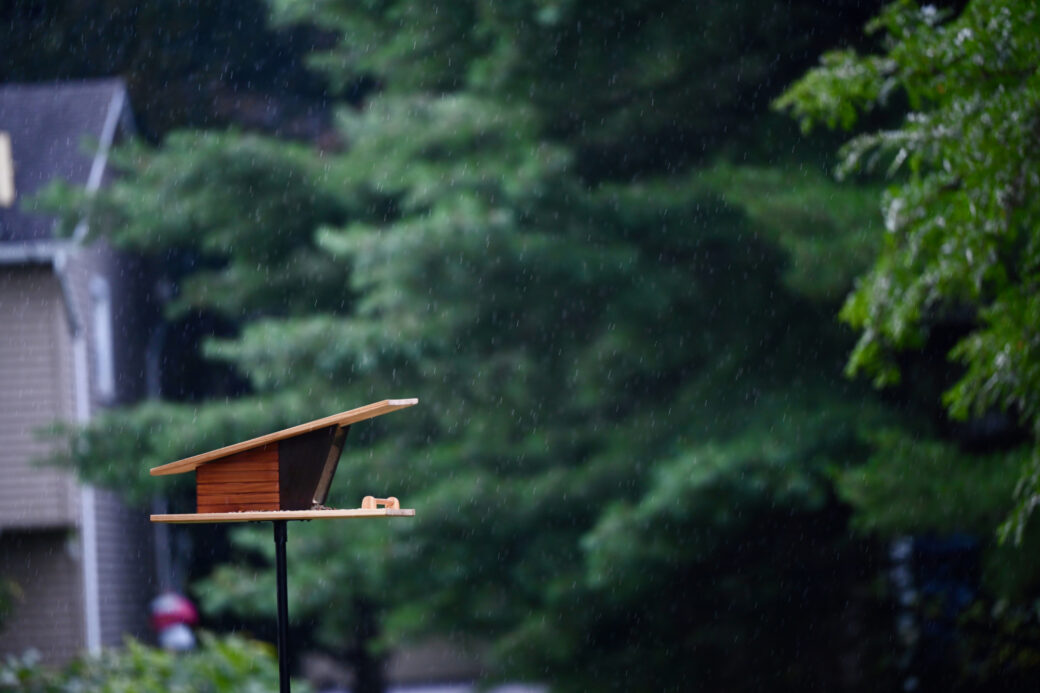
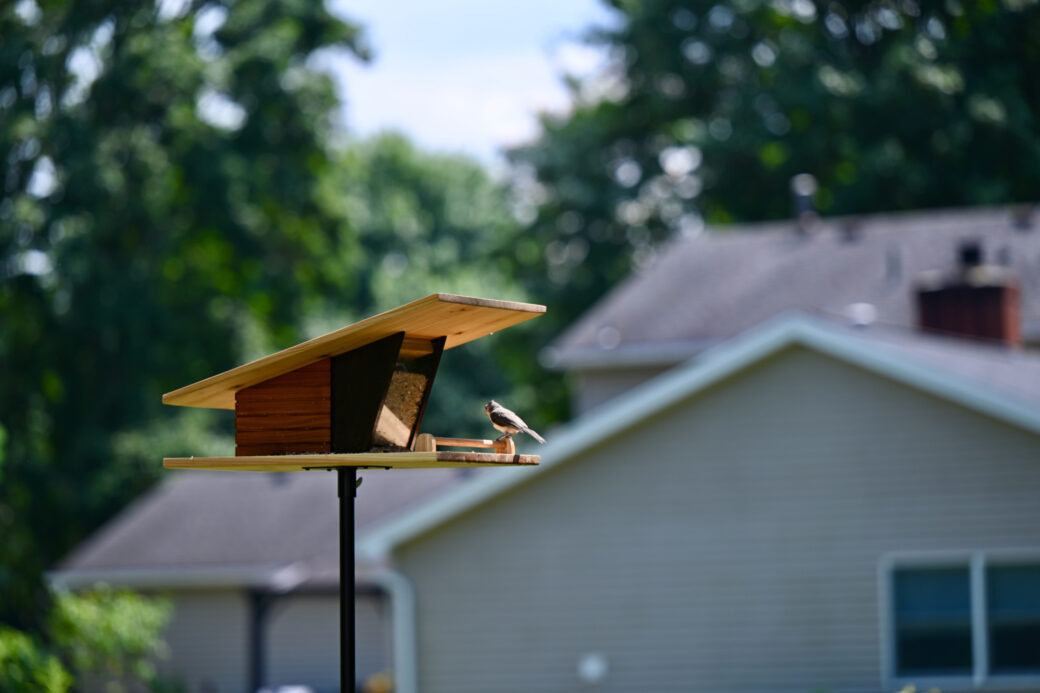
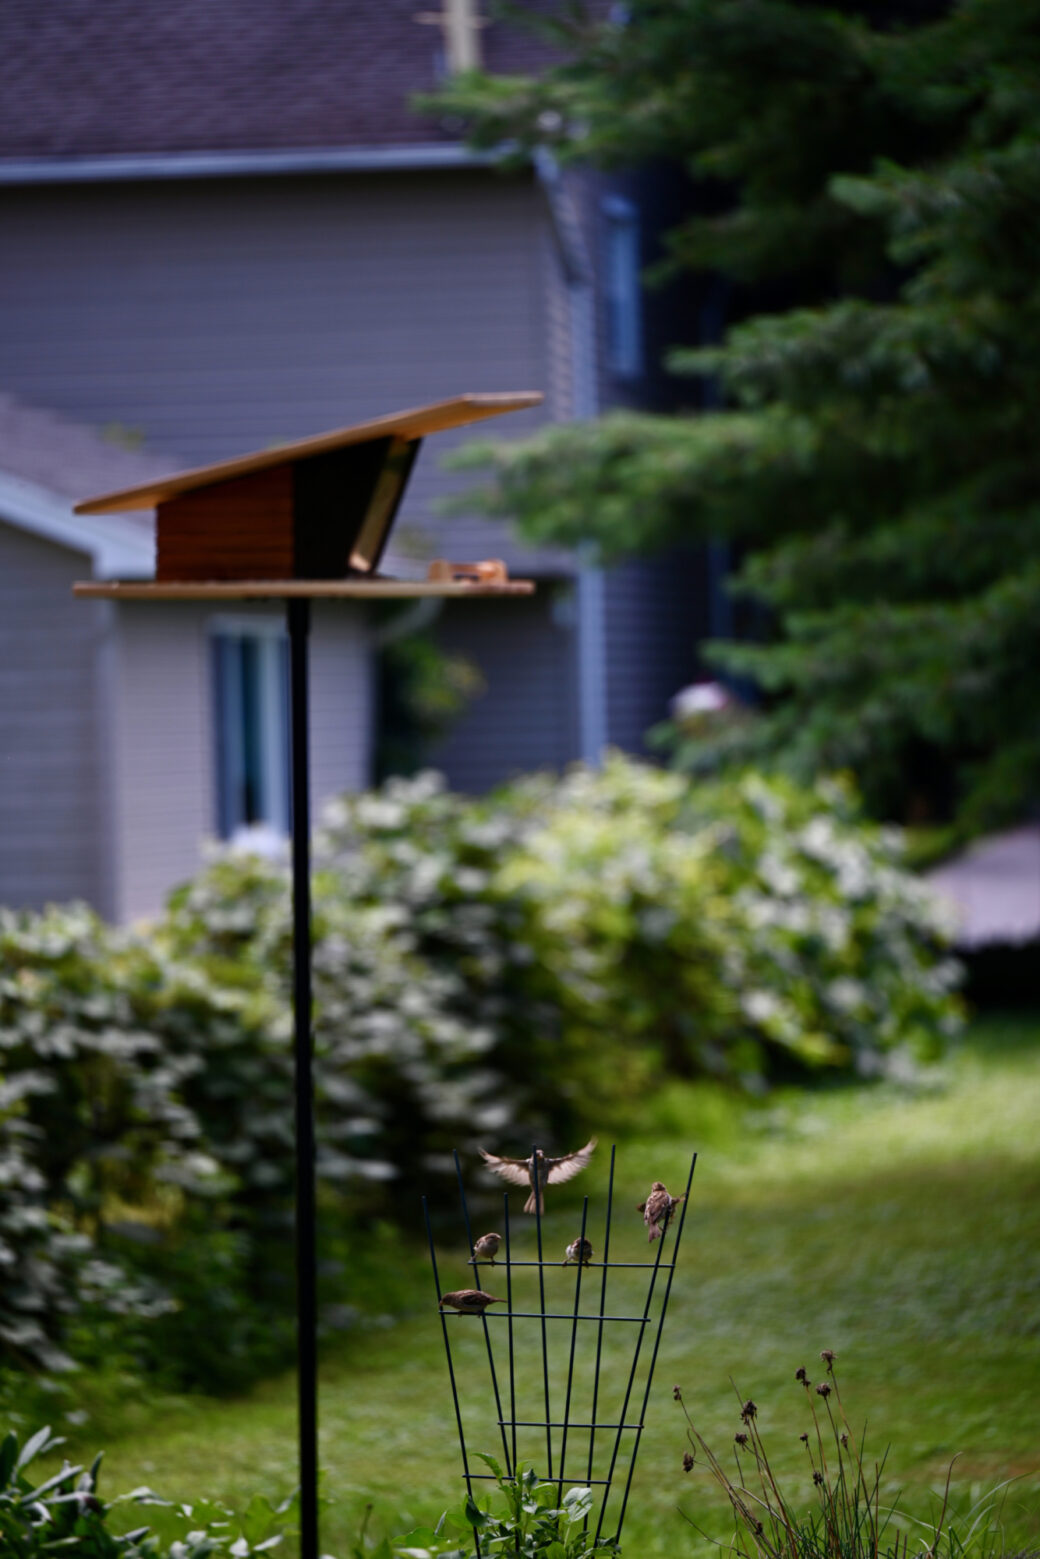
This was a fun project and it gave me and the kids a chance to spend some time together in the wood shop. While the kids role was mostly to watch and learn, they helped contribute to some of the design choices along the way. Both the birds and I agree that these kids have great taste. 🦜