
Two things came together around the same time: my son was learning about washing his hands and needed a way to reach the bathroom sink, and my friend, Ian Auch, started up a local laser engraving shop, Roc City Laser. I planned on making a basic step stool out of 3/4 in. plywood and just painting it white, but the idea of engraving the steps took this project into a whole new direction.
First: Finish
This occurred around the time when I started learning and playing around with various finishes. Ian—who is always learning and seeking out new ways to craft things—told me about some success he had using boiled linseed oil as a finish.
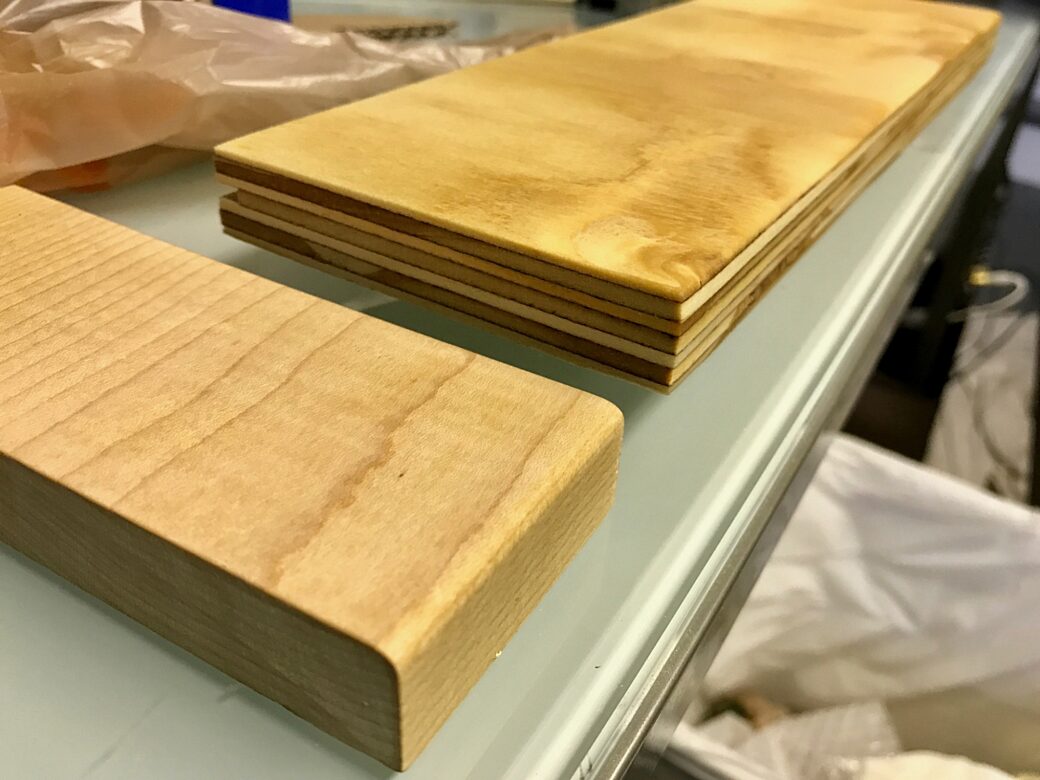
Boiled linseed oil on maple (left) and sanded plywood (right)
With linseed oil in mind, I started doing some tests to see which wood looked the best with it. Although linseed oil made the plywood shine and it brought out the grain and the edges, the surfaces had this yellowish look that I wasn't a fan of. I wound up testing it on a scrap piece of maple, and I knew right away that was what I was looking for.
From there I decided the steps would be made of maple and the color of the sides would be of some sort of dark stain. In the past, I used some brush-on stain/poly mixes that look great, but clean up is a big hassle. It made testing stains on smaller pieces take more time than I wanted to spend.
I picked up a couple of cans of rub-on stains and some disposable rags (think extra thick paper towels). I really liked the color of Miniwax's Jacobean on the plywood. It has this nice chocolaty brown hue.
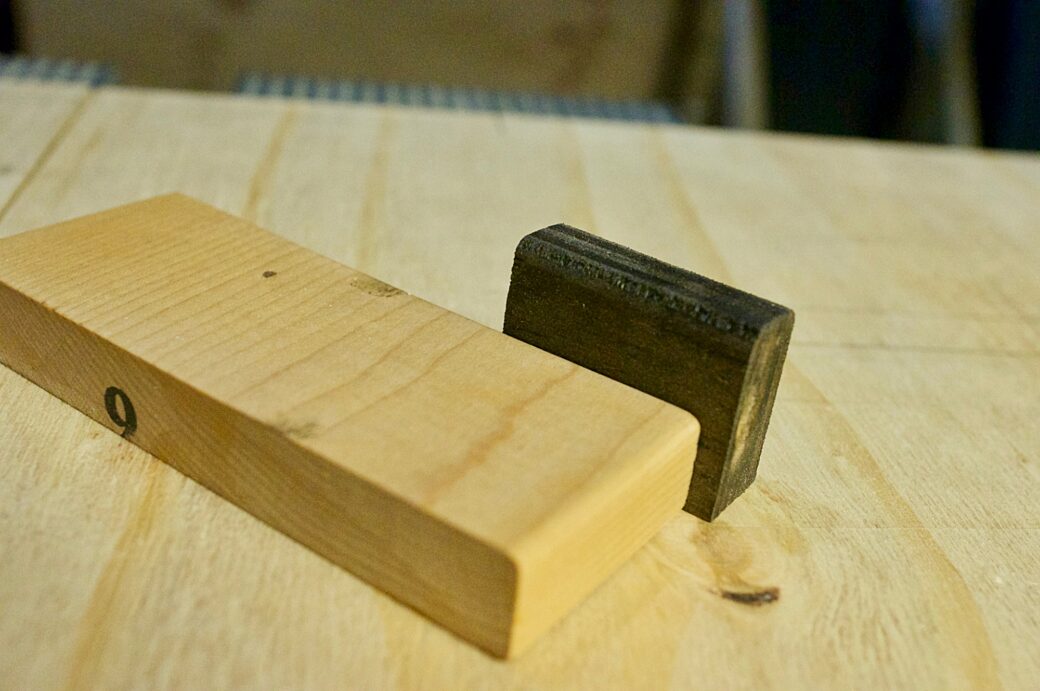
Pairing maple with boiled linseed oil with Miniwax Jacobean stain
Hiding Screws
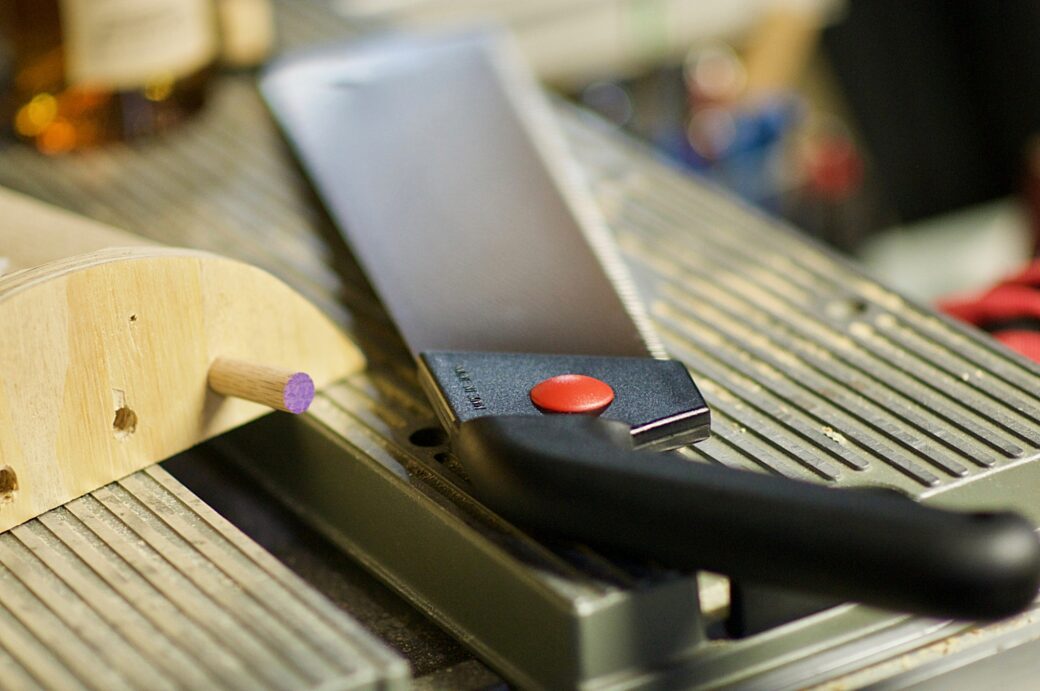
Ian had also introduced me to the idea of using wood plugs to hide the screws used to support the steps. This made a lot of sense for this project because I wanted the strength of wood glue and screws to hold the stool together, but I didn't want any little fingers getting cut or stuck anywhere. As with most purchases, I started researching reviews on The Sweethome and picked up their top pick for a Japanese-style pull saw, the Shark 15 in. Carpentry Saw.
First attempt at plugging a hole using a dowel
To get the plugs to work, I picked up a dowel that matched my 3/8 in. forstner bit and followed these steps:
- Punch and drill a pilot hole where the screw will be placed
- Use the fostner bit to drill a hole about 1/4 in. into the drill hole
- Countersink the inside of the hole a bit so the screw will be flush
- Drive the screw in to attach the pieces of wood together
- Cut a small piece of the dowel down to at least 1/2 in.
- Put some wood glue into the hole (especially on the inner walls of the hole)
- Place the dowel into the hole and wipe off any excess glue
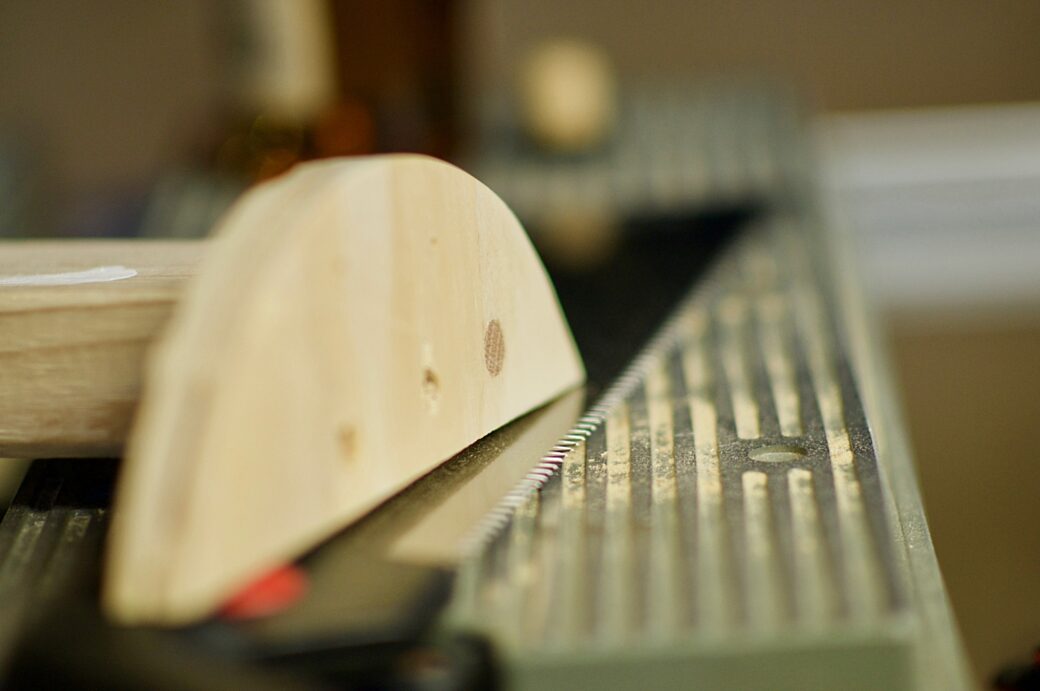
- Wait for the glue to dry, then use the saw to cut the dowel as flush to the wood as possible
- Hit the dowel with some sand paper or a hand sander to flatten it to match the side of the wood
- if you find any gaps around the cut, use some wood filler, let it dry, and sand it down to smooth out the area
After cutting and sanding the plug was smooth with the surface
Design
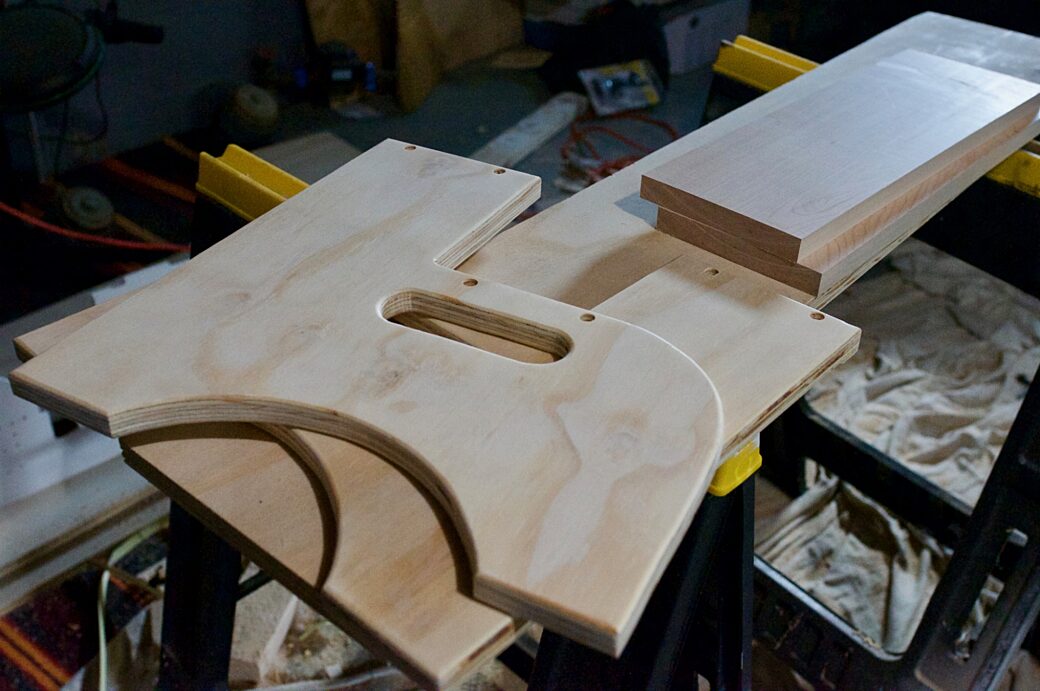
Earlier this year I picked up a 10.5 in. iPad Pro and an Apple Pencil with the intention of using it for projects like this. I found a great vector-based drawing app, called Graphic, to lay out the design of the stool. At this point I had already decided on some sort of space/rocket theme, so I decided to make the front of the sides of the stool rounded to follow the curves of a rocket ship. As for the measurements, I looked up a few step stool plans online to get an idea for what works and what is safe.
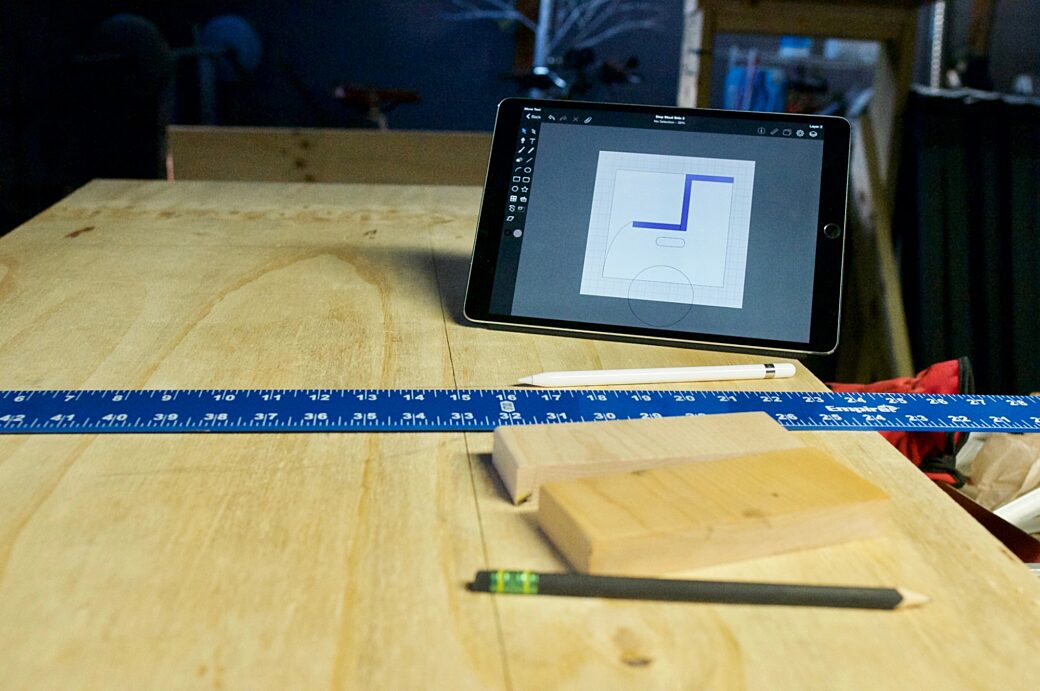
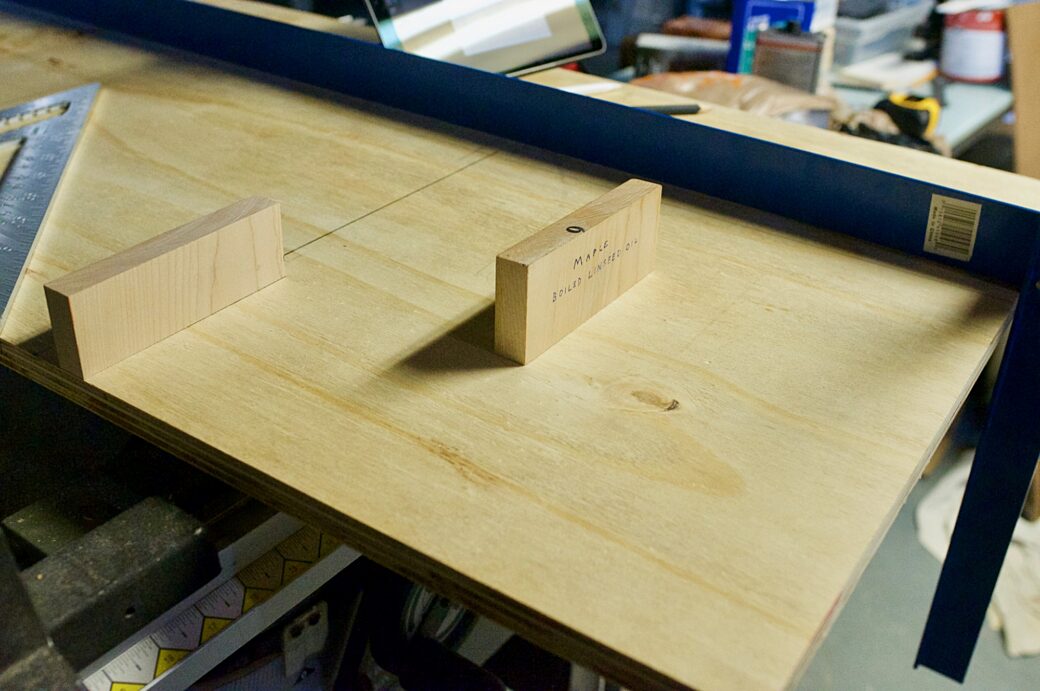
Placing the steps into position
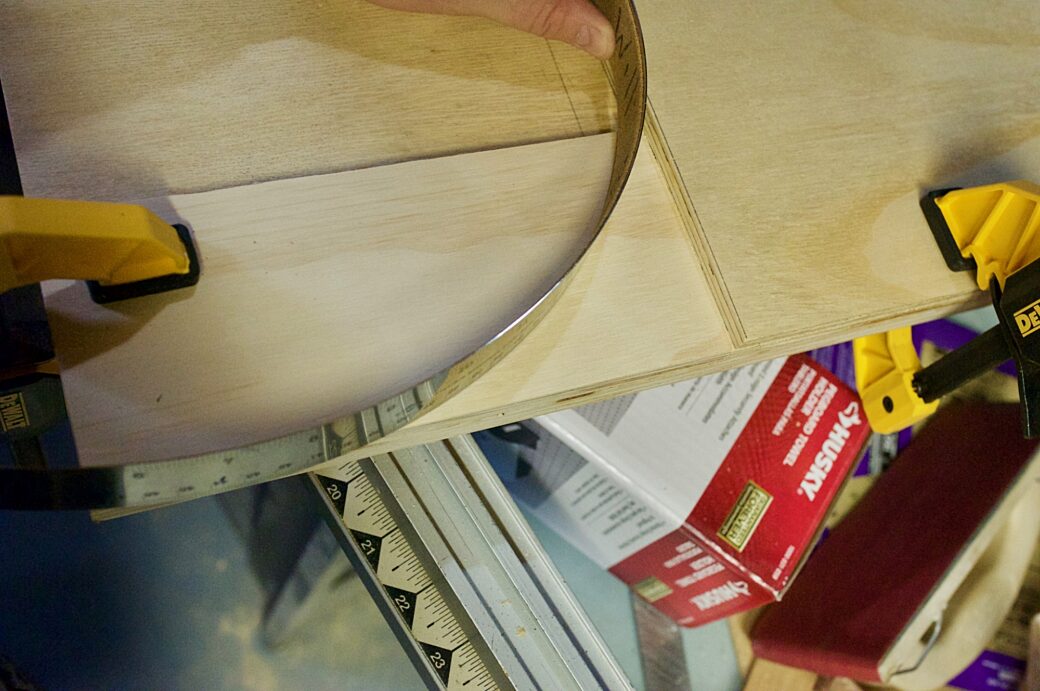
Using a flexible ruler to draw out the curve
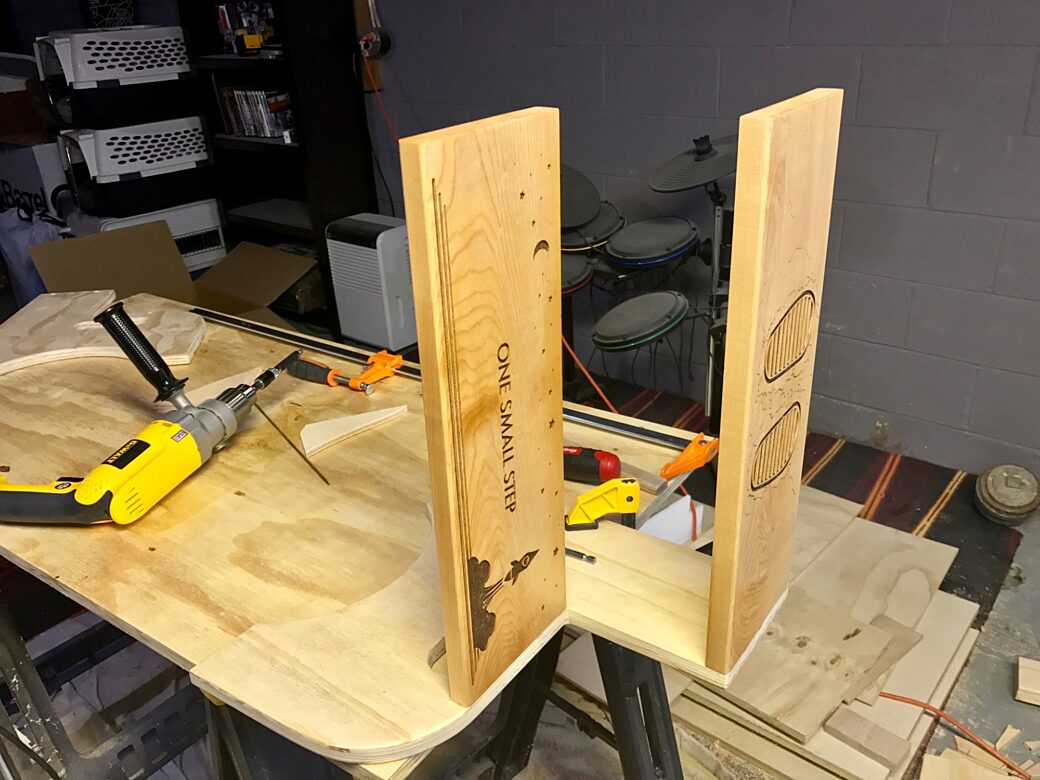
The design of the ship blasting off and the footprints at the top were a mix of inspiration and practicality. I had just finished listening to the audio book of The Martian and I loved the detail Andy Weir used to be so descriptive about the equipment and the suits that his characters used on their mission.
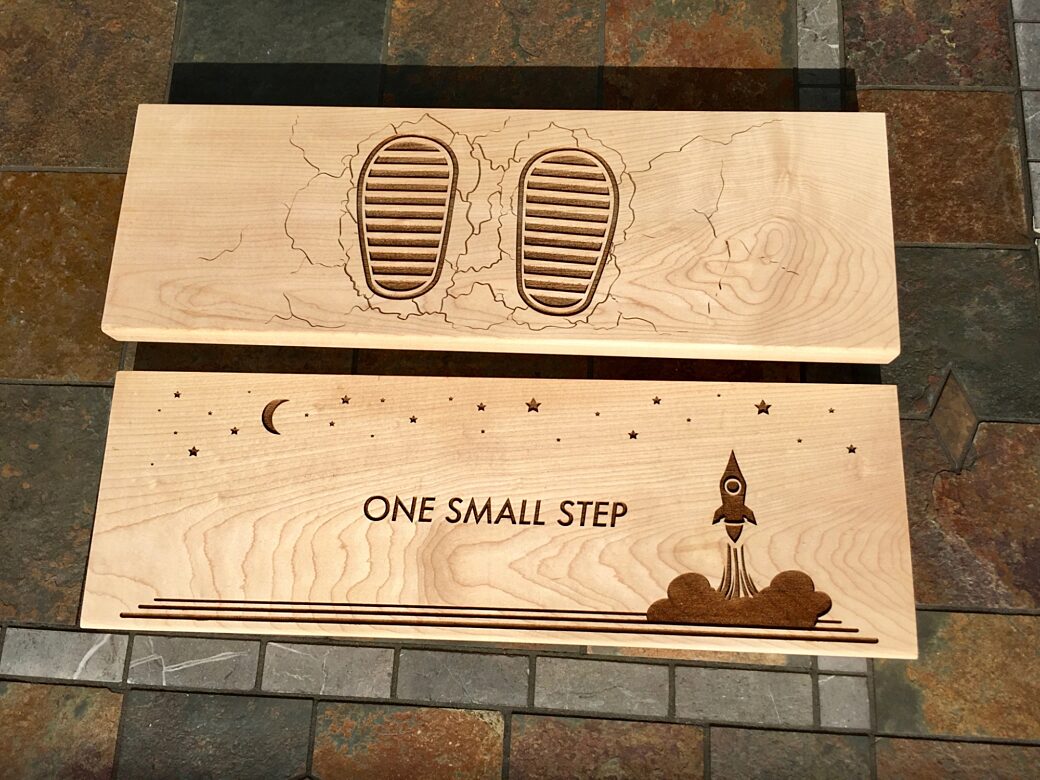
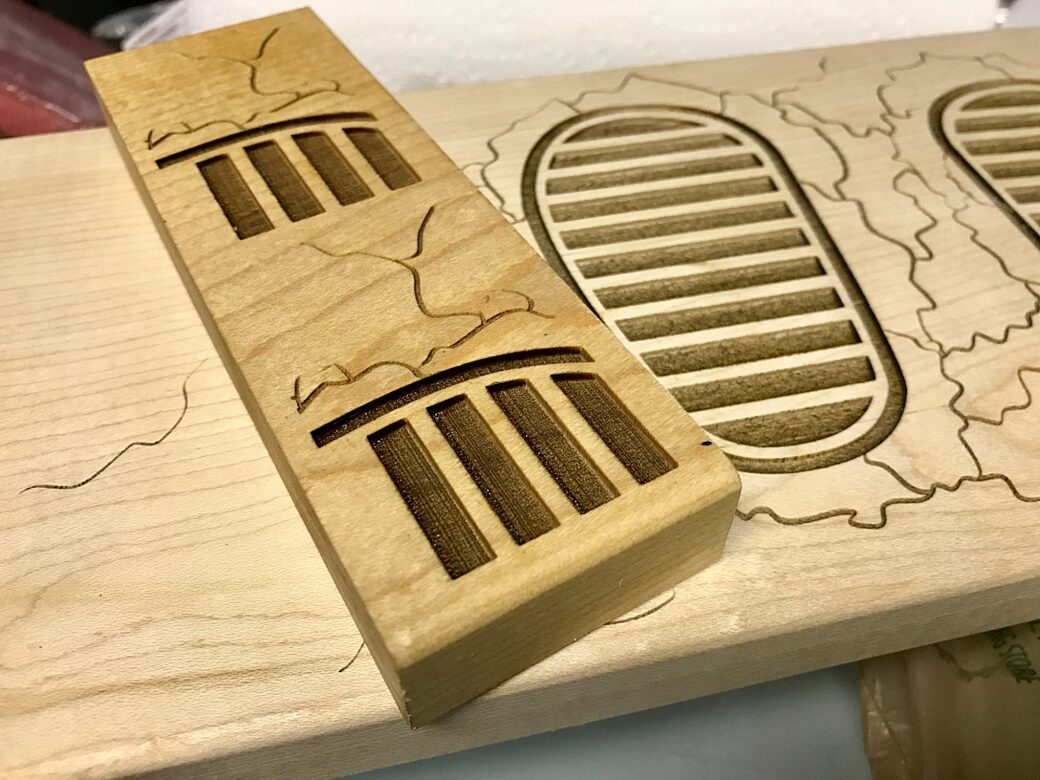
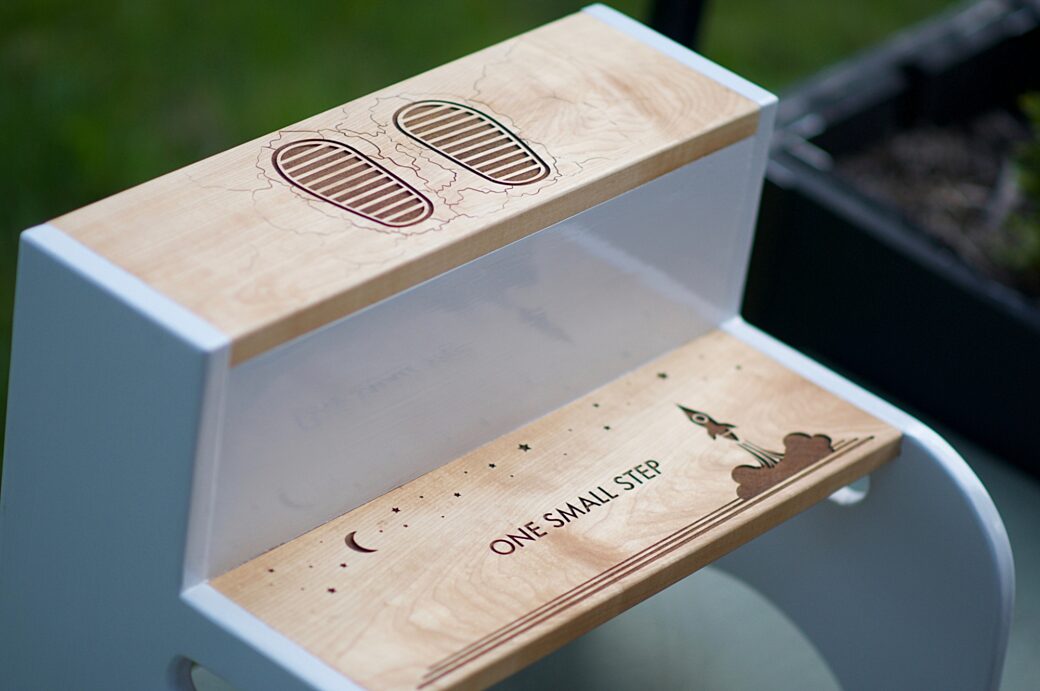
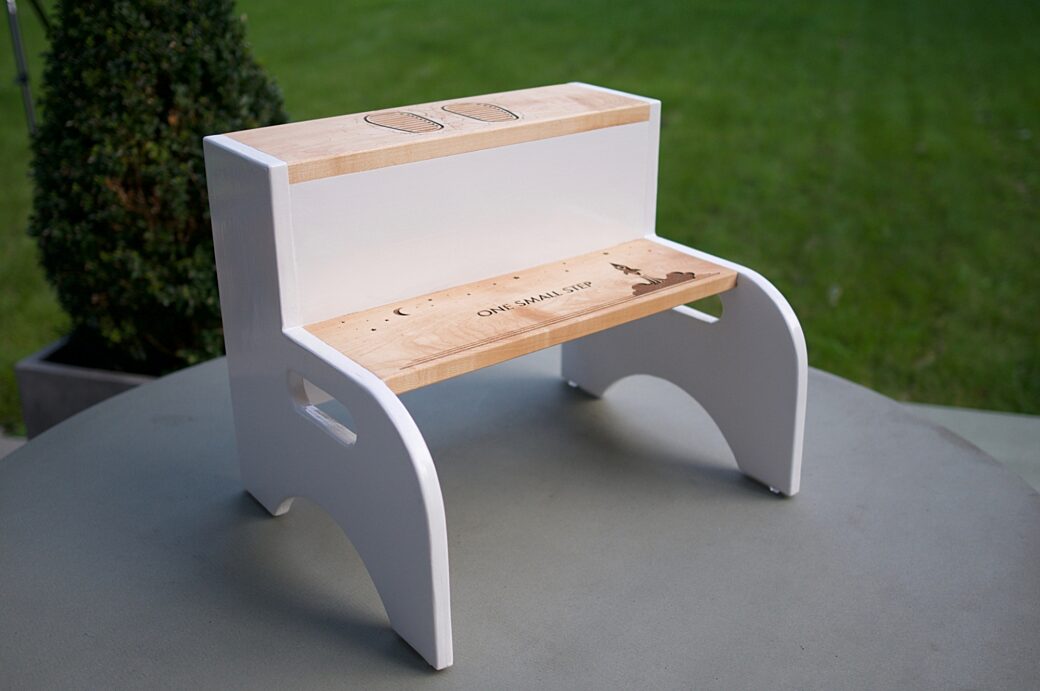
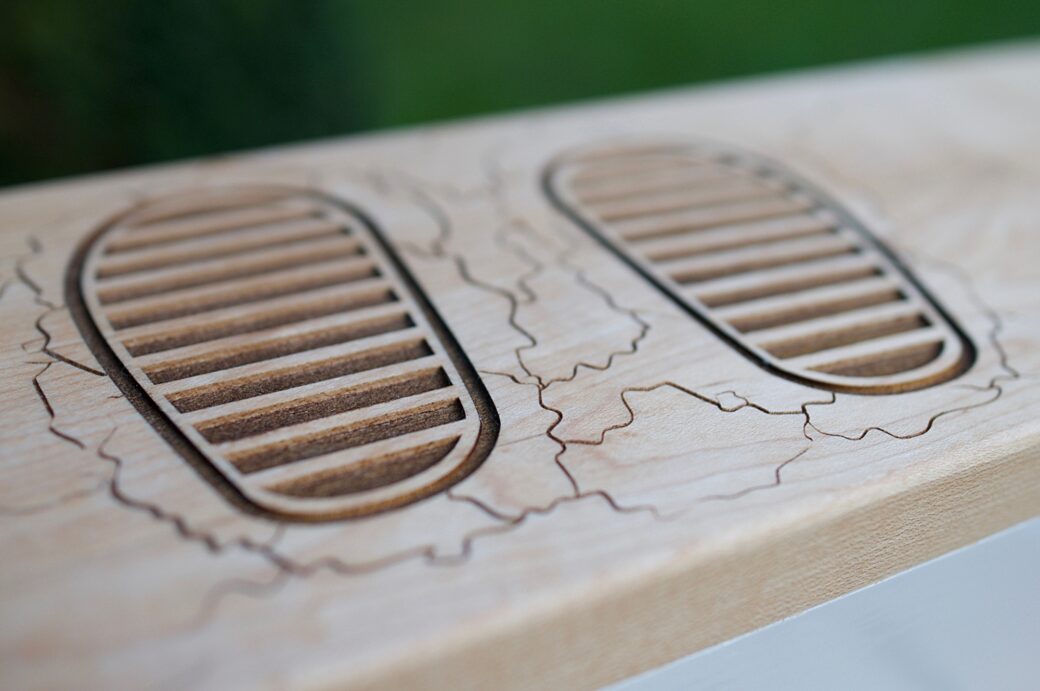
I designed the top step to include the kind of footprints you might make in the soil of Mars while walking around. When it gets engraved it provides some tread on the top step to make it a little safer to stand on, and it also indicates to my toddler where he's supposed to stand on the step. Spoiler alert: he totally uses the footprints to guide where he steps.

A sketch of the rocket blasting off
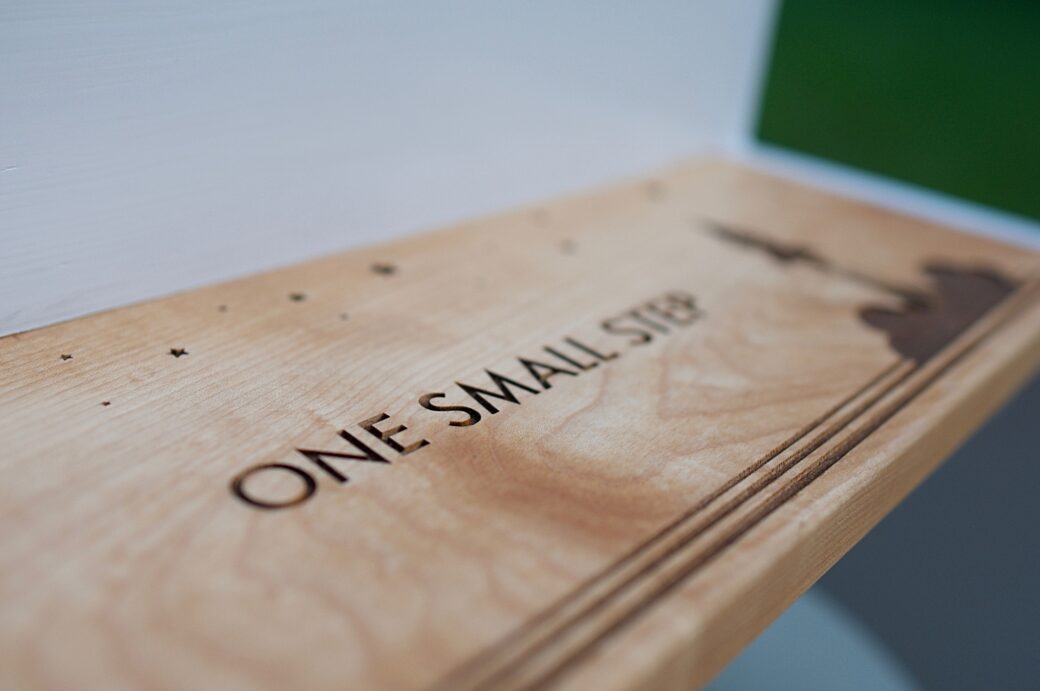
The idea for the rocket blasting off and the starry night scene followed and at that point I had decided to keep the natural wood color on the steps but to go to a spaceship-white finish for the rest of the stool. Not only would that give me a chance to try out a glossy, oil-based finish, but it would contrast better with the dark floors in our house.
I worked with Ian to figure out how to design the engraving art for the Glowforge and wound up doing the majority of the design in Graphic, on the iPad. Then I exported the designs over to Illustrator to clean up some pathfinder issues and to finalize everything.

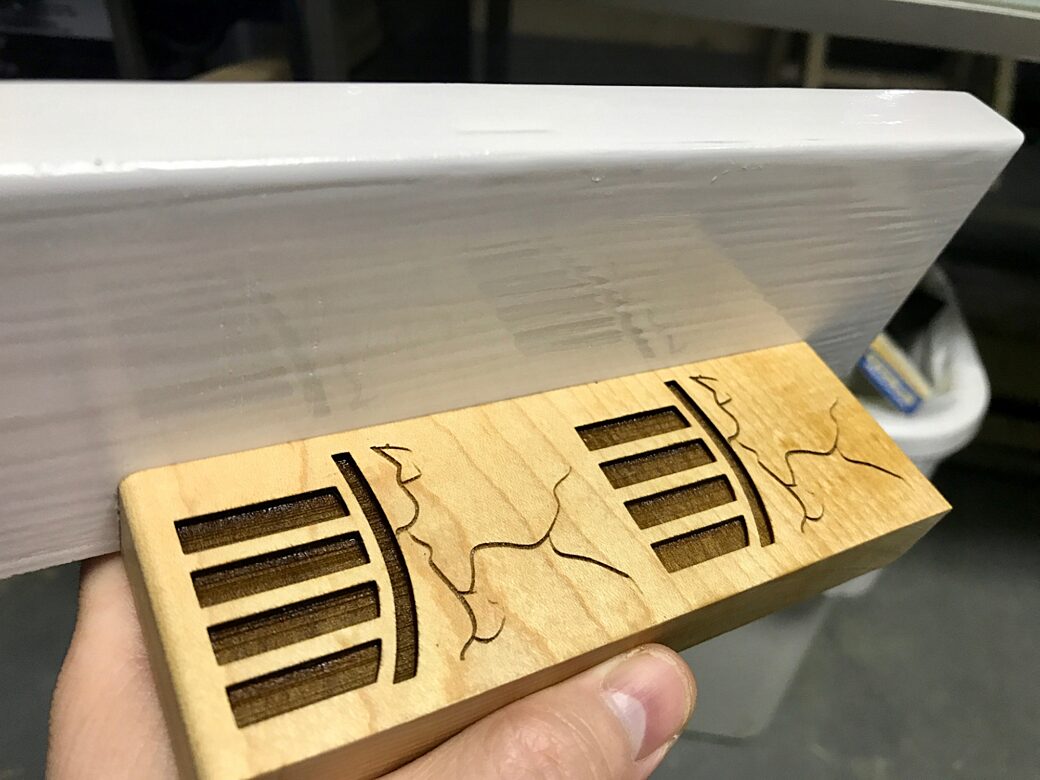
The final art sent to Roc City Laser: black = deep engrave, blue = shallow
Because the laser is precise and can handle multiple engraving depths, I made sure the engrave of the rocket and the footprints were deep enough to add some tread to the steps, but the cracks and some of the stars got a shallower depth to give a little variation to the engrave.
Roc City Laser dropped off a depth sample to give me a couple of options to choose from
Testing out the final finishes: boiled linseed oil and oil-based white paint (ugh ... those brush strokes)
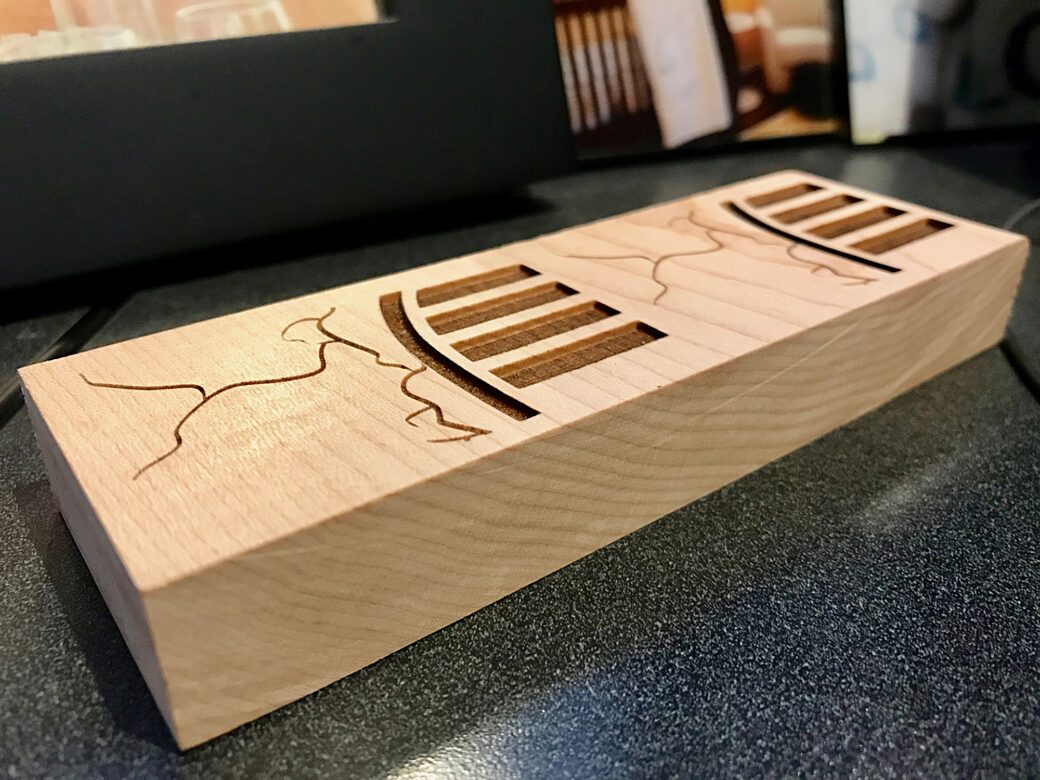
Once we had tested out the engrave, I cut, routed, and sanded the steps and delivered them to Ian. A few short hours later the engrave was done and he had sent me this shot.
Hot off the Glowforge
I was super excited to get these home and I got right to finishing. First, I used a conditioner to prep the boards. Then I applied two coats of boiled linseed oil. I know linseed oil should be mostly water resistant, but I also applied two coats of rub-on polyurethane to add some extra protection—hitting the boards with 1000 grit sandpaper in between coats.
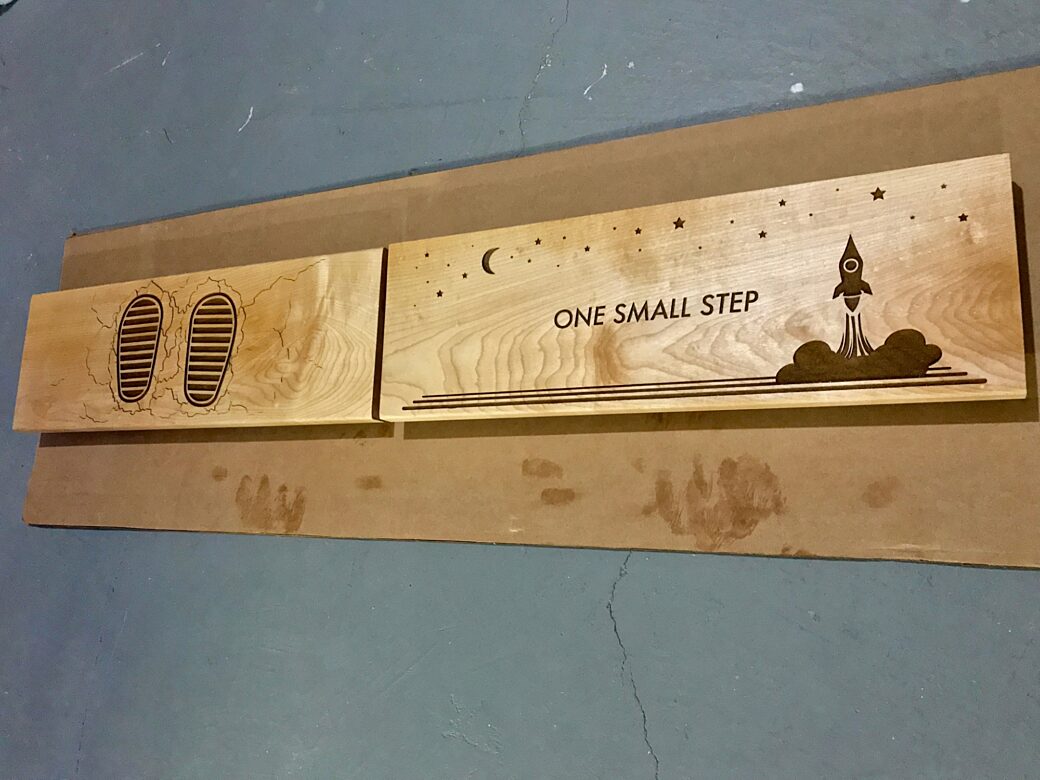
The test piece with boiled linseed oil applied, next to the raw, newly-engraved board
The steps after the first coat of boiled linseed oil
Constructing the Rest
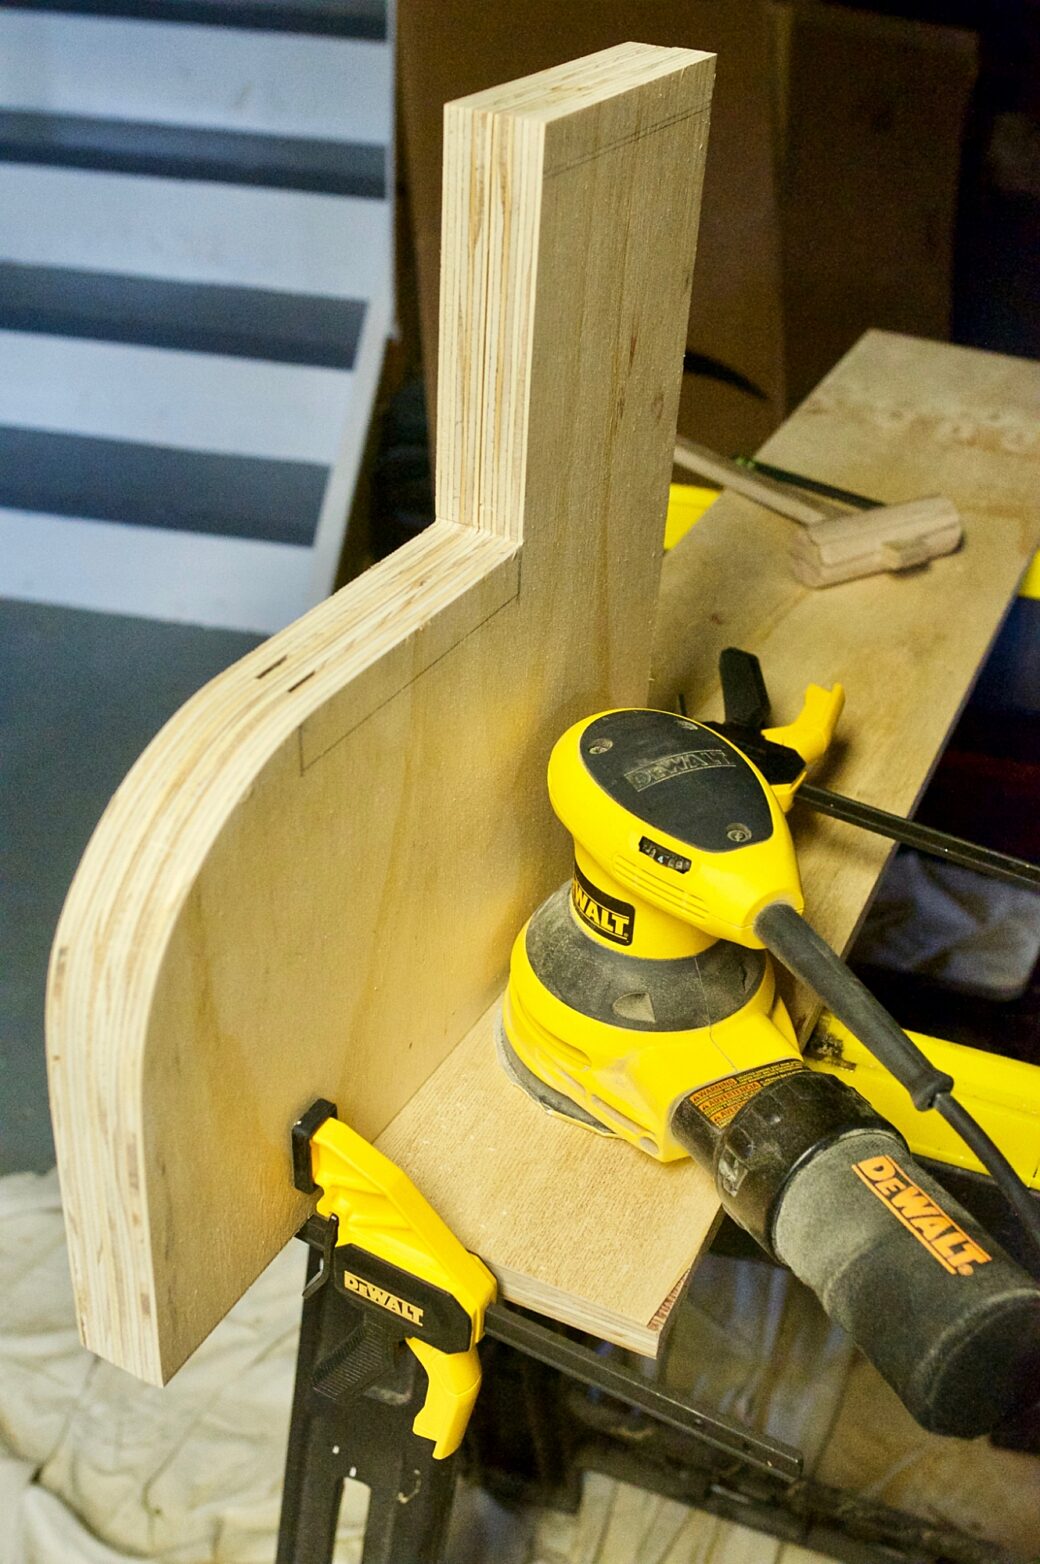
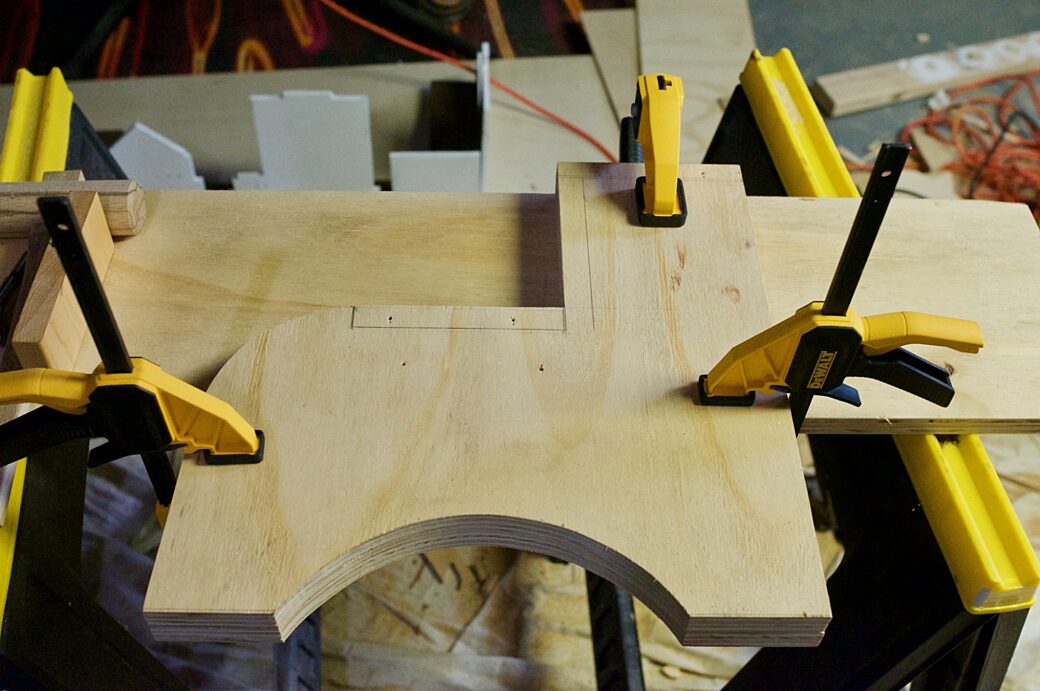
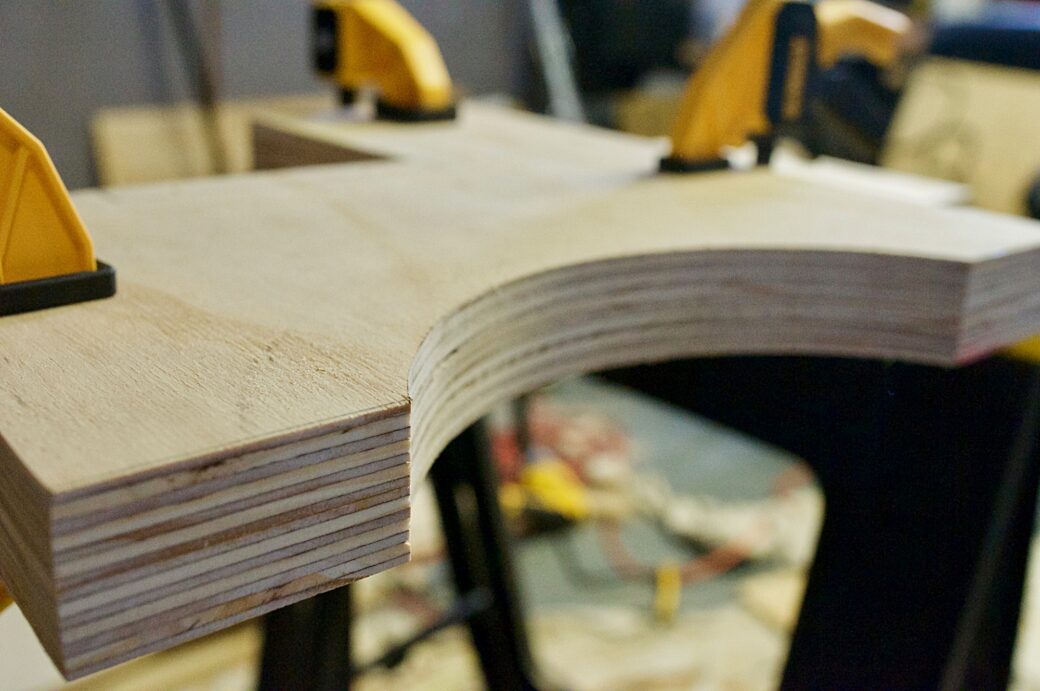
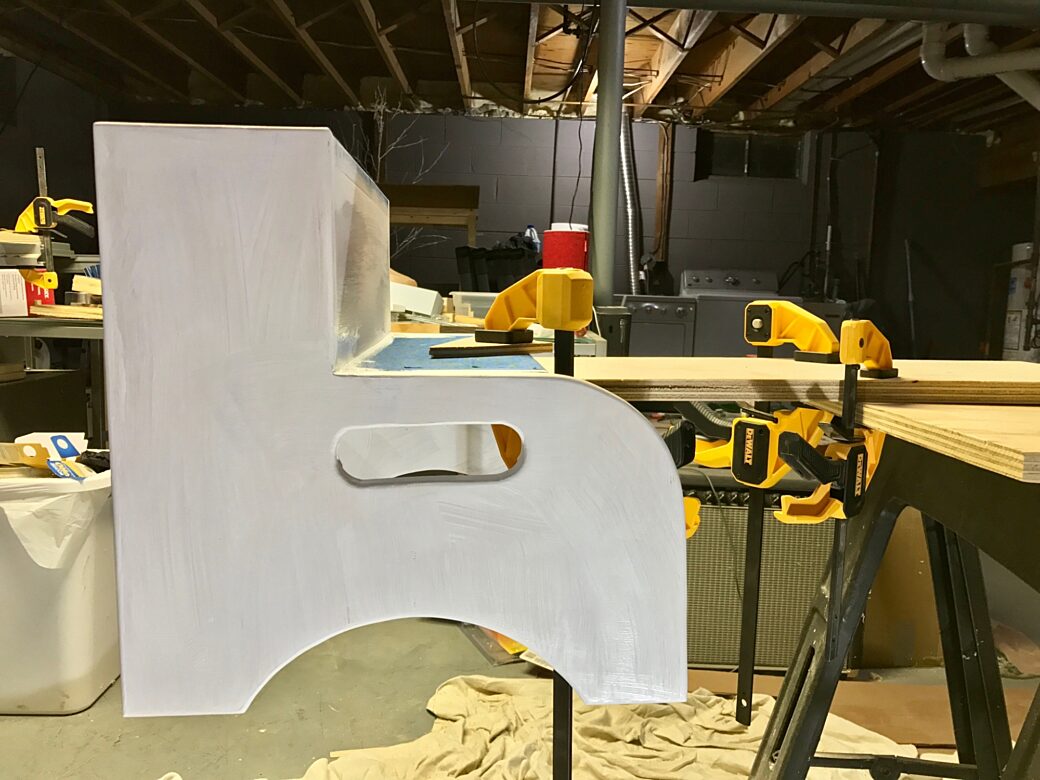
Putting together the sides of the stool were pretty straightforward. Once I did the initial cuts on the table saw, it helped to clamp together the two sides and move the clamps around as I cut out and sanded the edges. I wound up cutting everything out with a jigsaw, but this made me really wish I had a bandsaw in the shop.
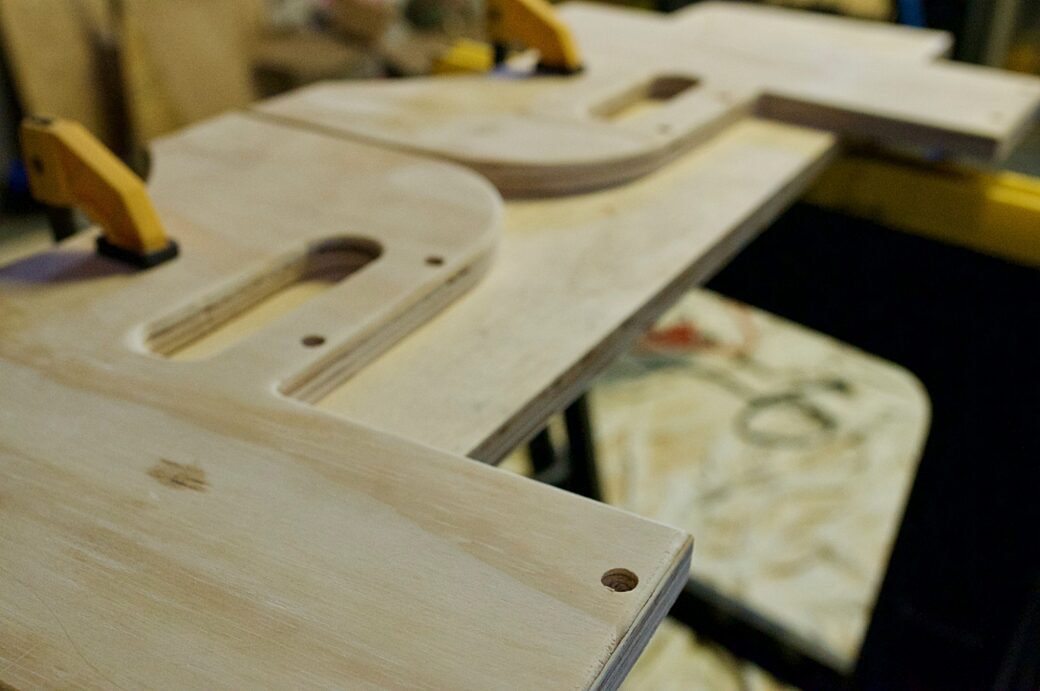
I drilled out the holes for the plugs and routed the sides to smooth off the sharp edges. It really helped to lay out the boards earlier because I used the outline to route out the sides while stopping where the steps would go. This would leave a flat edge in the right spots.
Once the steps were screwed into place, I had glued the sides of the board between the steps and used a couple of pocket holes to secure it to the top step. I also used a few screws to fix it to the back of the bottom step, as well.
I glued in one more piece of wood towards the bottom back area to help add a little more support between the sides.
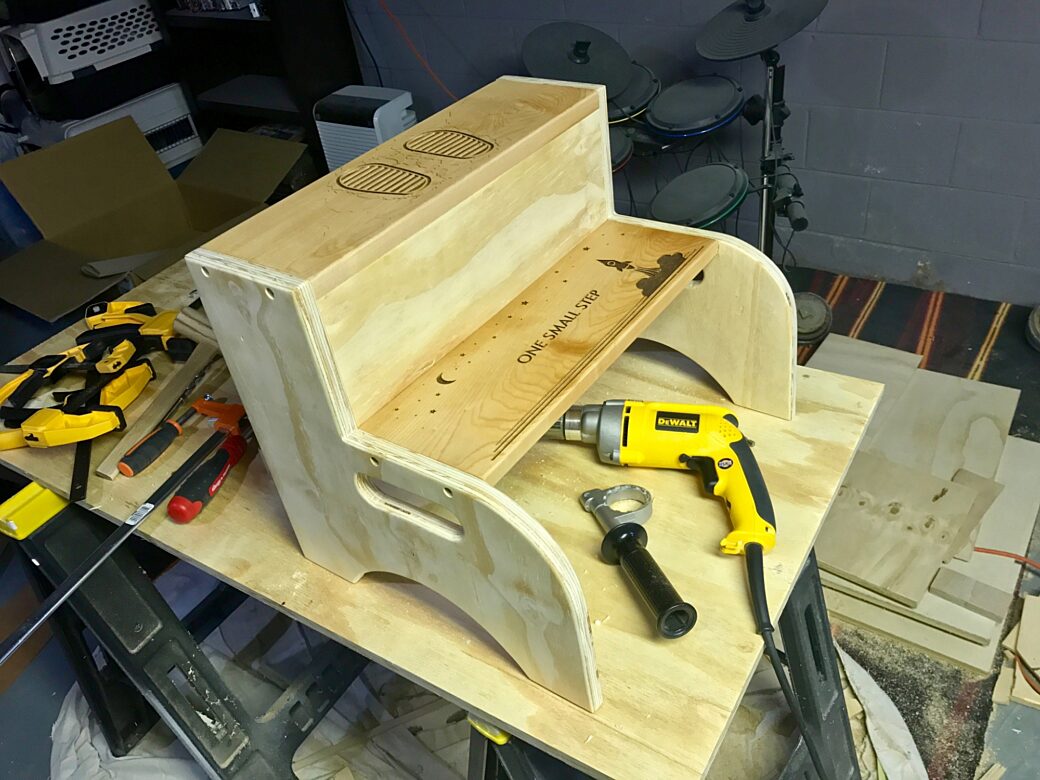
Just before putting in the plugs, all of the wood has been assembled
Painting: My Nemesis
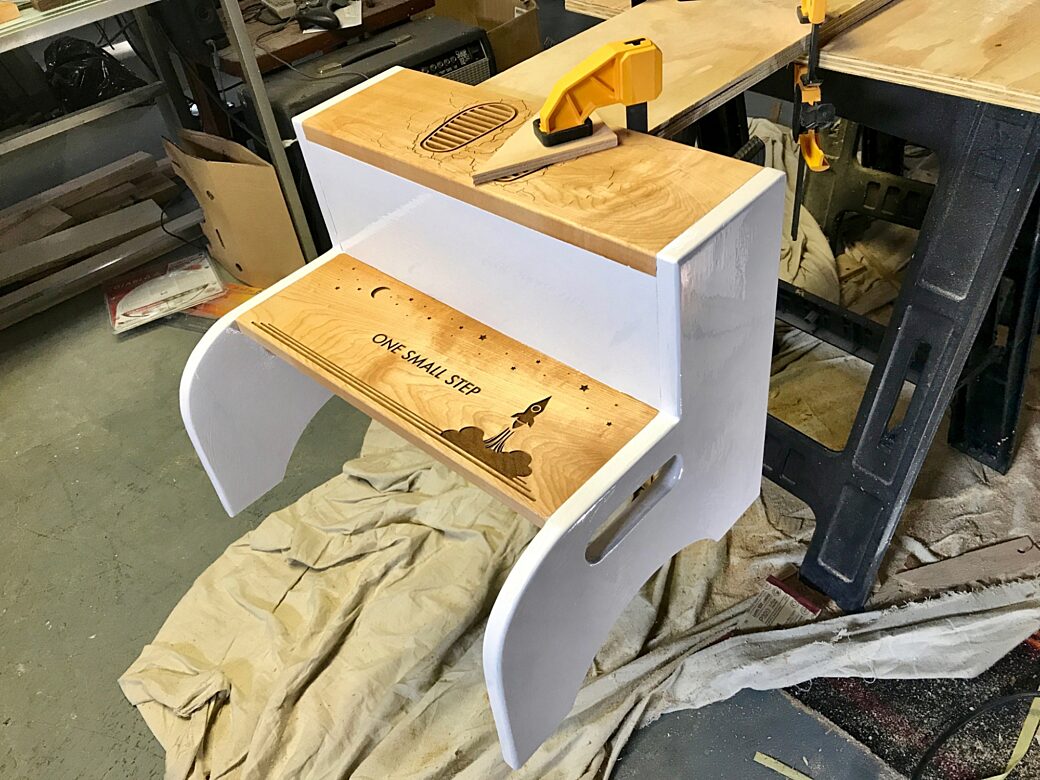
I did several tests with the oil-based paint that I picked up. Each time I had some brush strokes or some areas where the paint would look droopy, so I wasn't super confident going into the painting step. Regardless, I taped up the steps and clamped the stool to a board and put on the first coat.
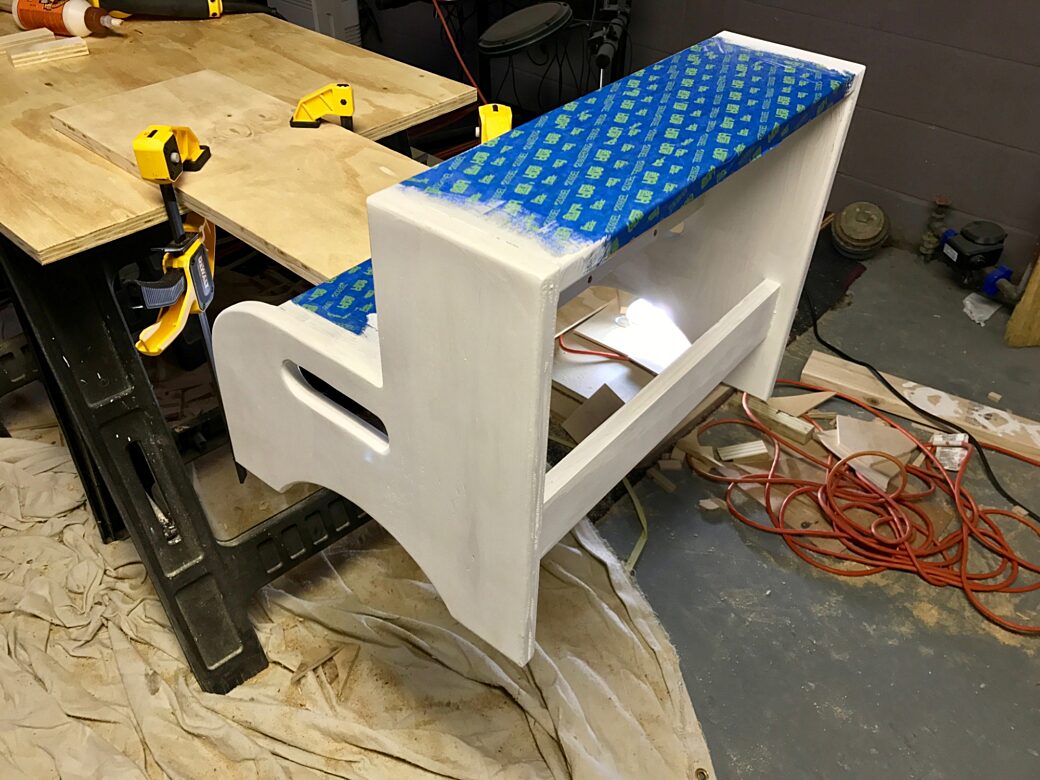

In my tests I found that if I started with a coat of primer/latex mix, it stuck better with the oil-based paint. This is something that I wasn't sure about, based on people online stating that you should start with an oil-based primer and never mix the two. I tried it anyway and found that this primer sanded really well and helped to fill in the gaps on the edges of the plywood.
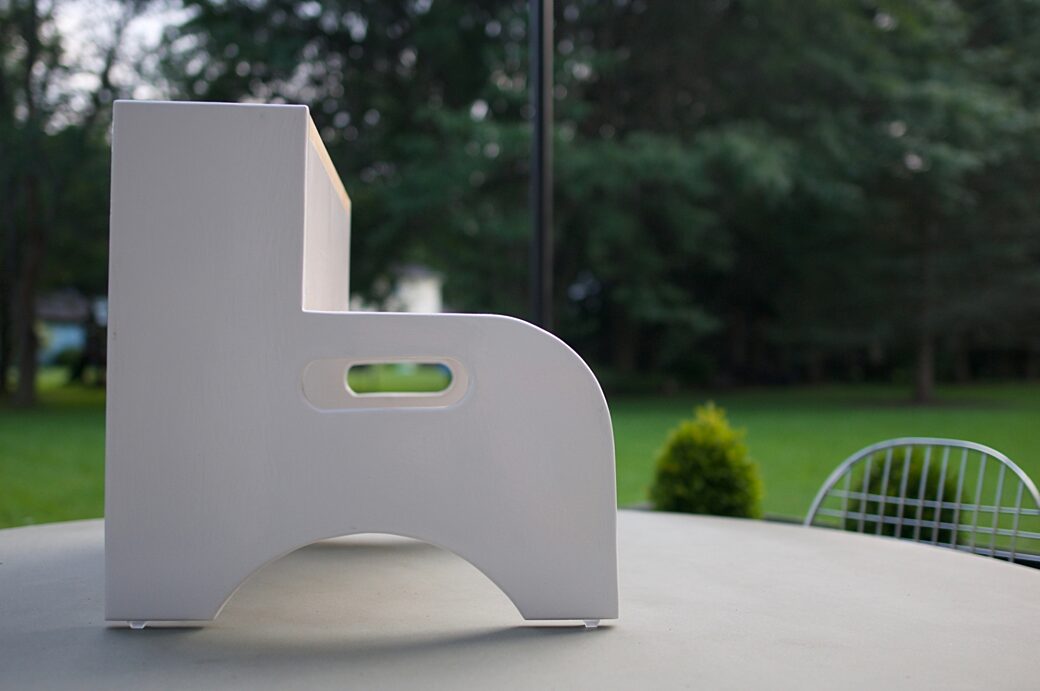
The final coat was done with a gel-based, glossy white paint by Glidden. I don't know how to compare this mix with regular oil-based paint, but it did a good job at smoothing itself out and I really like the bright white surface it makes when it cures.
It took about two days to fully dry, but to my surprise one coat did the job. I'll confess that if you look really closely there are some small areas that aren't perfectly smooth, and one brush stroke that didn't smooth out completely. It kills me to get to the very end of a piece to make these kinds of mistakes, but I'm otherwise happy with how the paint turned out.
I learned a ton of small things with this project. People on YouTube and sites like Tested are a constant resource that I keep going back to for inspiration and to learn new techniques. I hope by making this blog, I can help add to the resources that other people use for their inspiration.
This step stool changed completely from my original plan thanks to the Glowforge and the expertise of my friend, Ian Auch. When he gets Roc City Laser up and running, I'm hoping to work with him some more to create projects like this.
Just to throw this out there, a few people have asked if they can purchase a stool with this design, but I'm reluctant to build something that's so tied to the safety of other people's children (I'd hate it if a child fell off of the stool because it wasn't balanced or engineered for safety). On the other hand, if there's any interest is buying steps engraved with this design so you can build your own stool, I'd be happy to talk about it.