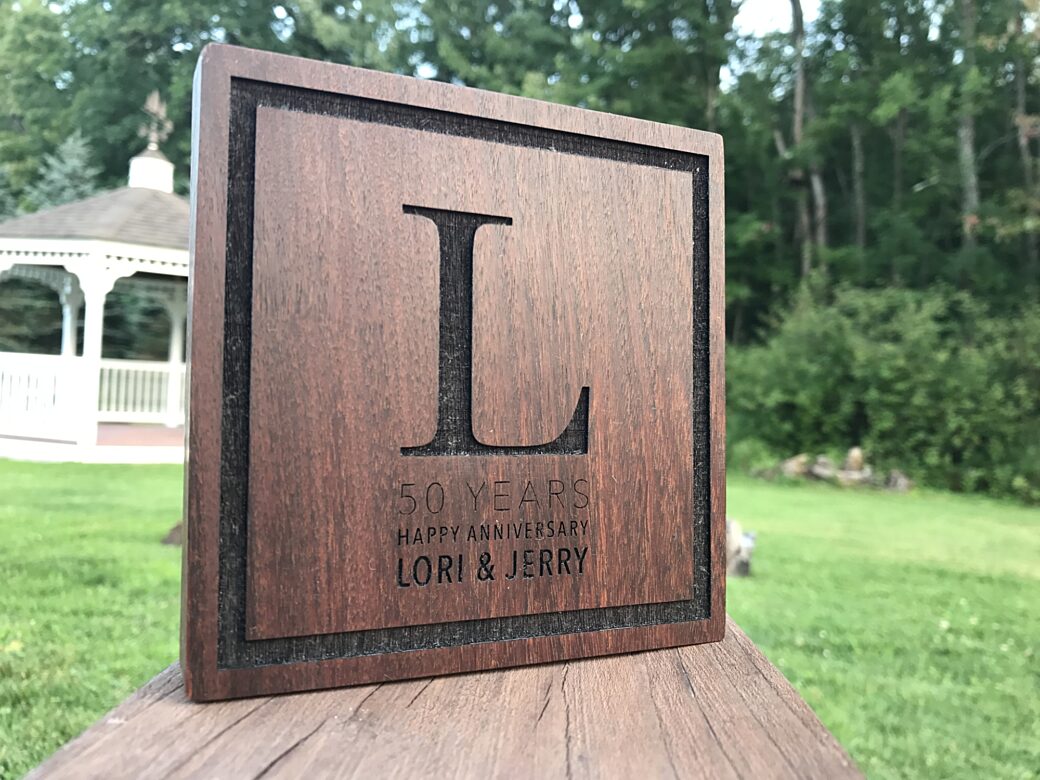
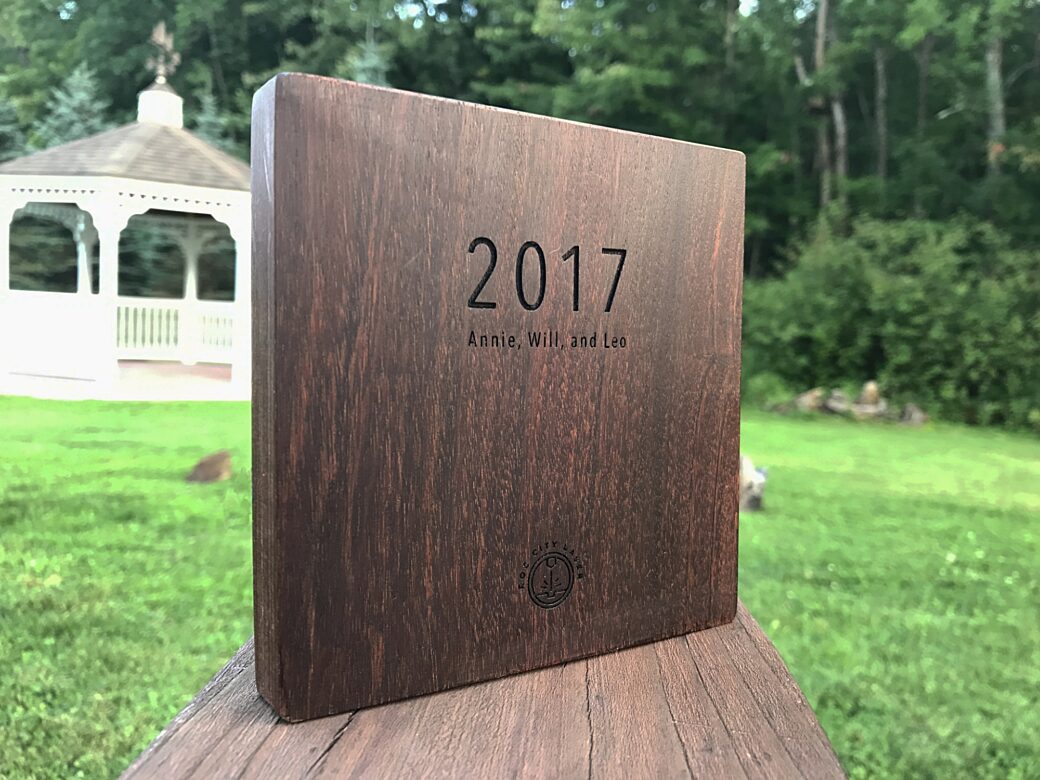
To commemorate the 50th anniversary of my aunt and uncle, I asked Ian from Roc City Laser to put together a simple piece that could either stand up on a desk or be hung up on the wall.
Design
Ian had some leftover ipe that he had gotten from scrap day at Jimmy DiResta’s shop. It was a beautiful piece of hardwood that had some heft to it.
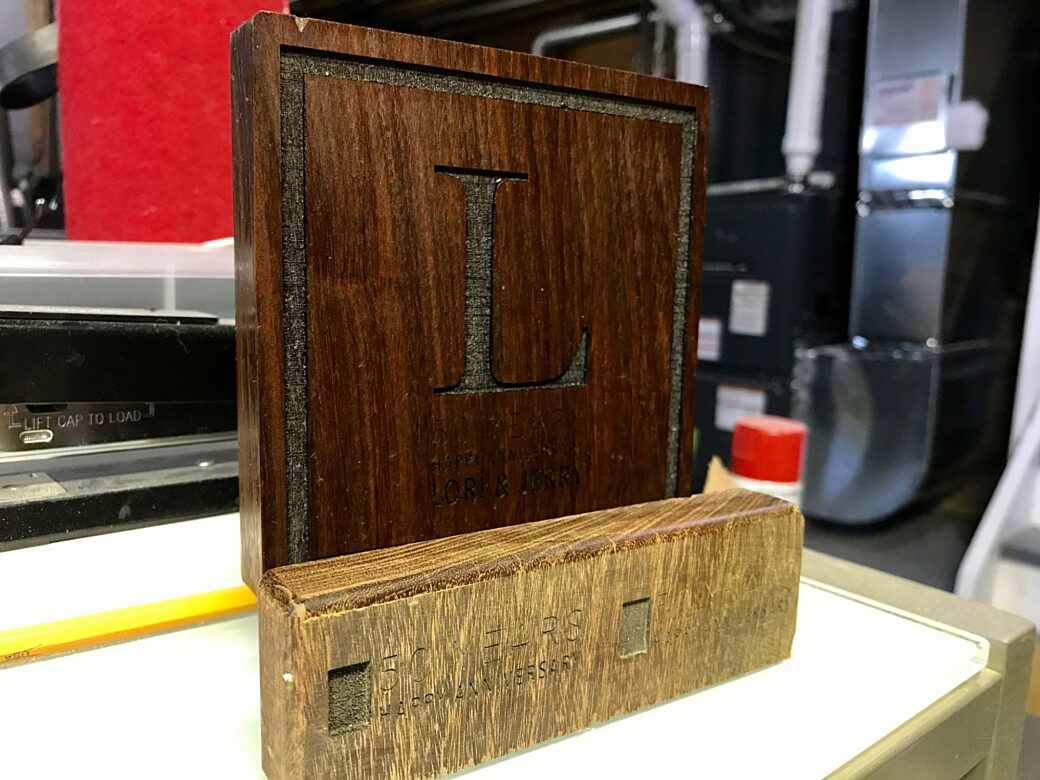
This time I started right in Adobe Illustrator and planned everything around a 5 in. square. The design is simple but the risky part was that we planned to engrave the wood first, then cut it and route out the corners. To help with the cutting, we put a score line around the piece, so I had a guide to cut from.
I planned to use boiled linseed oil again, since I liked using it so much it in my last project. I knew it would get darker, but it really changes the color on this wood to a redder, richer brown.
Testing out boiled linseed oil on ipe.
Cutting, Sanding, and All of That Stuff
After I received the engraved piece from Roc City Laser, I took it down to my shop and made the cuts around the sides on the chop saw.
NOTE: While the Glowforge is an awesome cutting device for thinner wood, we didn't have the time or stomach to attempt to cut through this piece with the laser.
Wow—this wood is dense. I barely made it through the first side and the surge protector connected to my shop tripped from the electricity my saw was pulling. It happened two more times before I could make it to the other three sides.
This wood is very sharp when cut. It could seriously slice your finger if you move it along a freshly cut edge. Because this wood is so dense, sanding by hand takes a while, but it's amazing how little you take off compared to sanding softer woods. I felt more like I was buffing or polishing the wood as I made my way through different grits of sandpaper.
Routing wasn't a huge issue. I decided to round out the corners of the piece instead of creating a rounded edge along the sides. Again, because the wood is so dense routing seemed to work better when it was done slowly.
The last step of the process was to apply the boiled linseed oil. I applied three coats on this in total and I was amazed at how much richer it looked when the oil seeped in.
The Cover Up. Dun Dun Dunnnn
Stepping back for a second: I took it slow and steady and the cuts all looked good, until I noticed a small chip in the top. I've seen a few tricks to avoid chipping when cutting across the grain, but because the test cuts turned out so well, I didn't think I needed to take precautions. Rookie mistake? I think so.
You'll notice in the photos below that the chip doesn't show up. This is because I Photoshopped them out when prepping to send these photos to Roc City Laser to share on social media. I'm not afraid to admit to a mistake that I've made and there's no avoiding it if you look at the finished piece, but I didn't want my error to distract anyone looking at the fantastic work that Roc City Laser did on this piece.
Next time I’ll try a sawdust/glue mix to see if that will work as a filler, or maybe see if I can salvage the tiny piece from the chop saw. Another lesson learned.