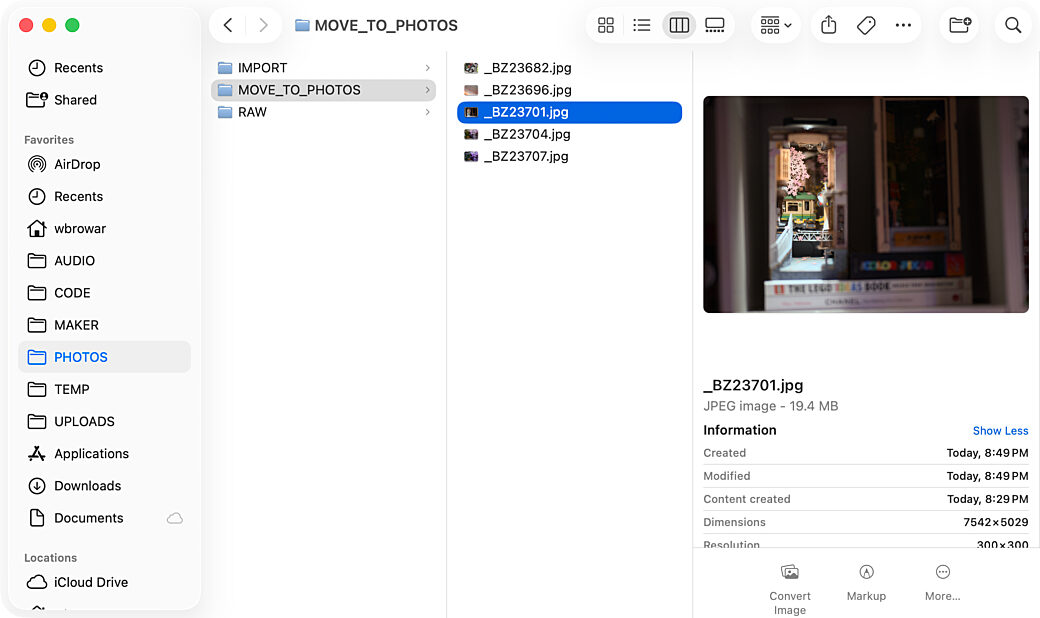
My personal Apple Photos library has photos dating back 25 years. I have local copies of my Photos library on 2 local drives and in a cloud backup (Backblaze). My Photos Library includes high resolution RAW files and since I typically edit in a non-destructive way, most of the files in my library include the unmodified originals and the edited versions cached on device or as part of the RAW file.
I’m happy with my setup, but having so many RAW files causes a few problems. The most obvious one is that the file size for a RAW file can be huge. Just taking a look at the most recent RAW files in my library and I see they all hover around 50MB for each photo. In my library of about 65,000 photos, that helps add up to just over 2TB of photo and video data.
The other problems around storing RAW files in Photos are minor little annoyances that aren’t worth getting into here. The file size thing is the big problem and one that will require me to make some changes to how I work with RAW files going forward. So far I haven’t made any changes yet, but here’s where I’m thinking of going with it.
RAW Files in Apple Photos
What I like about my current process is the simplicity. Everything is done in Apple Photos, from importing, to triaging photos, to making basic edits (bigger edits usually involve going out to an external editor, like Affinity Photo or Pixelmator Pro).
Over the past decade, Apple has gotten much better about working with RAW formats. There was a little period where things got rough, but for the most part, working with RAW files is no different than working with something like a JPEG file.
When I’m ready to import photos off of my Nikon into Apple Photos, the process looks something like this:
- Insert the SD card into the computer and import all of the new RAW files into the library.
- Go to the Imports tab and review the photos one by one. If a photo is blurry or if there is a close duplicate, it’ll usually get permanently deleted.
- Of the remaining photos I’ll straighten them up and will do some color tweaking as needed.
Otherwise, I’m done and the photos will get synced to iCloud and processed with Apple’s ML and indexing tools.
Priorities and Parameters
Well, as much as I like my current process, addressing the file size issue means finding a way to import and backup my RAW files, while substituting the RAW files in my Photos library with a high quality alternative format.
From an ecosystem standpoint, I plan on sticking with macOS and iCloud as my syncing service of choice for the foreseeable future. Most of my personal devices are Apple products and Apple Photos is integrated really well with them all. I don’t see myself switching over to Linux or Windows for this part of my computing life.
With that said, the next thing I’m thinking about is that any process I come up with will need to be available on future computers with future versions of macOS. For example, when macOS 28 comes out, I want to make sure that I don’t need to wait for a third-party software developer to update their app in order for me to import or work with my photos. My ideal system would essentially be a manual process, with automations used to reduce steps wherever possible.
Image Formats
I shoot in RAW because I’ve found that it’s the best way to get the best image quality for the kinds of photos I shoot. I’ve tried shooting in JPEG, or RAW + JPEG, and I’ve found that I don’t like the way that Nikon processes JPEGs on camera as much as I like how a RAW image looks after running it through a RAW image processing tool—including Apple Photo’s default RAW processing output.
On my Nikon Z7ii, RAW and JPEG are my only options, so my plan here is to continue to shoot in RAW, then to convert my photos over to another format before adding it to my Photos library.
I’d like to decide on a format once and stick with it, so I’d like to pick one that helps with file compression and works with modern and future image features that my cameras can create. Most importantly, I want to pick a format that will be around for a long time (think of how long JPEG files have been available and in the ways it gets used). Here are a few things I’ve considered:
- First off, a normal JPEG won’t work because it loses the HDR color profile my photos are shot in. I’ve found that some apps let you embed HDR data in files with the
.jpgextension, but this is a little misleading in that not all other applications can read that HDR color data correctly. - HEIC seems like a good format to use because it has a really good balance between image quality and compression. The only downside to using HEIC is that it seems to be a format embraced by only Apple. This means photos will always need to be converted if I want to use them on the web or if I want to share them with folks on Android or other OSs.
- WEBP and AVIF are current web platform-friendly formats, but I don’t think either of them are the best choice for long-term photo storage. AVIF might be the one I would pick between the two, if I had to choose.
When I think about all of this stuff, the one format that keeps coming to mind is JPEG-XL. If you haven’t heard of JPEG-XL, here’s a website that makes the case for its benefits on the web and for other uses. From what I understand, it’s a format that is like a future-proofed JPEG that is often smaller, with built-in features like HDR and transparency. After a bumpy beginning, it’s finally coming to web browsers as a new image format.
Apple has already started supporting JPEG-XL in that .jxl files are already supported in macOS and iOS, in Safari, and in Apple Photos. The only area where I don’t see JPEG-XL support on the Mac is as an option for exporting images from Apple’s apps. I’m optimistic that this will eventually become a standard option, but I don’t want to go all-in on JPEG-XL until it’s a little bit more set in stone.
For the sake of the rest of this blog post, I’ll assume that JPEG-XL has won and will mention it as the RAW alternative format of choice. But it really could wind up being any similar format in the end. This is the main reason why I’m not ready to start adopting this process completely.
Software
As I said above, the process I want to put into place should really be a manual process where the only required software should be Apple Photos. So instead of building up a process around particular software and current software features, I want to think about the things that need to happen in my photo process, then assign software to help speed things up or facilitate one portion of the process. At the end of the day, if an app goes away or changes enough where it doesn’t fit my process, then I want to be able to swap the app out with another and move on.
At a high level here’s the process I want to follow:
- Put the SD card into the computer and pull the RAW files onto the machine.
- Look through the photos and trim away files that are unusable.
- Do some initial editing on the RAW files.
- Export the RAW files to JPEG-XL (or whatever format I land on) and import them into Apple Photos.
- Copy the RAW files to a NAS or local disk that has a cloud backup process in place.
- Some time later, clean up old RAW files to free up local disk space.
When I look at that list, all of that can be achieved with macOS’s Finder and a photo editor, like Pixelmator Pro. Technically even an external editor could be omitted here since Apple Photos can cover a lot of basic editing needs. But the point about using an editor at the RAW level is to get some basic edits out of the way and done to both the RAW and JPEG-XL, with more final edits happening on the JPEG-XL file in Apple Photos.
So say that’s the process in general, now I want to use tools to help automate or help to visually check things as I work through the process.
Importing
Getting photos off a memory card can be as simple as inserting the card, finding the files on the card, and then dragging them into a folder on my machine. Job done!
There are tools that can help you select images before you pull them off the memory card. Nikon has a free tool, called Nikon NX Studio and that includes a helper app that lets you preview images on a memory card, then import the ones you select. It is useful, but Nikon has had several software suites over the years, and I don’t feel confident that they’ll always support this software or always release it as a free product.
And more importantly, Apple provides basically the same tool and it’s built into macOS.
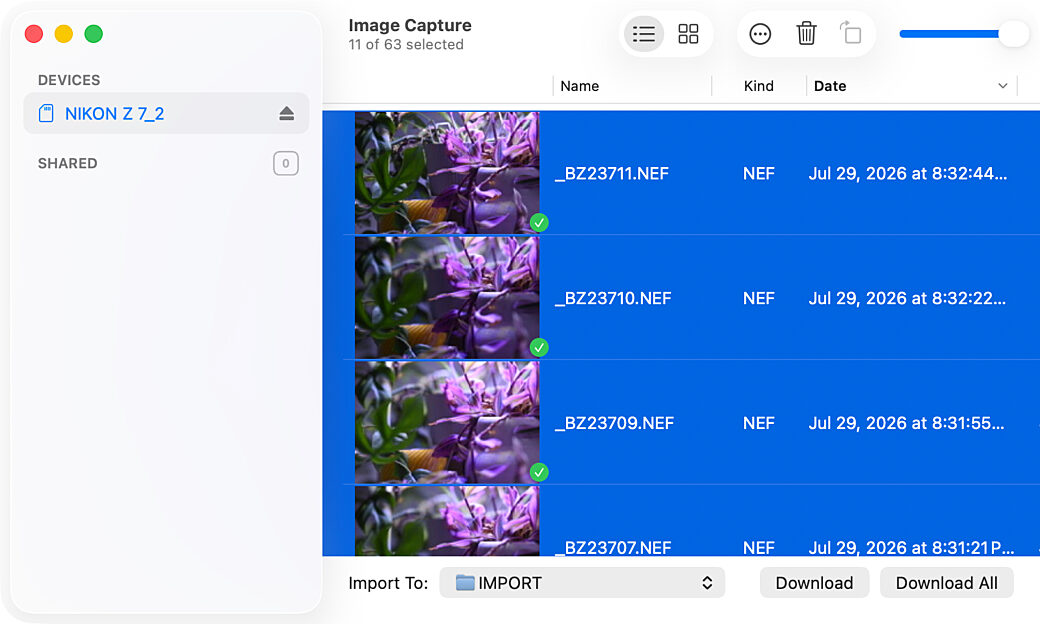
A utility app, called Image Capture, lets you pull images off of an SD card. It’s been on macOS for years, and before I could import photos into Apple Photos directly, this was the tool I used.
So in my new process this will be the way I go for importing photos.
Triaging RAW Photos
All of the professional photographers reading this post have already been waiting for Lightroom—or Lightroom Classic—to get mentioned. Well here it is, and the only thing I’ll say is that for some reason Lightroom never caught on for me. The idea of paying Adobe and getting into their web of subscriptions again isn’t super appealing, despite how good the reputation of their apps is.
In the good old days, I had picked up on Aperture and it was one of my favorite apps for photo triaging, rating, and processing photos. Since Aperture was retired, several apps to replace it have come and gone. I’ve tried out a few of them and the two that I like the most are Nitro and Photomator.
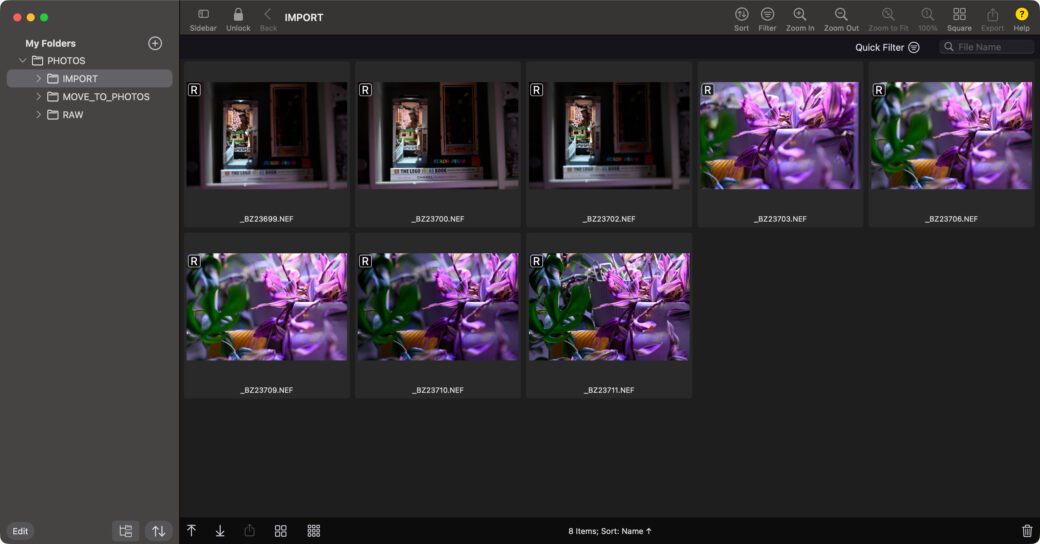
Nitro is an app by Gentleman Coders that is sort of Lightroom-esque. You can point to a local directory (or your Apple Photos library), and it will show all of the RAW images in that folder. It has starring, flagging, and rejecting built in. It also uses sidecar files to keep your edits non-destructive.
Nitro does have an editor to process RAW files and they include some nice features, like auto-enhance and a way to view all of your image’s EXIF data. Above all, the best part about Nitro is how active the main developer is at adding support for brand new RAW formats. Instead of using Apple’s built-in RAW processor, Nitro—and the sister app, RAW Power—tend to get profiles for newer RAW formats much quicker than Apple has added support for them in the past.
Similar to Nitro is Apple’s own Photomator app. When Pixelmator Pro was included in Apple’s new Creator Studio bundle, I was worried that Photomator might follow Aperture into the sunset. But so far it seems to be getting support by Apple to keep new features coming.
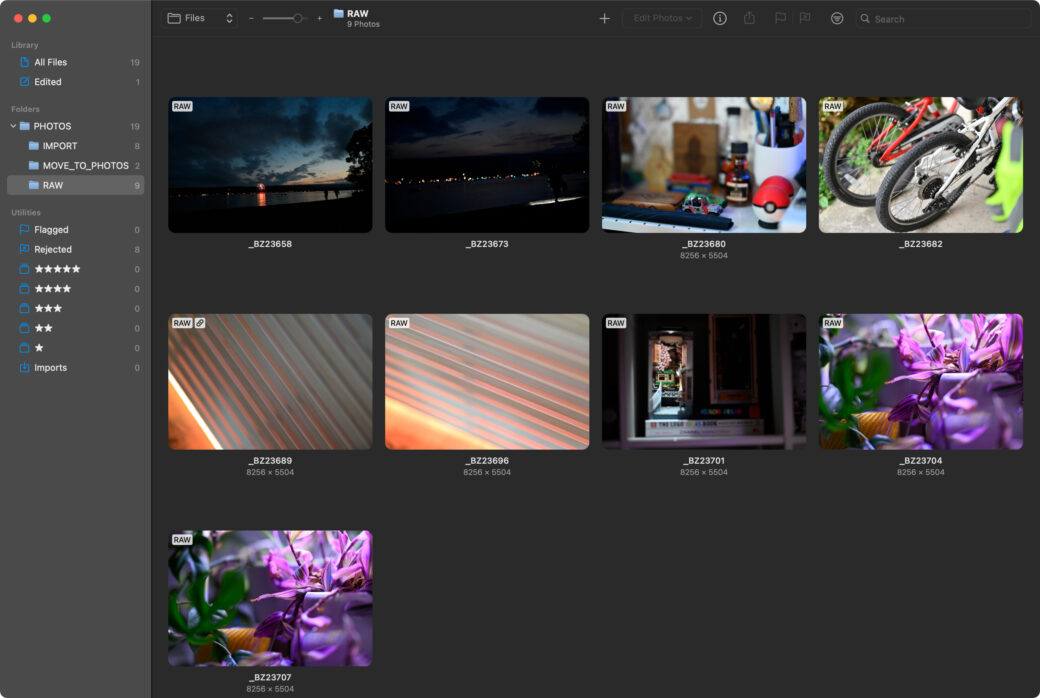
Photomator covers all of the same features I need from Nitro, so it’s really a tossup of which one I’ll stick with. I do like Photomator’s editing tools and the whole UI is very Mac-like. Since Pixelmator got a bunch of enhancements behind it when it got included in Creator Studio, I’m curious to know what the strategy for Photomator will be going forward. Only Apple knows, and either way this portion of my photo process Is covered by two apps that do things in similar ways.
(Getting to the) Backups
As all nerds will tell you, syncing is not a backup strategy. I bet my photos are safe on Apple’s iCloud servers, but the thought of someday waking up to an email from Apple with a big “Oops” in the title doesn’t sit well with me. So letting iCloud handle backing up my RAW photos doesn’t work for me.
What I plan on doing is setting up a NAS dedicated to important documents, like my RAW photos. Then I’d use something like Backblaze’s B2 to backup that NAS to the cloud. Which NAS I go with will probably get decided after prices of storage go back down to a reasonable level (here in 2026, prices of storage drives are insane), but I’m thinking of leaning more into my current UniFi networking setup to picking up a UNAS.
Until I get around to purchasing that NAS, I have an external SSD drive connected to a Mac mini in my house, that is backed up to Backblaze’s consumer service. This works for now, but requires the Mac mini to be online to perform backups, and it's not as safe as having redundancy with a RAID setup on a NAS.
Either way, I’ll have RAW files on my Mac that need to get moved from one folder and onto the NAS or shared drive. I played around with Apple’s built-in Shortcuts app and its feature that lets you watch folders and take action on files added or modified in the folder. In order to get this working, I created a new Shortcut Automation and tried to build out a process to look at the files in one folder, copy them out to the network drive, then copy them into the folder I want to use for Photomator.
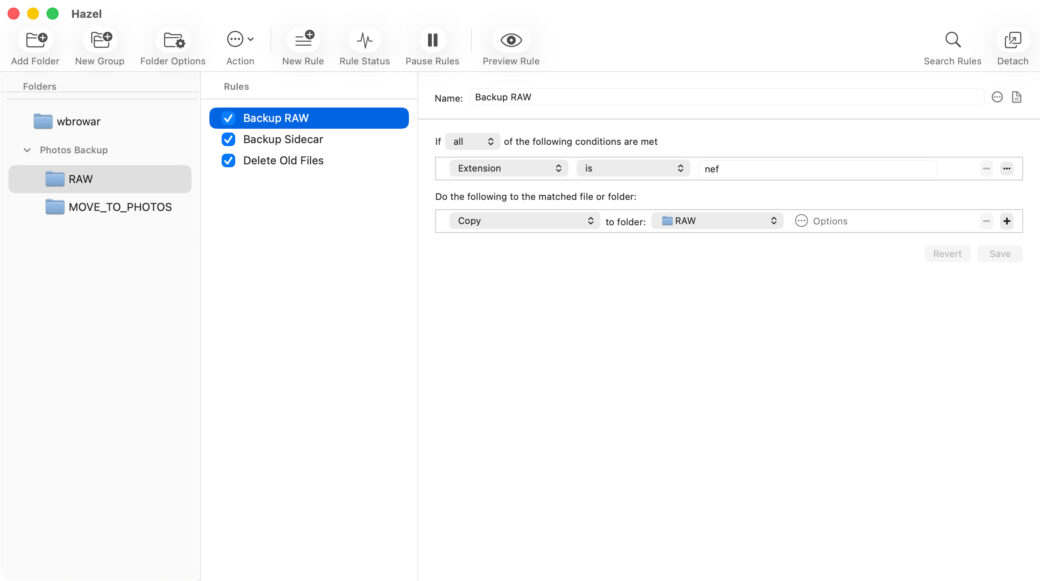
I tested this out and got about 70 percent the way there before giving up and giving my trusted Hazel a try. Hazel is a thirds-party Mac utility app that watches folders and performs actions based on criteria you set up. It was easy to set up the actions based on the folder structure I came up with.
Why not start with Hazel? Well, I again tried to stick to the platform and work with Shortcuts because they’re built in, and that hopefully means that it’ll continue to be a free part of macOS you can depend on in the future. Coming soon, in macOS 27, there will even be a way to create and update shortcuts via AI, but for now I feel like I can depend on Hazel to keep getting updates and to be there for the next few years. If something changes to Hazel, I have the Shortcuts as my first fallback, then the next fallback could always be a command line approach with folder watchers to watch for file changes.
Photo Import Process
After doing a few test runs, here’s a rough draft that I’ll probably update as some things become clearer over time.
Network Storage and Backup Setup
One-time setup to prepare a NAS or shared network drive to store files and back them up to a cloud-based backup service.
- Create dedicated backup folder, Photos Backup
- Create subfolder specific to RAW files (so future formats can be added later), RAW
- Configure Backblaze to include Photos Backup in ongoing backups.
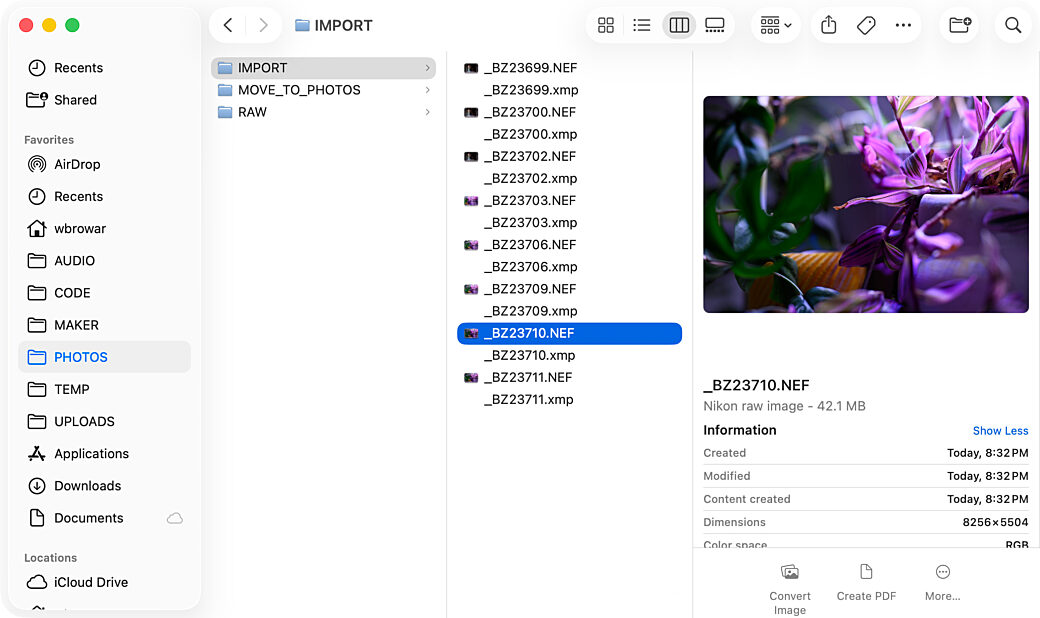
Do the following setup on a new machine, to prepare it to carry out automations.
- Set up macOS to mount backup drive (NAS or shared network drive) on login.
- Create PHOTOS directory with subdirectories:
- IMPORT
- MOVE_TO_PHOTOS
- RAW
- Set up Hazel folder actions and enable them.
Hazel actions that copies any NEF or XMP sidecar file in the PHOTOS > RAW directory to the Photos Backup drive. Under Options, Hazel is set to overwrite files based on file name.
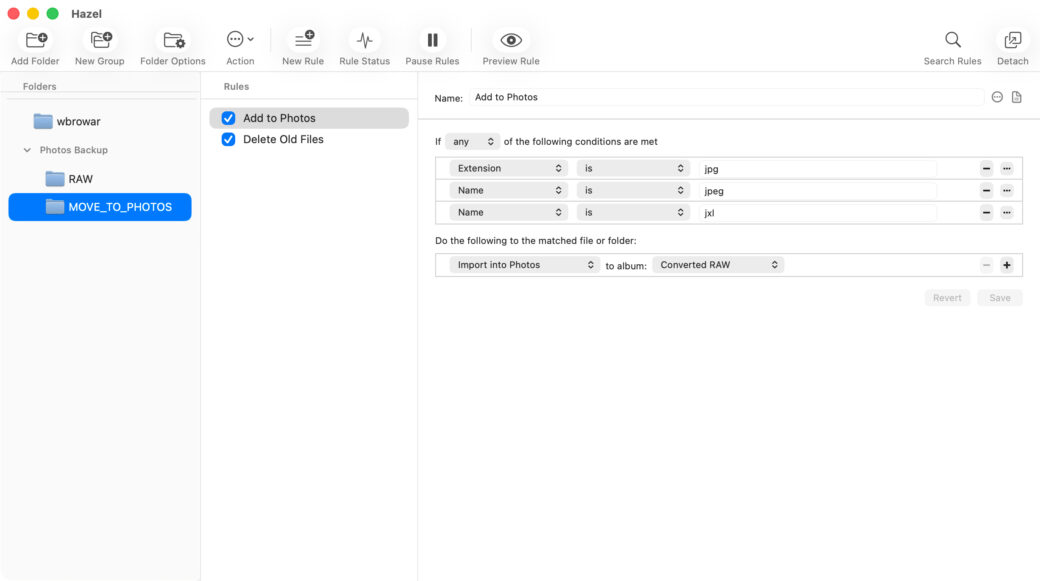
Hazel action that imports any photos added to the PHOTOS > MOVE_TO_PHOTOS directory to the Apple Photos library. A filter restricts this action to import only certain file extensions.
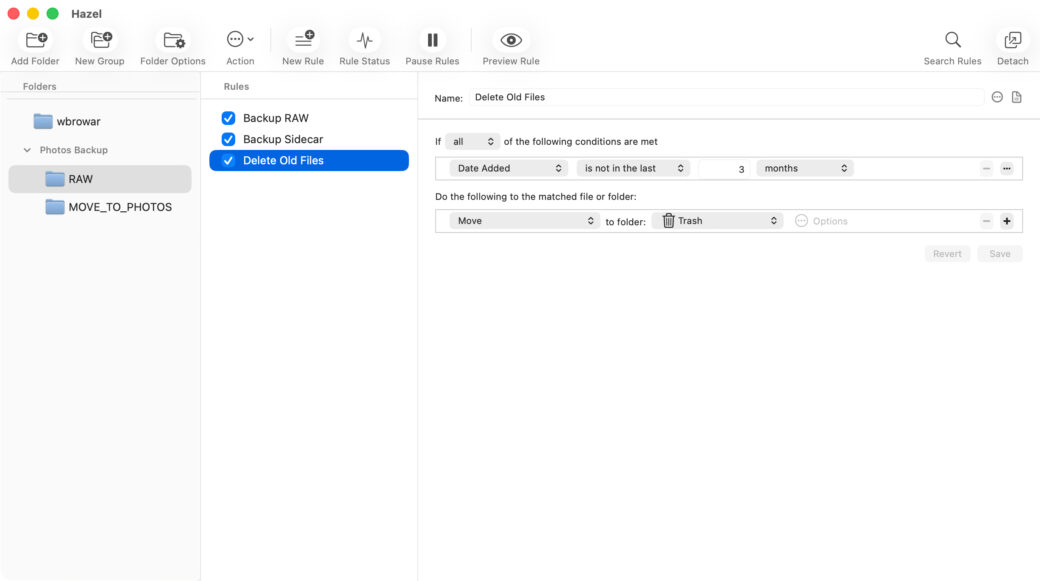
Both the MOVE_TO_PHOTOS and RAW directories are set up to automatically delete any file three months after it has been added.
Importing Photos
Insert the SD card into the computer and use Image Capture to import all RAW files to the IMPORT directory.
Open the PHOTOS directory up in Photomator (or Nitro) and select the IMPORT subdirectory.
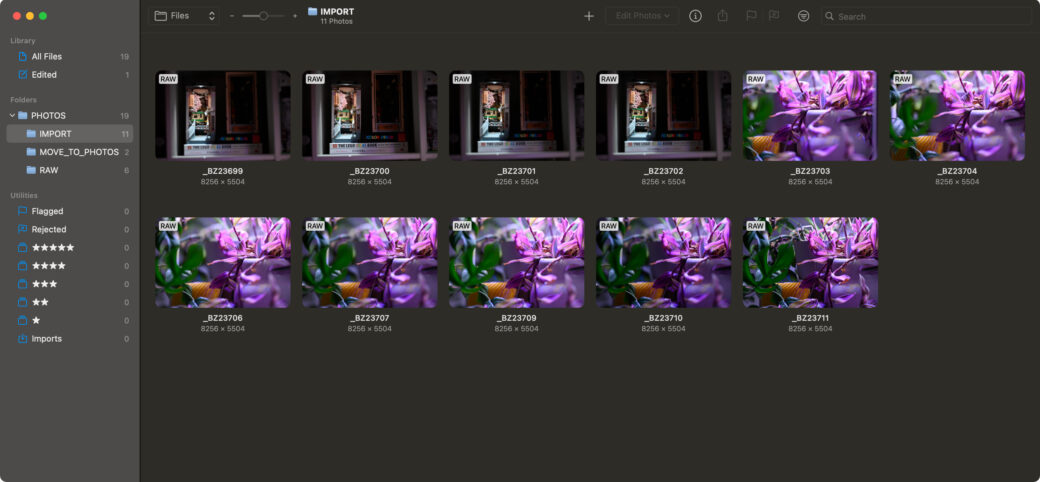
Go through each photo and reject those that should not be added to the final library. Rejected images will not be backed up.
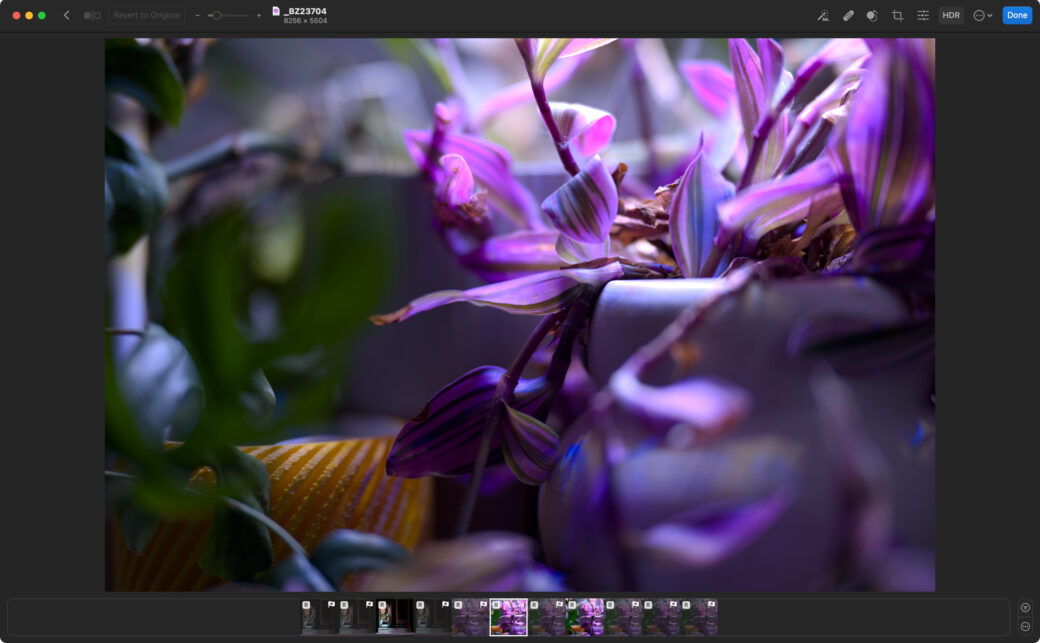
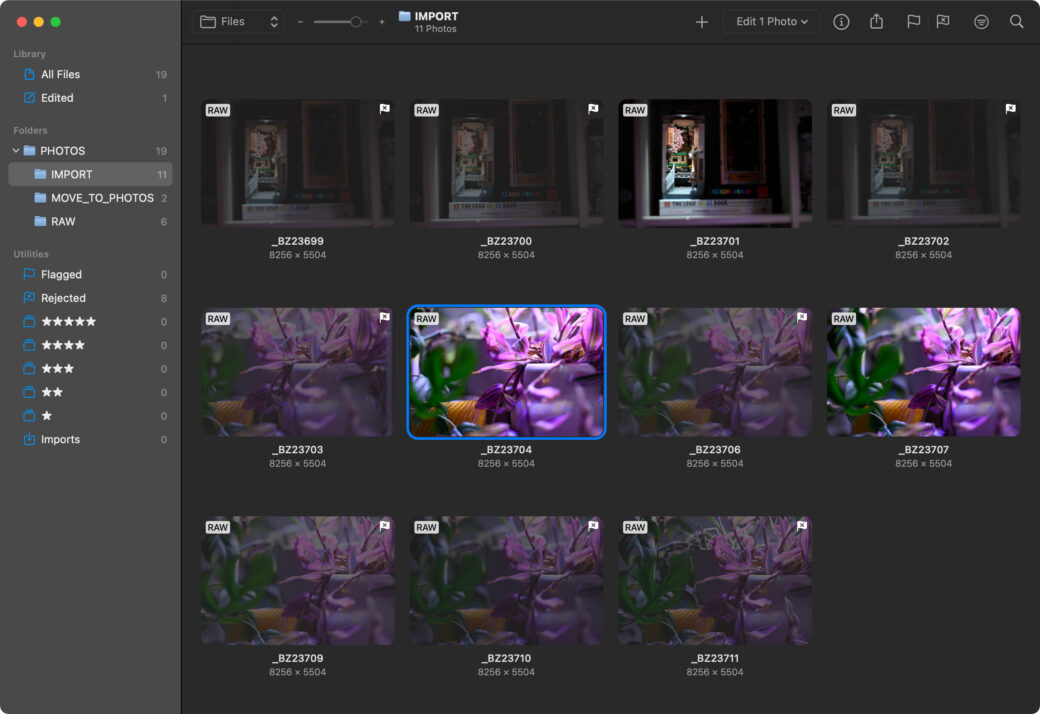
Delete rejected photos files.
Use Finder to copy remaining RAW files and their sidecar files and move them to the RAW directory. These images will all be backed up.
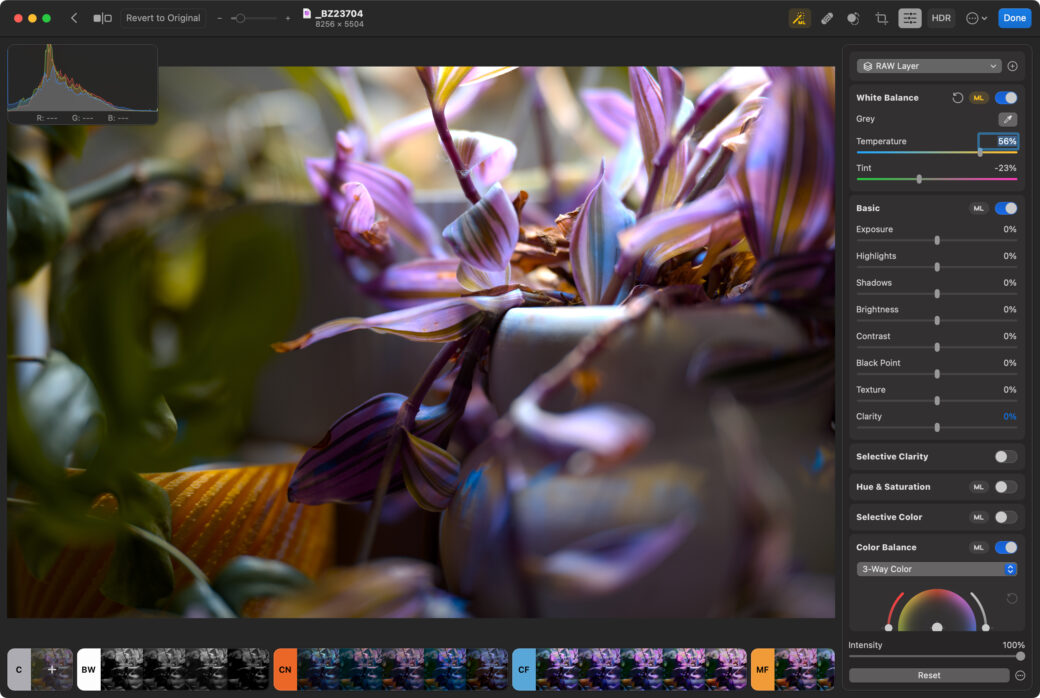
In Photomator, process the RAW files (correct alignment, adjust RAW sliders). These edits will be non-destructive to the RAW files (edits will be stored in their sidecar files), but any edits made here will become the base for the file added to the Apple Photos library.
Export the files as JPEG-XL files to the MOVE_TO_PHOTOS directory. These files will get imported into Apple Photos, then synced via iCloud. If a file has already been added to Photos, a notification will ask if it should replace the existing file.